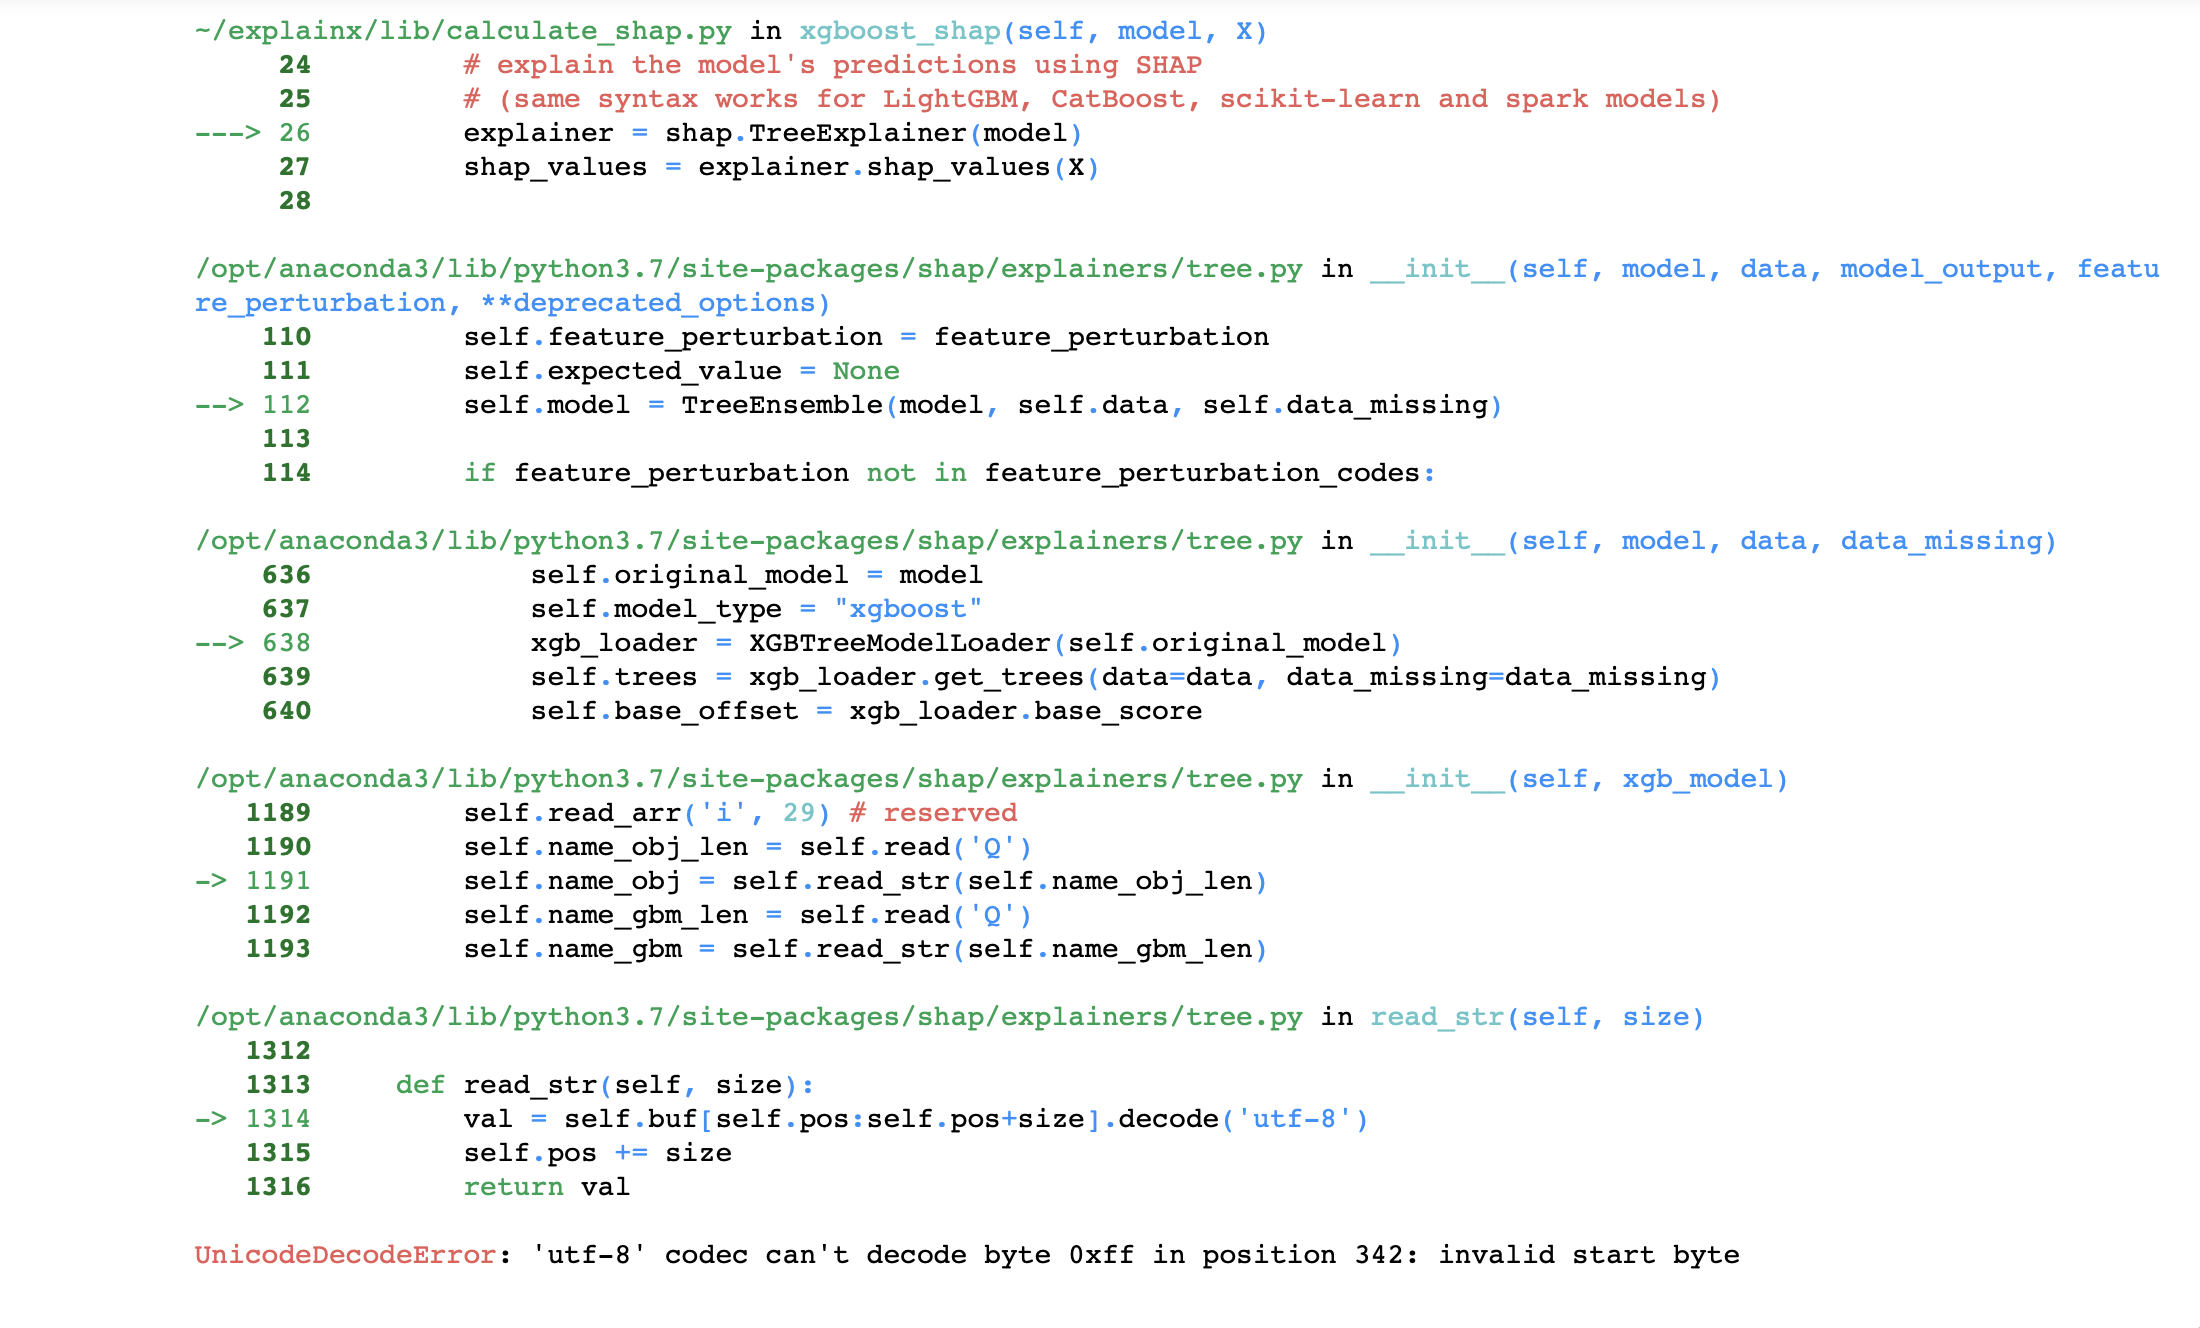
Git Product home page Git Product logo

explainx / explainx Goto Github PK

View Code? Open in Web Editor NEW
389.0 10.0 54.0 62.72 MB

Explainable AI framework for data scientists. Explain & debug any blackbox machine learning model with a single line of code. We are looking for co-authors to take this project forward. Reach out @ [email protected]

Home Page: https://www.explainx.ai

License: MIT License

Jupyter Notebook 82.66% Python 14.13% CSS 3.21%
explainable-ai explainable-artificial-intelligence machine-learning interpretability blackbox xai explainx interpretable-ai transparency bias

explainx's Introduction

explainX: Explainable AI Framework for Data Scientists

We are looking for co-authors to take this project forward. Reach out @ [email protected]

ExplainX is a model explainability/interpretability framework for data scientists and business users.

Supported Python versions Downloads Maintenance Website

Use explainX to understand overall model behavior, explain the "why" behind model predictions, remove biases and create convincing explanations for your business stakeholders. Tweet

explainX.ai

Why we need model explainability & interpretibility?

Essential for:

  1. Explaining model predictions
  2. Debugging models
  3. Detecting biases in data
  4. Gaining trust of business users
  5. Successfully deploying AI solution

What questions can we answer with explainX?

  1. Why did my model make a mistake?
  2. Is my model biased? If yes, where?
  3. How can I understand and trust the model's decisions?
  4. Does my model satisfy legal & regulatory requirements?

We have deployed the app on our server so you can play around with the dashboard. Check it out:

Dashboard Demo: http://3.128.188.55:8080/

Getting Started

Installation

Python 3.5+ | Linux, Mac, Windows

pip install explainx

To download on Windows, please install Microsoft C++ Build Tools first and then install the explainX package via pip

Installation on the cloud

If you are using a notebook instance on the cloud (AWS SageMaker, Colab, Azure), please follow our step-by-step guide to install & run explainX cloud. Cloud Installation Instructions

Usage (Example)

After successfully installing explainX, open up your Python IDE of Jupyter Notebook and simply follow the code below to use it:

  1. Import required module.
from explainx import * 
from sklearn.ensemble import RandomForestClassifier
from sklearn.model_selection import train_test_split
  1. Load and split your dataset into x_data and y_data
#Load Dataset: X_Data, Y_Data 
#X_Data = Pandas DataFrame
#Y_Data = Numpy Array or List

X_data,Y_data = explainx.dataset_heloc()
  1. Split dataset into training & testing.
X_train, X_test, Y_train, Y_test = train_test_split(X_data,Y_data, test_size=0.3, random_state=0)
  1. Train your model.
# Train a RandomForest Model
model = RandomForestClassifier()
model.fit(X_train, Y_train)

After you're done training the model, you can either access the complete explainability dashboard or access individual techniques.

Complete Explainability Dashboard

To access the entire dashboard with all the explainability techniques under one roof, follow the code down below. It is great for sharing your work with your peers and managers in an interactive and easy to understand way.

5.1. Pass your model and dataset into the explainX function:

explainx.ai(X_test, Y_test, model, model_name="randomforest")

5.2. Click on the dashboard link to start exploring model behavior:

App running on https://127.0.0.1:8080

Explainability Modules

In this latest release, we have also given the option to use explainability techniques individually. This will allow the user to choose technique that fits their personal AI use case.

6.1. Pass your model, X_Data and Y_Data into the explainx_modules function.

explainx_modules.ai(model, X_test, Y_test)

As an upgrade, we have eliminated the need to pass in the model name as explainX is smart enough to identify the model type and problem type i.e. classification or regression, by itself.

You can access multiple modules:

Module 1: Dataframe with Predictions

explainx_modules.dataframe_graphing()

Module 2: Model Metrics

explainx_modules.metrics()

Module 3: Global Level SHAP Values

explainx_modules.shap_df()

Module 4: What-If Scenario Analysis (Local Level Explanations)

explainx_modules.what_if_analysis()

Module 5: Partial Dependence Plot & Summary Plot

explainx_modules.feature_interactions()

Module 6: Model Performance Comparison (Cohort Analysis)

explainx_modules.cohort_analysis()

To access the modules within your jupyter notebook as IFrames, just pass the mode='inline' argument.

For detailed description into each module, check out our documentation at https://www.docs.explainx.ai

Cloud Installation

If you are running explainX on the cloud e.g., AWS Sagemaker? https://0.0.0.0:8080 will not work. Please visit our documentation for installation instructions for the cloud: Cloud Installation Instructions

After installation is complete, just open your terminal and run the following command.


lt -h "https://serverless.social" -p [port number]


lt -h "https://serverless.social" -p 8080

explainX.ai

Walkthough Video Tutorial

Please click on the image below to load the tutorial:

here

(Note: Please manually set it to 720p or greater to have the text appear clearly)

Supported Techniques

Interpretability Technique Status
SHAP Kernel Explainer Live
SHAP Tree Explainer Live
What-if Analysis Live
Model Performance Comparison Live
Partial Dependence Plot Live
Surrogate Decision Tree Coming Soon
Anchors Coming Soon
Integrated Gradients (IG) Coming Soon

Main Models Supported

No. Model Name Status
1. Catboost Live
2. XGboost==1.0.2 Live
3. Gradient Boosting Regressor Live
4. RandomForest Model Live
5. SVM Live
6. KNeighboursClassifier Live
7. Logistic Regression Live
8. DecisionTreeClassifier Live
9. All Scikit-learn Models Live
10. Neural Networks Live
11. H2O.ai AutoML Live
12. TensorFlow Models Coming Soon
13. PyTorch Models Coming Soon

Contributing

Pull requests are welcome. In order to make changes to explainx, the ideal approach is to fork the repository then clone the fork locally.

For major changes, please open an issue first to discuss what you would like to change. Please make sure to update tests as appropriate.

Report Issues

Please help us by reporting any issues you may have while using explainX.

License

MIT

explainx's People

Stargazers

 avatar  avatar  avatar  avatar  avatar  avatar  avatar  avatar  avatar  avatar  avatar  avatar  avatar  avatar  avatar  avatar  avatar  avatar  avatar  avatar  avatar  avatar  avatar  avatar  avatar  avatar  avatar  avatar  avatar  avatar  avatar  avatar  avatar  avatar  avatar  avatar  avatar  avatar  avatar  avatar  avatar  avatar  avatar  avatar  avatar  avatar  avatar  avatar  avatar  avatar  avatar  avatar  avatar  avatar  avatar  avatar  avatar  avatar  avatar  avatar  avatar  avatar  avatar  avatar  avatar  avatar  avatar  avatar  avatar  avatar  avatar  avatar  avatar  avatar  avatar  avatar  avatar  avatar  avatar  avatar  avatar  avatar  avatar  avatar  avatar  avatar  avatar  avatar  avatar  avatar  avatar  avatar  avatar  avatar  avatar  avatar  avatar  avatar  avatar  avatar

Watchers

 avatar  avatar  avatar  avatar  avatar  avatar  avatar  avatar  avatar  avatar

explainx's Issues

NameError: name 'Pool' is not defined

Version: Version: 2.387

NameError                                 Traceback (most recent call last)
<ipython-input-5-deae5b36b77d> in <module>
     29 
     30 # pass to explainX
---> 31 explainx.ai(X_Data, Y_Data, model, model_name='catboost')

[...]/env/lib/python3.6/site-packages/explainx/explain.py in ai(self, df, y, model, model_name, mode)
     77         #shap
     78         c = calculate_shap()
---> 79         self.df_final, self.explainer = c.find(model, df, prediction_col, is_classification, model_name=model_name)
     80 
     81         #prediction col

[...]/env/lib/python3.6/site-packages/explainx/lib/calculate_shap.py in find(self, model, df, prediction_col, is_classification, model_name)
    204 
    205         elif model_name == "catboost":
--> 206             df2 = self.catboost_shap(model, df)
    207             explainer= None
    208             return df2, explainer

[...]/env/lib/python3.6/site-packages/explainx/lib/calculate_shap.py in catboost_shap(self, model, df, y_variable)
     60 
     61         # call the function
---> 62         shap_values = self.get_shap_values(df_array, model, all_columns, cat_index)
     63 
     64         # append the results with the original file

[...]/env/lib/python3.6/site-packages/explainx/lib/calculate_shap.py in get_shap_values(self, x_array, model, x_variable, cat_index)
    184         SHAP VALUES CALCULATED
    185         """
--> 186         shap_values = model.get_feature_importance(Pool(x_array, cat_features=cat_index), type='ShapValues')
    187         shap_values = shap_values[:, :-1]
    188         total_columns = x_variable

NameError: name 'Pool' is not defined

Installation Error in MacOS

I was trying to install this module in brand new conda environment "expl" in Macos catalina.

Commands

xcode-select --install
ruby -e "$(curl -fsSL https://raw.githubusercontent.com/Homebrew/install/master/install)"
brew install nodejs
npm install -g localtunnel
/Users/poudel/opt/miniconda3/envs/expl/bin/pip install explainx

Code

path_model_xgb = '../models/model_xgb_logtarget.dump'
model = xgboost.XGBRegressor()
model.load_model(path_model_xgb)
ypreds_log1p = model.predict(df_Xtest)
ypreds = np.expm1(ypreds_log1p)
print('ytest:', ytest[:3]) # this works, xgboost have no problem

#=========== this code fails===========
from explainx import *
explainx.ai(df_Xtest, ytest, model, model_name="xgboost")

Error

---------------------------------------------------------------------------
gaierror                                  Traceback (most recent call last)
<ipython-input-9-18b2a22d1f88> in <module>
      1 from explainx import *
----> 2 explainx.ai(df_Xtest, ytest, model, model_name="xgboost")

~/opt/miniconda3/envs/expl/lib/python3.7/site-packages/explainx/explain.py in ai(self, df, y, model, model_name, mode)
     57         instance_id = self.random_string_generator()
     58         analytics = Analytics()
---> 59         analytics['ip'] = analytics.finding_ip()
     60         analytics['mac'] = analytics.finding_address()
     61         analytics['instance_id'] = instance_id

~/opt/miniconda3/envs/expl/lib/python3.7/site-packages/explainx/lib/analytics.py in finding_ip()
     15     @staticmethod
     16     def finding_ip():
---> 17         val = socket.gethostbyname(socket.gethostname())
     18         return val
     19 

gaierror: [Errno 8] nodename nor servname provided, or not known

Question

How to install explainx in Macos?

Versions

CPython 3.7.9
IPython 7.19.0

compiler   : Clang 10.0.0 
system     : Darwin
release    : 19.6.0
machine    : x86_64
processor  : i386
CPU cores  : 4
interpreter: 64bit

xgboost   1.2.0
numpy     1.19.4
joblib    0.17.0
pandas    1.0.4
sklearn   0.23.2
json      2.0.9
watermark 2.0.2

Python version??

I am facing challenge while installing explainX library. It keeps failing. Is there any specific python version on which this runs?
I am using 3.10.9

Classification and regression metrices are mixed up, it seems!

Re: calculate_metrics.py, it seems regression metrics such as MAE, MSE, R^2 have been placed mistakenly in the classification_metrics method. Is it intentional? In particular, I'm talking about the following lines:

   `       
   # MAE
    mae = mean_absolute_error(y_test, model_predict) 

    # MSE
    mse = mean_squared_error(y_test, model_predict)

    # RMS
    rms = sqrt(mse) 
   `

Not able to install

I am not able to install or run explainx. even the default given code on your repo is not working. Just copy the default code on the library's landing page and paste on google colab it won't run

Unable to install on Windows

I'm getting the following error while trying to install explainx on Windows.
Screenshot

Running setup.py install for cvxopt ... error ERROR: Command errored out with exit status 1: command: 'd:\explainx\scripts\python.exe' -u -c 'import sys, setuptools, tokenize; sys.argv[0] = '"'"'C:\\Users\\banda\\AppData\\Local\\Temp\\pip-install-qhfmfesn\\cvxopt\\setup.py'"'"'; __file__='"'"'C:\\Users\\banda\\AppData\\Local\\Temp\\pip-install-qhfmfesn\\cvxopt\\setup.py'"'"';f=getattr(tokenize, '"'"'open'"'"', open)(__file__);code=f.read().replace('"'"'\r\n'"'"', '"'"'\n'"'"');f.close();exec(compile(code, __file__, '"'"'exec'"'"'))' install --record 'C:\Users\banda\AppData\Local\Temp\pip-record-4si3fvdc\install-record.txt' --single-version-externally-managed --compile --install-headers 'd:\explainx\include\site\python3.8\cvxopt' cwd: C:\Users\banda\AppData\Local\Temp\pip-install-qhfmfesn\cvxopt\ Complete output (20 lines): running install running build running build_py package init file 'src\python\__init__.py' not found (or not a regular file) creating build creating build\lib.win-amd64-3.8 creating build\lib.win-amd64-3.8\cvxopt copying src\python\_version.py -> build\lib.win-amd64-3.8\cvxopt UPDATING build\lib.win-amd64-3.8\cvxopt/_version.py set build\lib.win-amd64-3.8\cvxopt/_version.py to '1.2.4' running build_ext building 'base' extension creating build\temp.win-amd64-3.8 creating build\temp.win-amd64-3.8\Release creating build\temp.win-amd64-3.8\Release\src creating build\temp.win-amd64-3.8\Release\src\C C:\Program Files (x86)\Microsoft Visual Studio 14.0\VC\BIN\x86_amd64\cl.exe /c /nologo /Ox /W3 /GL /DNDEBUG /MD -Id:\explainx\include -IC:\Python\Python387\include -IC:\Python\Python387\include "-IC:\Program Files (x86)\Microsoft Visual Studio 14.0\VC\INCLUDE" "-IC:\Program Files (x86)\Windows Kits\10\include\10.0.10240.0\ucrt" "-IC:\Program Files (x86)\Windows Kits\8.1\include\shared" "-IC:\Program Files (x86)\Windows Kits\8.1\include\um" "-IC:\Program Files (x86)\Windows Kits\8.1\include\winrt" /Tcsrc/C/base.c /Fobuild\temp.win-amd64-3.8\Release\src/C/base.obj base.c c1: fatal error C1083: Cannot open source file: 'src/C/base.c': No such file or directory error: command 'C:\\Program Files (x86)\\Microsoft Visual Studio 14.0\\VC\\BIN\\x86_amd64\\cl.exe' failed with exit status 2 ---------------------------------------- ERROR: Command errored out with exit status 1: 'd:\explainx\scripts\python.exe' -u -c 'import sys, setuptools, tokenize; sys.argv[0] = '"'"'C:\\Users\\banda\\AppData\\Local\\Temp\\pip-install-qhfmfesn\\cvxopt\\setup.py'"'"'; __file__='"'"'C:\\Users\\banda\\AppData\\Local\\Temp\\pip-install-qhfmfesn\\cvxopt\\setup.py'"'"';f=getattr(tokenize, '"'"'open'"'"', open)(__file__);code=f.read().replace('"'"'\r\n'"'"', '"'"'\n'"'"');f.close();exec(compile(code, __file__, '"'"'exec'"'"'))' install --record 'C:\Users\banda\AppData\Local\Temp\pip-record-4si3fvdc\install-record.txt' --single-version-externally-managed --compile --install-headers 'd:\explainx\include\site\python3.8\cvxopt' Check the logs for full command output.

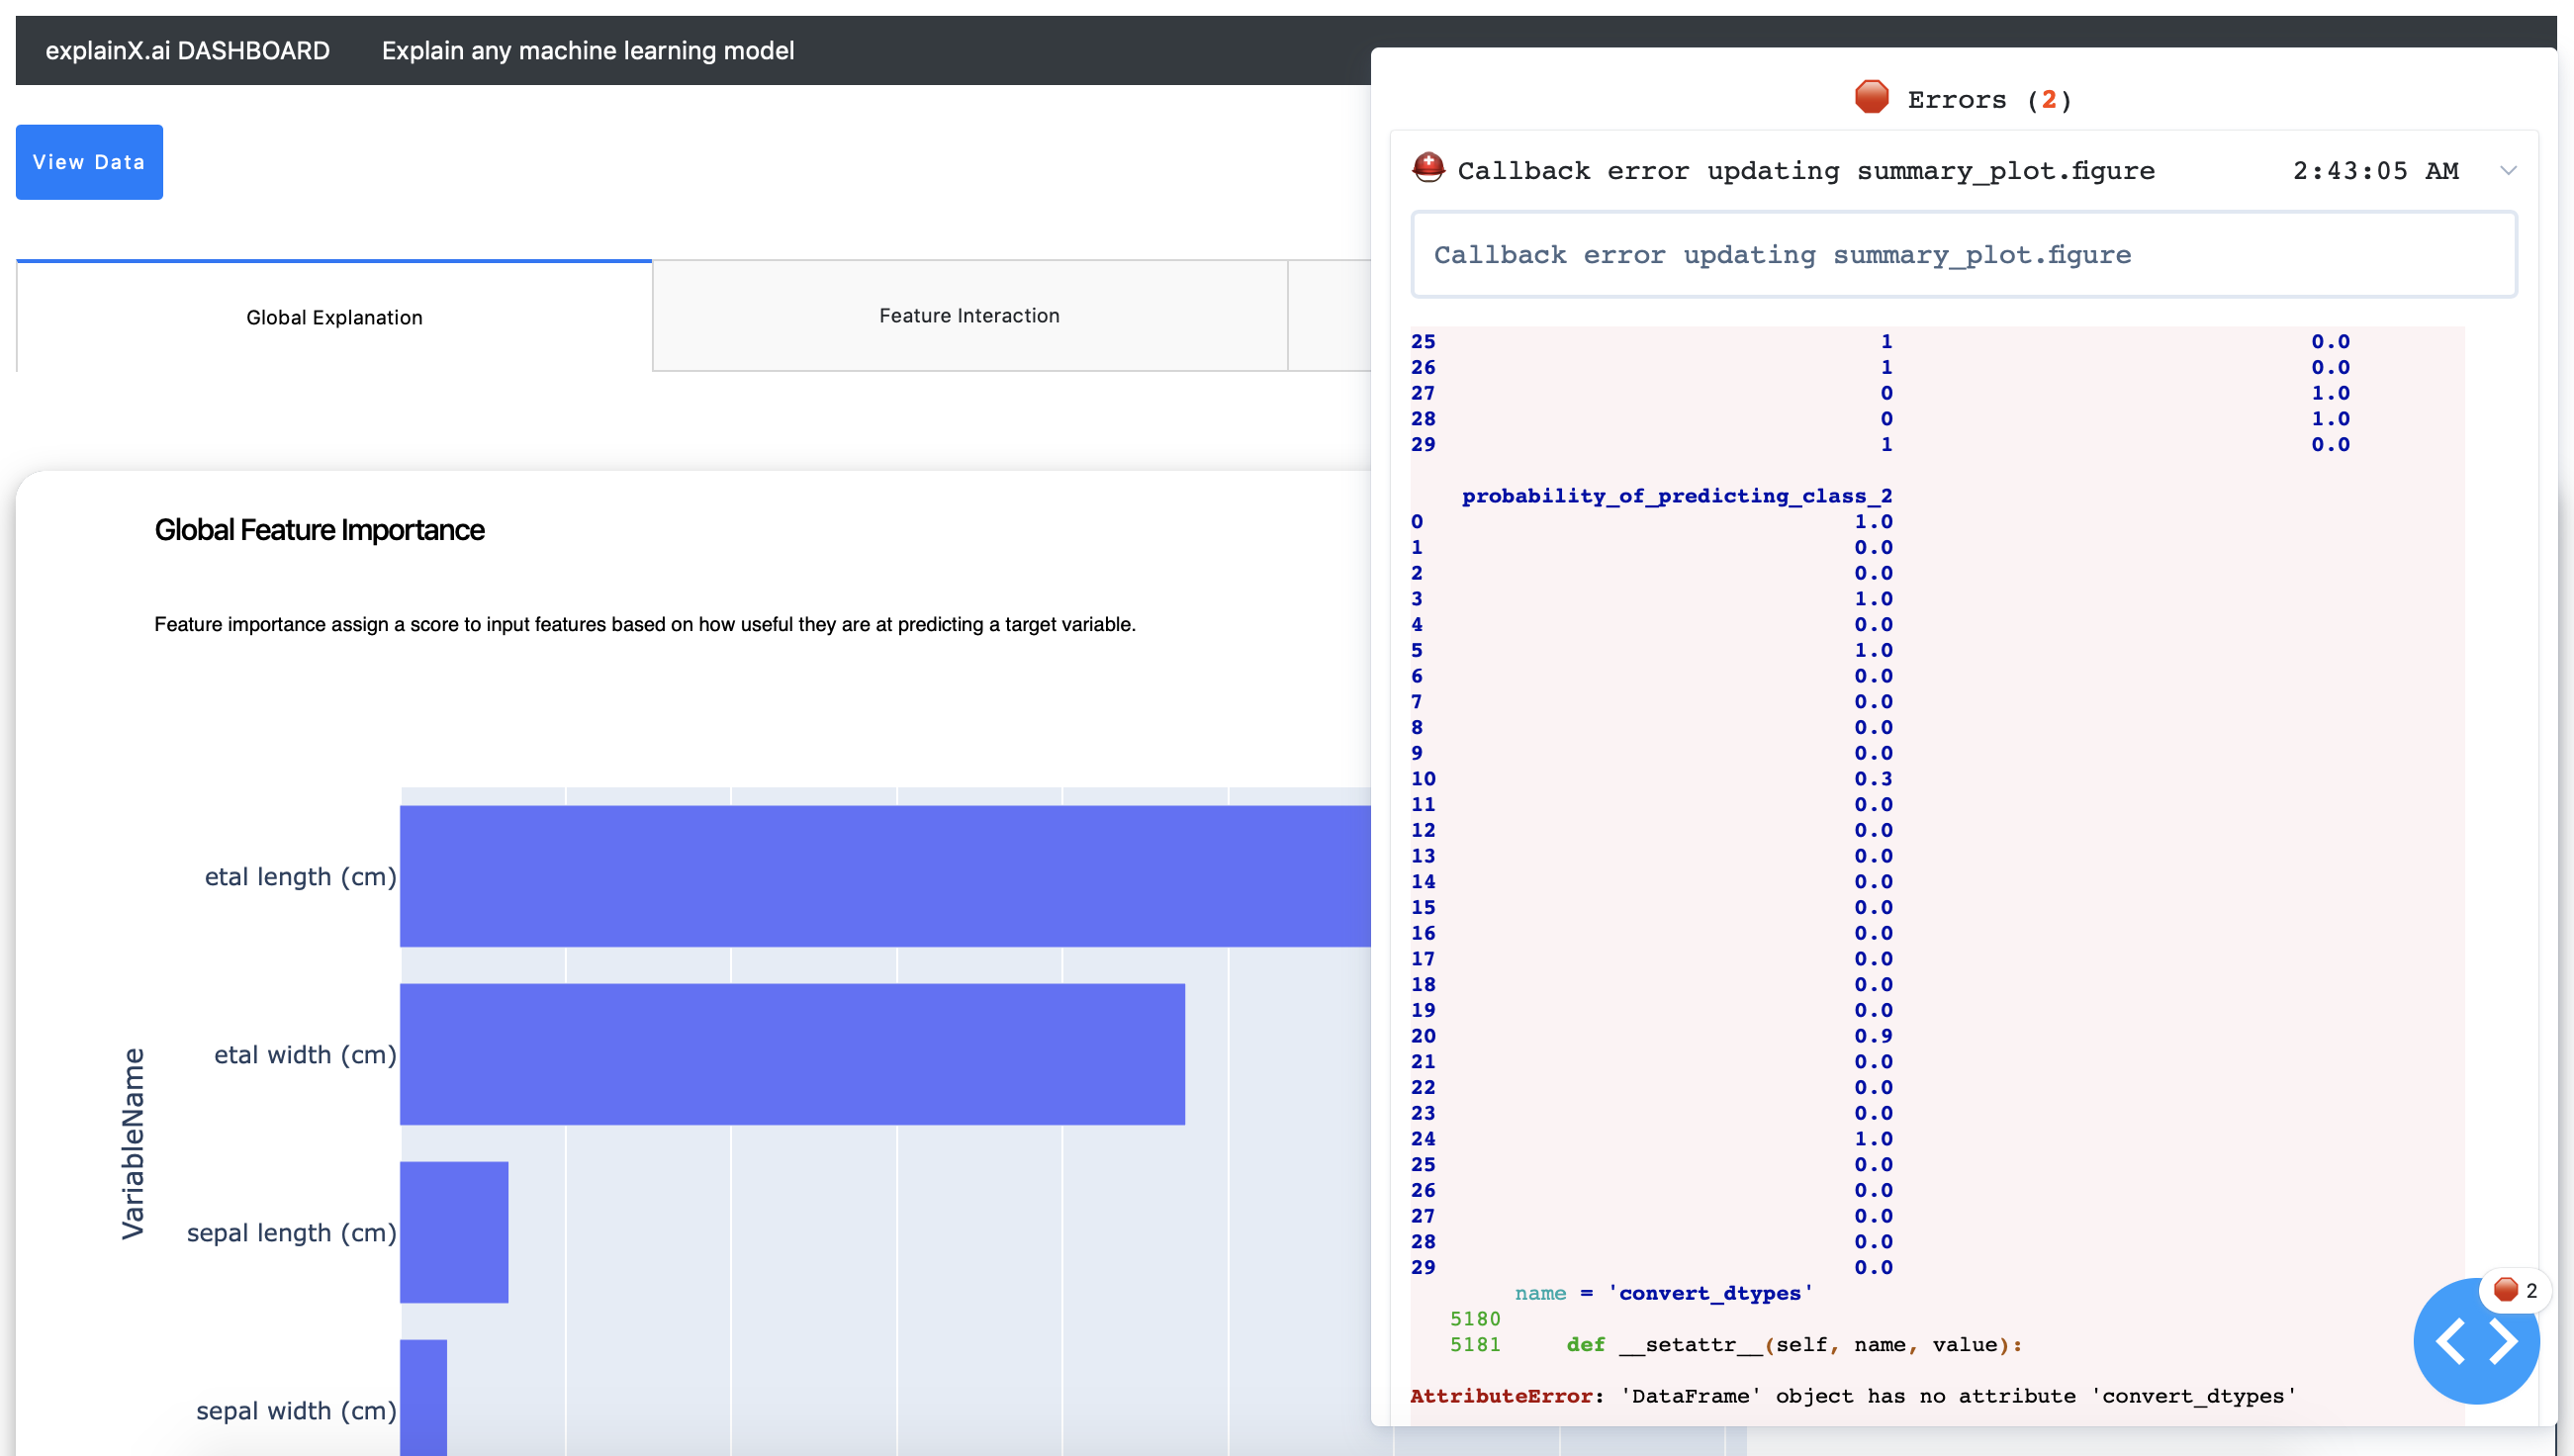
Summary Plot Errors on Dashboard

Everything on the dashboard shows up except for the summary plots where there are 2 callback errors and both are related to AttributeError: 'DataFrame' object has no attribute 'convert_dtypes'.

image

Type error occurs when there is no header in DataFrame

When using example codes in README.md,
I input the DataFrame without a header, so the columns' names set as an Integer type.

So the bugs occurred in the following codes in dashboard.py because the col is not String.

original_variables = [col for col in df.columns if '_impact' in col]
self.callback_input = [Input(f + '_slider', 'value') for f in self.param["columns"]]

I fixed this bug by modifying the below code at 225 line in explain.py.

self.param["columns"] = df.columns.astype(str)

I fixed this bug by adding the below code at 230 line in explain.py.
self.df_final.columns = self.df_final.columns.astype(str)

Guideline for the devlopers?

Could you please add some guidelines on how to customize explainsX? For example, adding more functionality, changing in styling, etc.

dash app running on http://0.0.0.0:8080 is not working please help me

I just try explainx in python or django also

from explainx import *
from sklearn.ensemble import RandomForestClassifier
from sklearn.model_selection import train_test_split

X_data, Y_data = explainx.dataset_heloc()
X_train, X_test, Y_train, Y_test = train_test_split(X_data, Y_data, test_size=0.3, random_state=0)
# Train a RandomForest Model
model = RandomForestClassifier()
model.fit(X_train, Y_train)
explainx.ai(X_test, Y_test, model, model_name="randomforest")

it gives a running server like :- dash app running on http://0.0.0.0:8080
but when i click on this server, this server is not working

image for reference:-

ERRORCapture

please help me.

support for Lime explainer

Hello,

I am new to data science and came across this package and found it extremely useful for people like me who don't know web-app development. Great work. I can't thank you enough. I have a quick question.

I am learning explainable AI and came to know that we have different techniques like SHAP, LIME, PFI etc.

I see in docs that we have SHAP etc but does the package support Lime explainer as well?

I couldn't find out. Hence, thought of checking with you

Can help me please

ExpainX is getting freeze with high dimensional data

As the title says, ExpainX is getting freeze with high dimensional data. In particular, I have a dataset that has 10K samples. The number of features is about 8K. When I deploy the model and try to access the interface, the webpage is getting non-responsive.

Recommend Projects

  • React photo React

    A declarative, efficient, and flexible JavaScript library for building user interfaces.

  • Vue.js photo Vue.js

    ๐Ÿ–– Vue.js is a progressive, incrementally-adoptable JavaScript framework for building UI on the web.

  • Typescript photo Typescript

    TypeScript is a superset of JavaScript that compiles to clean JavaScript output.

  • TensorFlow photo TensorFlow

    An Open Source Machine Learning Framework for Everyone

  • Django photo Django

    The Web framework for perfectionists with deadlines.

  • D3 photo D3

    Bring data to life with SVG, Canvas and HTML. ๐Ÿ“Š๐Ÿ“ˆ๐ŸŽ‰

Recommend Topics

  • javascript

    JavaScript (JS) is a lightweight interpreted programming language with first-class functions.

  • web

    Some thing interesting about web. New door for the world.

  • server

    A server is a program made to process requests and deliver data to clients.

  • Machine learning

    Machine learning is a way of modeling and interpreting data that allows a piece of software to respond intelligently.

  • Game

    Some thing interesting about game, make everyone happy.

Recommend Org

  • Facebook photo Facebook

    We are working to build community through open source technology. NB: members must have two-factor auth.

  • Microsoft photo Microsoft

    Open source projects and samples from Microsoft.

  • Google photo Google

    Google โค๏ธ Open Source for everyone.

  • D3 photo D3

    Data-Driven Documents codes.