Instructions for porting micropython to the ESP-12 model of the esp8266 micro controller
esp8266 wifi serial dev kit development board This is a good dev board and includes quite a few GPIO pins to get you going

FT232RL FTDI USB to TTL Serial Adapter Module This is the simplest way to erase and flash the esp8266

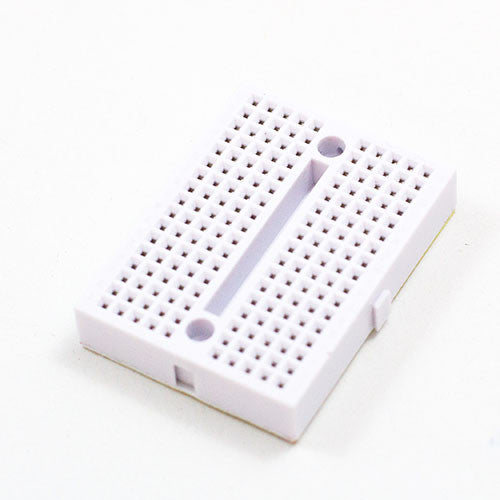
Mini breadboard This will help with breaking out power, ground and GPIO pins
Breadboard wire connectors Make sure you get a mixture of male to male and female to female connectors

To flash the esp8266 you will first need the awesome esptool. The simplest way of installing it is using pip pip install esptool
The next step is putting the micro controller into bootloader mode. This is done by tying GPIO0 (pin 12 in image) and GPIO15 (pin 10 in image) to GND (pin 9 in image)
Next ensure you have connected the 3.3v supply FTDI VCC (pin 3), esp8266 VCC (pin 8) & CH_PD (pin 3)
Next connect FTDI TXD (pin 4) to esp8266 RXD (pin 15) and FTDI RXD (pin 5) to esp8266 TXD (pin 16)
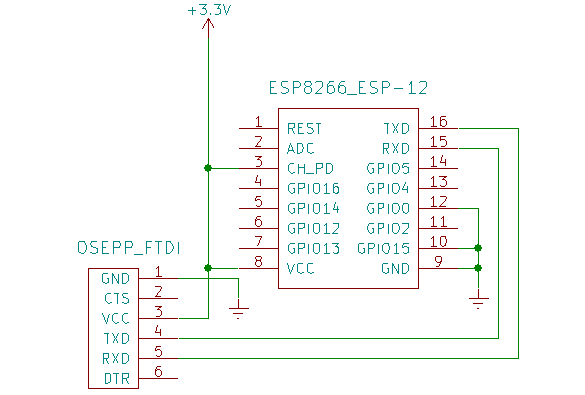
For further information on the pinouts see www.agcross.com
Once the FTDI USB to TTL Serial Adapter is connected to the esp8266 the next task is to erase the existing flash.
You may need to check what port the Serial Adapter is showing on but in Linux the default is /dev/ttyUSB0
Using the esptool.py type esptool.py --port /dev/ttyUSB0 erase_flash
Download the latest firmware from http://micropython.org/download/#esp8266
Using the esptool.py type esptool.py --port /dev/ttyUSB0 --baud 460800 write_flash --flash_size=detect 0 esp8266-2016-05-03-v1.8.bin
Thanks for the great work of Nicholas Tollervey who created the original MU editor for the BBC micro:bit there is now a forked branch specifcally developed for the esp8266.
To install the editor:
- Clone the repository
git clone https://github.com/eduvik/mu.git - Switch to the feature/multiboard branch
git checkout origin/feature/multi-board - Create a virtual environment
python3 venv -m myvenvand activate itsource myvenv/bin/activate - Install the dependant Python packages
pip install -r requirements.txt
Update serial_options
In the cloned project folder open /mu/mu/config.py and change the port.
serial_options = {
    'port': '/dev/ttyUSB0',
    'speed': 115200
}
To run the editor type python3 run.py
If like me you don't want to go into the console each time you want to start the MU editor you can create a bash script and link it on the desktop.
To do this:
Create a bash script to run the MU
#!/bin/bash
cd /home/<my home dir>/repos/mu
source /home/<my home dir>/repos/mu/myvenv/bin/activate
python3 run.py
Install gnome-panel which is used to create the desktop item
sudo apt-get install --no-install-recommends gnome-panel
Create the desktop item
gnome-desktop-item-edit ~/Desktop/ --create-new
In the Create Launcher window
- Select type
Application - Add a name for the shortcut / app
- Browse to the bash script
- Add an optional comment
Once created, you can drag the new icon to your taskbar and you now have a one click start of the MU editor