
This exercise allows you to practice and apply the concepts and techniques taught in class.
Upon completion of this exercise, you will be able to:
- Select HTML elements using DOM methods and HTML element properties
querySelector(),querySelectorAll(), etc. - Access and modify HTML elements content using properties
textContent,innerHTML - Add or remove HTML elements to the DOM using Javascript DOM methods
createElement(),appendChild(),removeChild(),insertBefore() - Add or remove event listeners to HTML elements using DOM methods
addEventListener(),removeEventListener() - Use loops to iterate through a list of HTML elements, and perform actions like adding event listeners and accessing values
- Access and modify properties, values and attributes of HTML elements
- Add, remove and toggle CSS classes to HTML elements using DOM methods
classList.add(),classList.remove(),classList.toggle()
While doing the course at Ironhack, you came across a job opportunity where you need to manage the contacts of a famous movie producer. What better way to do it than to put your newly acquired JavaScript and DOM skills to use?
Your task is to create a digital contact list for the producer using Javascript and the DOM.
-
Fork this repo
-
Clone this repo
-
Open the LAB and start:
cd lab-dom-ironcontacts
code .
-
Upon completion, run the following commands:
git add .
git commit -m "done"
git push origin master
-
Create a Pull Request and submit your assignment.
First, let's help you get familiar with the starter code. Take a moment and review the starter code provided in the files index.html and index.js.
Next, open the index.html file in your browser using the Live Server extension.
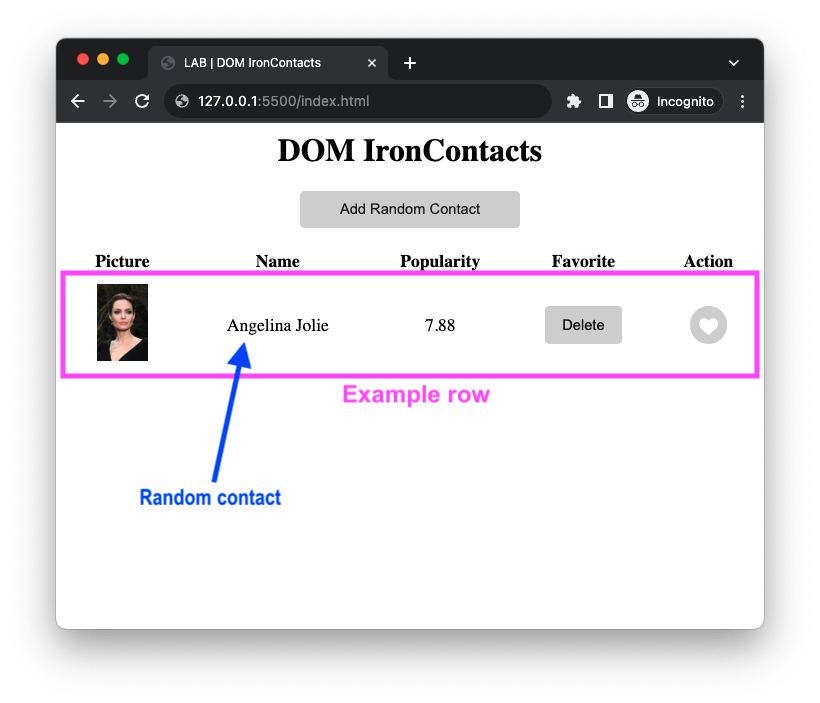
You should see a table with 1 example row, similar to the one shown in the image above.
The code for the example row is located in the index.js file, where indicated by the comment // ITERATION 0 | Example Row. We included it there as an example to give you a starting point and to help you understand how the table rows should be structured.
In the following iterations, you will be adding more rows to the table. The data for the rows comes from the contacts.js file, which is already linked and loaded in the index.html file. You can access it by using the contacts variable. For example, contacts[0] will give you the first contact object in the array.
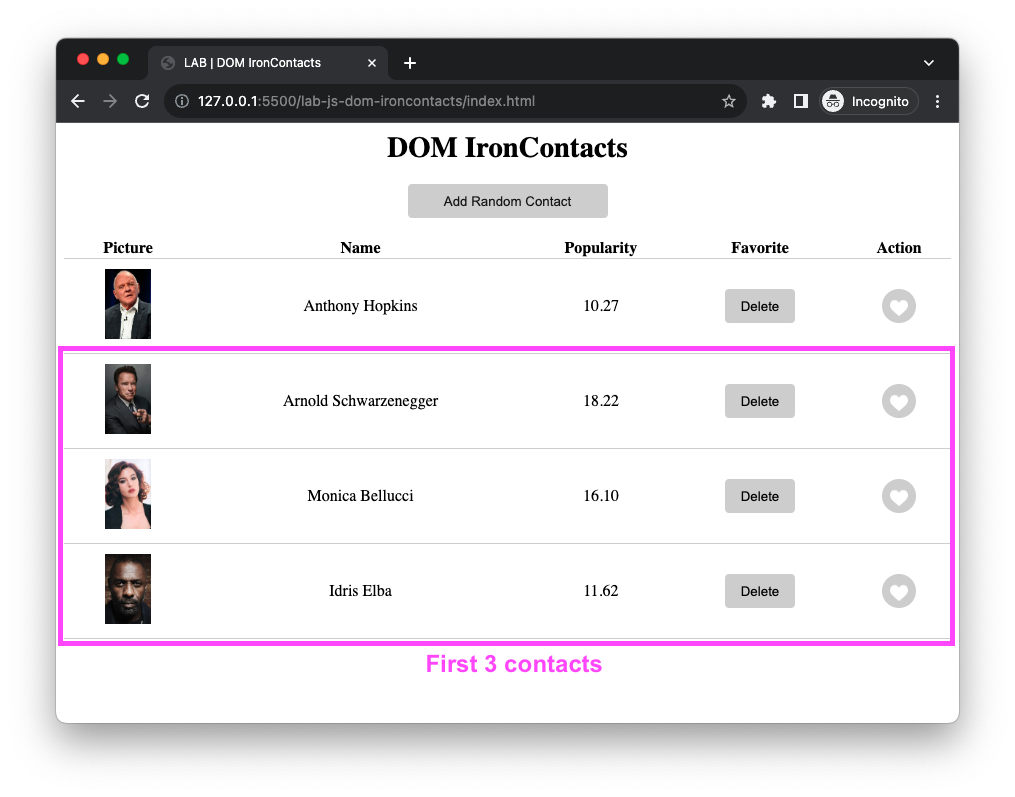
Let's start by displaying the first 3 contacts in the table. To do so, you will need to:
- Get the first 3 contacts from the
contactsarray.
You can use thesplice()method for this. Remember that thesplice()method modifies the original array, and returns the results as a new array. - Iterate over the newly obtained array of 3 contacts and, for each contact, create a new table row and append it to the table body.
You can use the Iteration 0 code as an example of how to create a new table row and what its structure should be. - Append each new table row to the table body. You can use the
appendChild()method for this.
See Expected Result
As you can see, each row has a Delete button. However, the buttons don't do anything yet. Let's fix that! Your task in this iteration is to add an event listener to each Delete button so that, when clicked, the corresponding row is removed from the table. You will need to do this in the same loop where you are creating the new table rows. As soon as you create a new table row, you should also add an event listener to the delete button of that row. Here are the steps you should follow:
- Get the Delete button element from a newly created row.
After creating a new table row, you can call thequerySelector()method on the newly created table row to search for the Delete button only inside that row, like this:newRow.querySelector(...). - Add an event listener to the Delete button element, for the
clickevent.
You can use theaddEventListener()method for this. - When the Delete button is clicked, the row element should be removed from the table.
You can use theremove()method for this.
See Expected Result
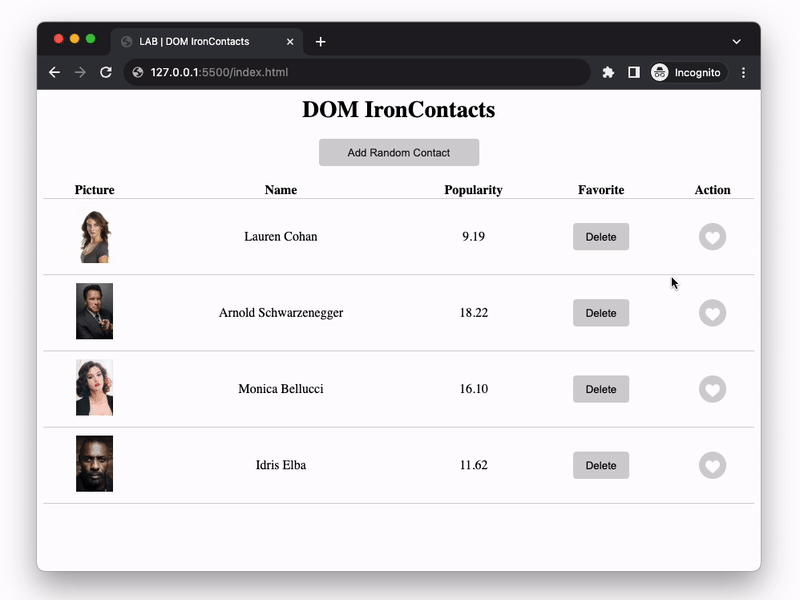
Now that you have the Delete buttons working, let's move on to the Like buttons. Your task in this iteration is to repeat the process you followed in the previous iteration, but for the Like buttons. When clicked the Like button should toggle (add or remove) the class "selected" on the corresponding row. You will need to do this in the same loop where you are creating the new table rows. As soon as you create a new table row, you should also add an event listener to the Like button of that row. Here are the steps you should follow:
- Get the Like button element from a newly created row.
- Add an event listener to the Like button element, for the
clickevent. - When the Like button is clicked, the
classof the row element should be toggled betweenclass="btn-like"andclass="btn-like selected". You can use theelement.classList.toggle()method for this. - The class
selectedwill make the button appear red when clicked and gray (original color) when clicked again. You can see the CSS styles for theselectedclass in thestyle.cssfile.
See Expected Result

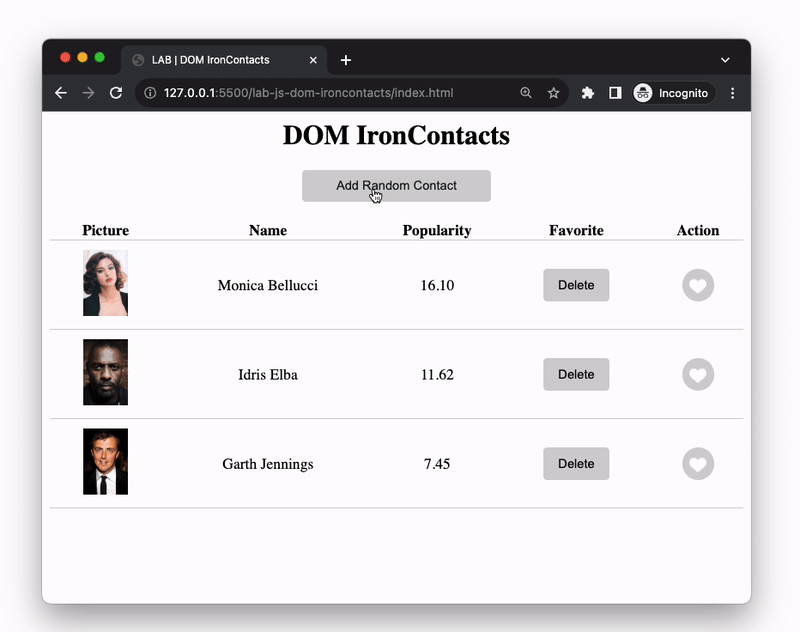
For the final iteration, you will need to implement the event listener for the Add Random Contact button. When clicked, the button should add a new random contact to the table. You will need to do the following:
- Add an event listener to the Add Random Contact button element, for the
clickevent. - When the Add Random Contact button is clicked, get a random contact from the
contactsarray.
You can use theMath.random()method to generate a random number. - Create a new table row for the new contact and append it to the table body.
- Add event listeners to the Delete and Like buttons of the new row, following the same steps as in the previous iterations.
See Expected Result

Happy coding! 💙
I am stuck in the exercise and don't know how to solve the problem or where to start.
If you are stuck in your code and don't know how to solve the problem or where to start, you should take a step back and try to form a clear question about the specific issue you are facing. This will help you narrow down the problem and develop potential solutions.
For example, is it a concept you don't understand, or are you receiving an error message you don't know how to fix? It is usually helpful to try to state the problem as clearly as possible, including any error messages you are receiving. This can help you communicate the issue to others and potentially get help from classmates or online resources.
Once you have a clear understanding of the problem, you will be able to start working toward the solution.
How do I loop over an array using the forEach() method?
The forEach() method executes a provided function once for each array element. It does not return a new array but rather executes the function on each element in the array.
The syntax of the forEach() method is as follows:
array.forEach( function(element) {
  // code to be executed for each element
});
Here is an example that uses the forEach() method to log each element and its index in an array to the console:
const fruits = ['apple', 'banana', 'cherry'];

fruits.forEach( function(element, index) {
  console.log(`${index}: ${element}`);
});
You can also use an arrow function as the callback function for forEach():
fruits.forEach((element, index) => {
  console.log(`${index}: ${element}`);
});How can I append a new DOM element to an existing one?
To append a new DOM element to an existing one in JavaScript, you can use the appendChild() method.
Example:
// Get the parent element
var parentElement = document.getElementById("parent");

// Create the new element
var newElement = document.createElement("p");

// Set the text content of the new element
newElement.textContent = "This is a new paragraph.";

// Append the new element to the parent element
parentElement.appendChild(newElement);
This will create a new p element with the text "This is a new paragraph." and append it to the element with the ID parent.
Why do some DOM element values have to be converted to numbers when they already seem to be numbers?
This is because all values in HTML are strings and all attribute values are strings. Therefore, DOM element values are returned as strings even if they contain numeric values.
If you want to use a value from a DOM element as a number, you will need to convert it to a number type.
Here is an example of how to access and convert the value of the price element to a number using JavaScript:
// Get the input element
const input = item.querySelector('input');

// Convert the string value of the input element to a number
const value = Number(input.value);I keep getting the NaN result in my program. How can I fix it?
In JavaScript, NaN stands for "Not a Number". It is a special value that represents a problem with a numerical operation or a failed type of coercion. There are several reasons why you might get NaN as a result in your JavaScript code:
- Dividing a number by
0: Any operation that involves dividing a number by0(zero) will result inNaN. Example:
const result = 10 / 0;

console.log(result); // NaN- Parsing an invalid number: If you try to parse
undefinedor a string that can't be represented as a number using theparseInt()andparseFloat()functions, you will getNaNas a result.
Example of parsing an invalid value with parseInt():
const result1 = parseInt("ironhack");
const result2 = parseInt(undefined);

console.log(result1); // NaN
console.log(result2); // NaN
Example of parsing an invalid value with parseFloat():
const result1 = parseFloat("ironhack");
const result2 = parseFloat(undefined);

console.log(result1); // NaN
console.log(result2); // NaN
Example of parsing an invalid value with Number():
const result1 = Number("ironhack");
const result2 = Number(undefined);

console.log(result1); // NaN
console.log(result2); // NaN
To fix the NaN issue in your code, you can try a couple of things:
- Check if you are attempting to divide a number by
0. - Make sure that the strings you are trying to parse as numbers are actually valid representations of numbers. You can use the
console.log()to check the values of your variables and see if this is the issue.
How do I add an event listener to an HTML element?
Use the addEventListener() method to add an event listener. This method takes two arguments: the event type and the event handler function that will be called when the event occurs.
Here's an example of how to add a click event listener to a button element:
const button = document.querySelector('button');

function handleClick() {
  console.log('Button was clicked');
}

button.addEventListener('click', handleClick);
This will add a click event listener to the button element, which will call the handleClick() function whenever the button is clicked.
For more information, check: MDN - addEventListener()
How do I remove an event listener?
Use the removeEventListener() method to remove an event listener. This method takes two arguments: the event type and the event handler function that was originally assigned when adding the event listener.
For example, let's say you have added the following event listener:
button.addEventListener('click', handleClick);To remove this event listener, you can use the following code:
button.removeEventListener('click', handleClick);For more information, check: MDN - removeEventListener()
Why am I getting null when I try to access an HTML element?
There are a couple of possible reasons why you might be getting a null value when trying to access a DOM element in JavaScript:
-
You are using the wrong selector or mistyping the name: Make sure you are using the correct selector and spelling to access the element. If you are using an incorrect selector or mistyping the name, you will get a
nullvalue when you try to access the element. -
The element is not yet loaded: If you are trying to access an element that is not yet loaded in the DOM (e.g., an element that is defined in a script that is loaded at the bottom of the page), you will get a
nullvalue when you try to access it. You can fix this by wrapping your code in awindow.onloadevent handler, which will ensure that the element is available before your code runs:
window.addEventListener("load", function (event) {
  const element = document.querySelector('#my-element');
  // now you can safely access the element
};I am unable to push changes to the repository. What should I do?
There are a couple of possible reasons why you may be unable to push changes to a Git repository:
- You have not committed your changes: Before you can push your changes to the repository, you need to commit them using the
git commitcommand. Make sure you have committed your changes and try pushing again. To do this, run the following terminal commands from the project folder:
git add .
git commit -m "Your commit message"
git push- You do not have permission to push to the repository: If you have cloned the repository directly from the main Ironhack repository without making a Fork first, you do not have write access to the repository. To check which remote repository you have cloned, run the following terminal command from the project folder:
git remote -vIf the link shown is the same as the main Ironhack repository, you will need to fork the repository to your GitHub account first and then clone your fork to your local machine to be able to push the changes.
Note: You should make a copy of your local code to avoid losing it in the process.

