
This exercise allows you to practice and apply the concepts and techniques taught in class.
Upon completion of this exercise, you will be able to:
- Develop a responsive webpage using the provided designs as a guide.
- Use CSS media queries to adapt the page layout to different screen sizes.
- Use CSS Flexbox to position elements on a webpage dynamically as either rows or columns.
As a web developer, one of your tasks will be to make sure that the web pages and websites you build look good and work well on all devices and screen sizes. In this exercise, we will work on the Ironhack News web page, and your task is to make it fully responsive using the media queries and Flexbox knowledge you learned in the previous lessons.
For this exercise, we will use VSCode and the Live Server extension to run the JavaScript code. To do it, follow these steps:
-
Fork this repo
-
Clone it to your machine
-
Open the project folder in VSCode
-
Once in VS Code, open the
index.htmlfile using the Live Server extension.
To open the file, right-click on theindex.htmlfile and select Open with Live Server.
- Upon completion, run the following commands:
git add .
git commit -m "Solved lab"
git push origin master- Create a Pull Request and submit your assignment.
Before you start writing any code, make sure to review the existing code and the page structure in the index.html file, as well as the base styles already defined in the style.css file. Once you review the code, you can start working on the tasks outlined in the iterations below.
You should do all your work in the style.css file. The file is already linked to the index.html file, so you don't need to worry about it.
The page is already styled for large screens (width > 1024px). This is how it looks:
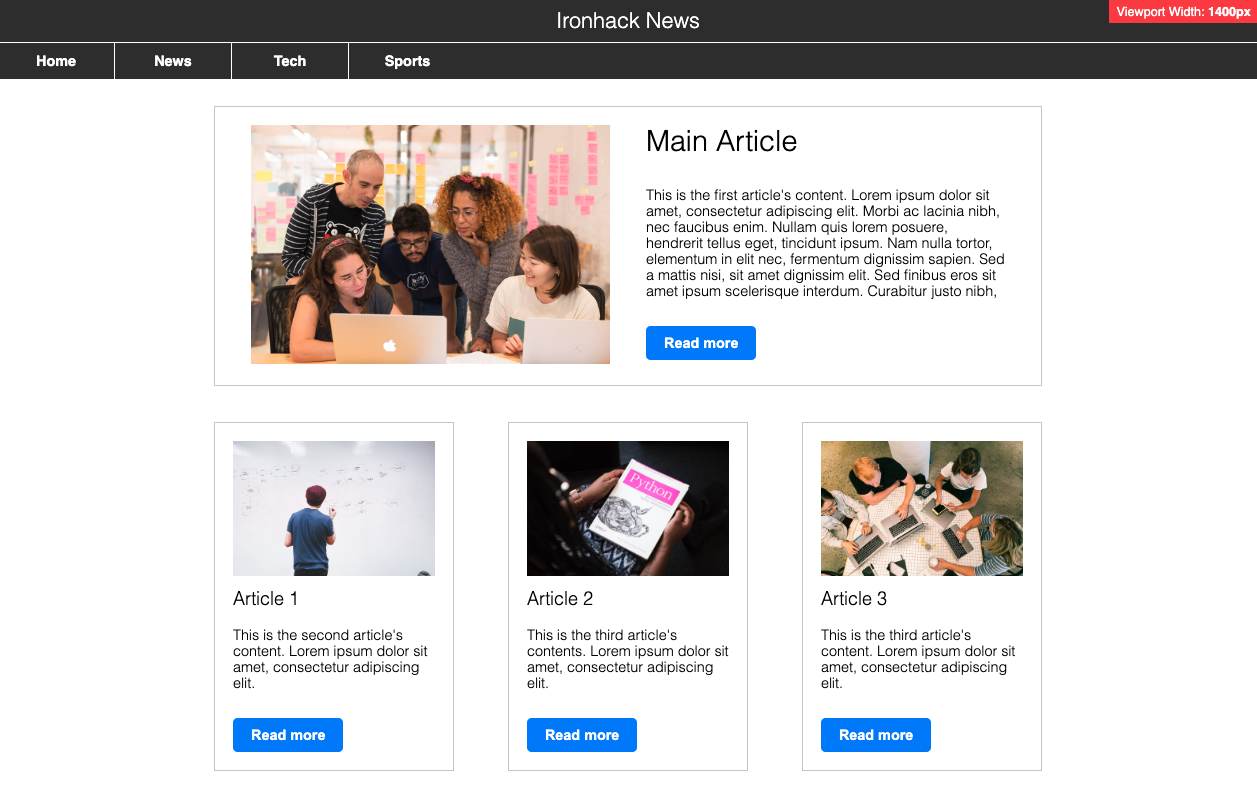
Your task in the following iterations will be to add styles using media queries to make the page display correctly on smaller screens (mobile and tablet).
We will start by styling the page for mobile screens first. 📱
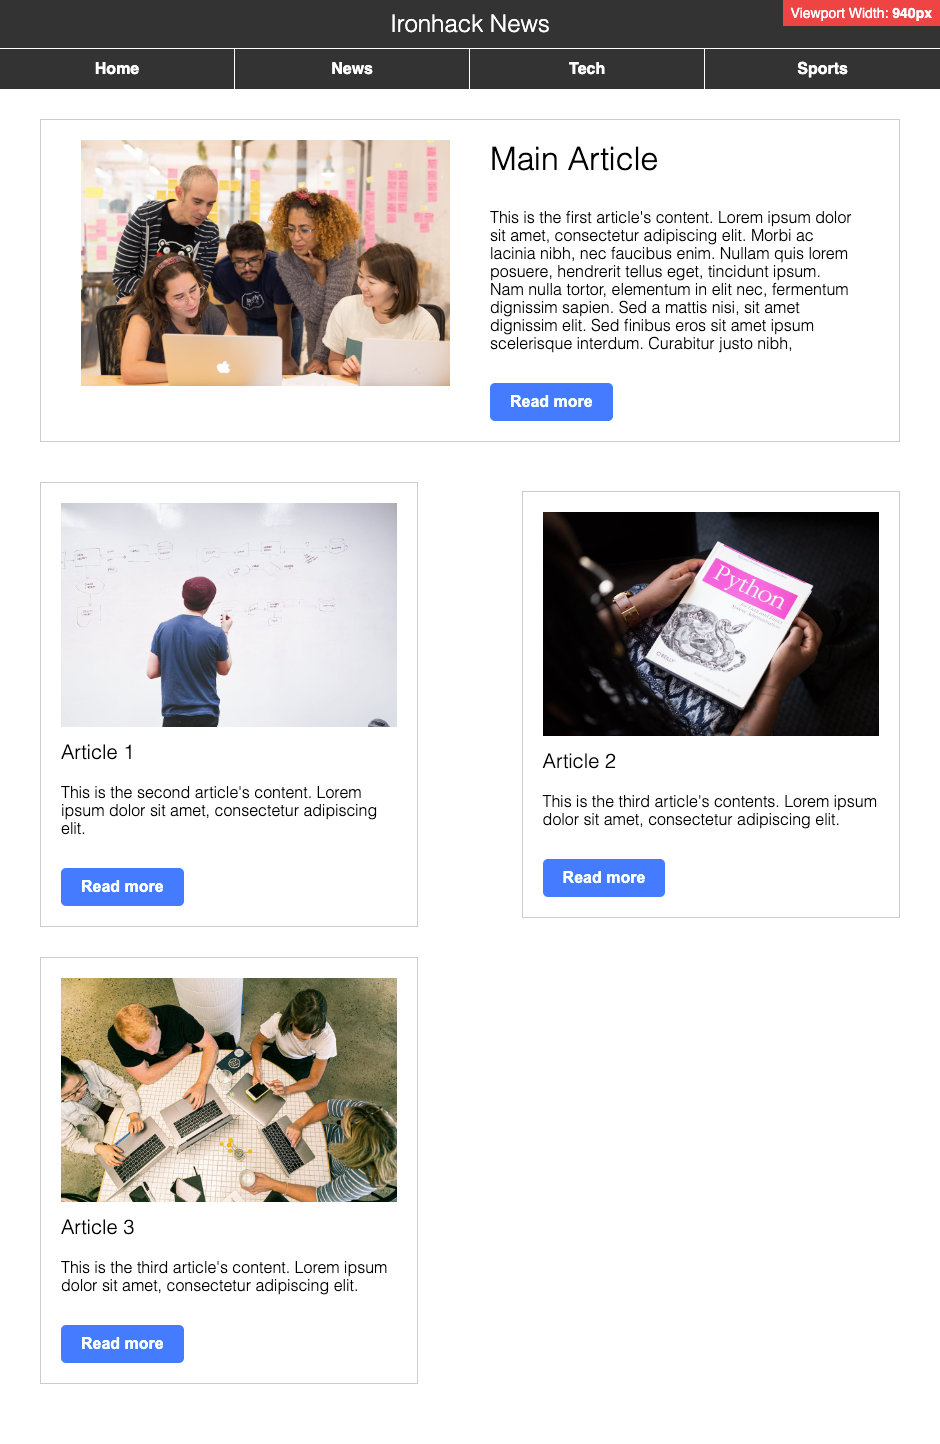
Add a media query to the style.css file that targets screens with a max-width of 760px and the styles to make the page look like in the image below. In particular, you should add the styles to achieve the following:
- The Navbar elements ("Home", "News", "Tech" and "Other") should be displayed vertically, one below the other.
- All articles ("Main Article", "Article 1", "Article 2", and "Article 3") should be displayed in a column, one below the other.
- The "Main Article" image should be displayed at the top, followed by the title, text, and the "Read more" button below it.
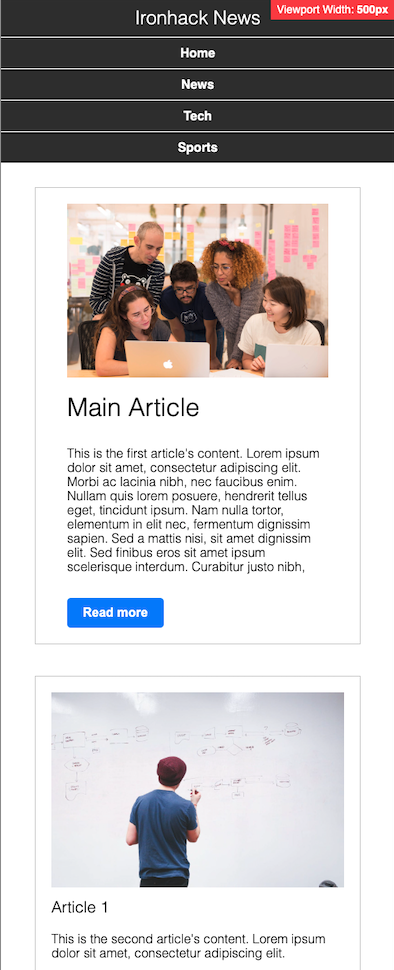
Use the following full page screenshot as the guide:
Next, we will add styles for tablet screens. 💻
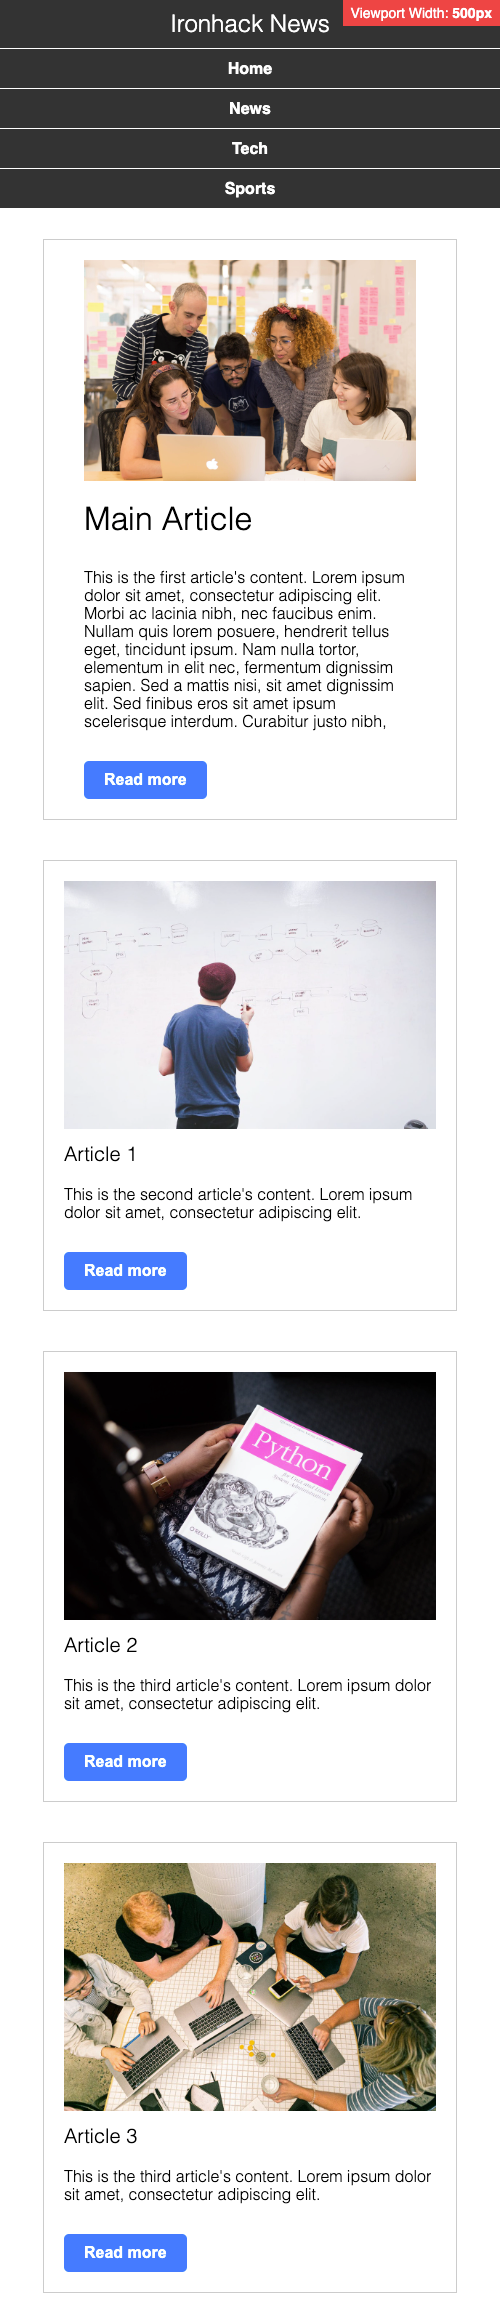
Add a new media query to the style.css file that targets screens with a min-width of 760px and a max-width of 1024px. In particular, you should add the styles to achieve the following:
-
The
navbarlinks should be displayed horizontally, one next to the other, taking equal space and filling the entire width of the page. -
The "Main Article" should be displayed on the top of the page, taking the entire width of the page.
-
The "Main Article" should be divided into two parts:
- on the left side, the image should be displayed,
- on the right side, the title, text, and the "Read more" button should be displayed.
-
The other articles ("Article 1", "Article 2", and "Article 3") should be displayed by two in a row, taking equal space.
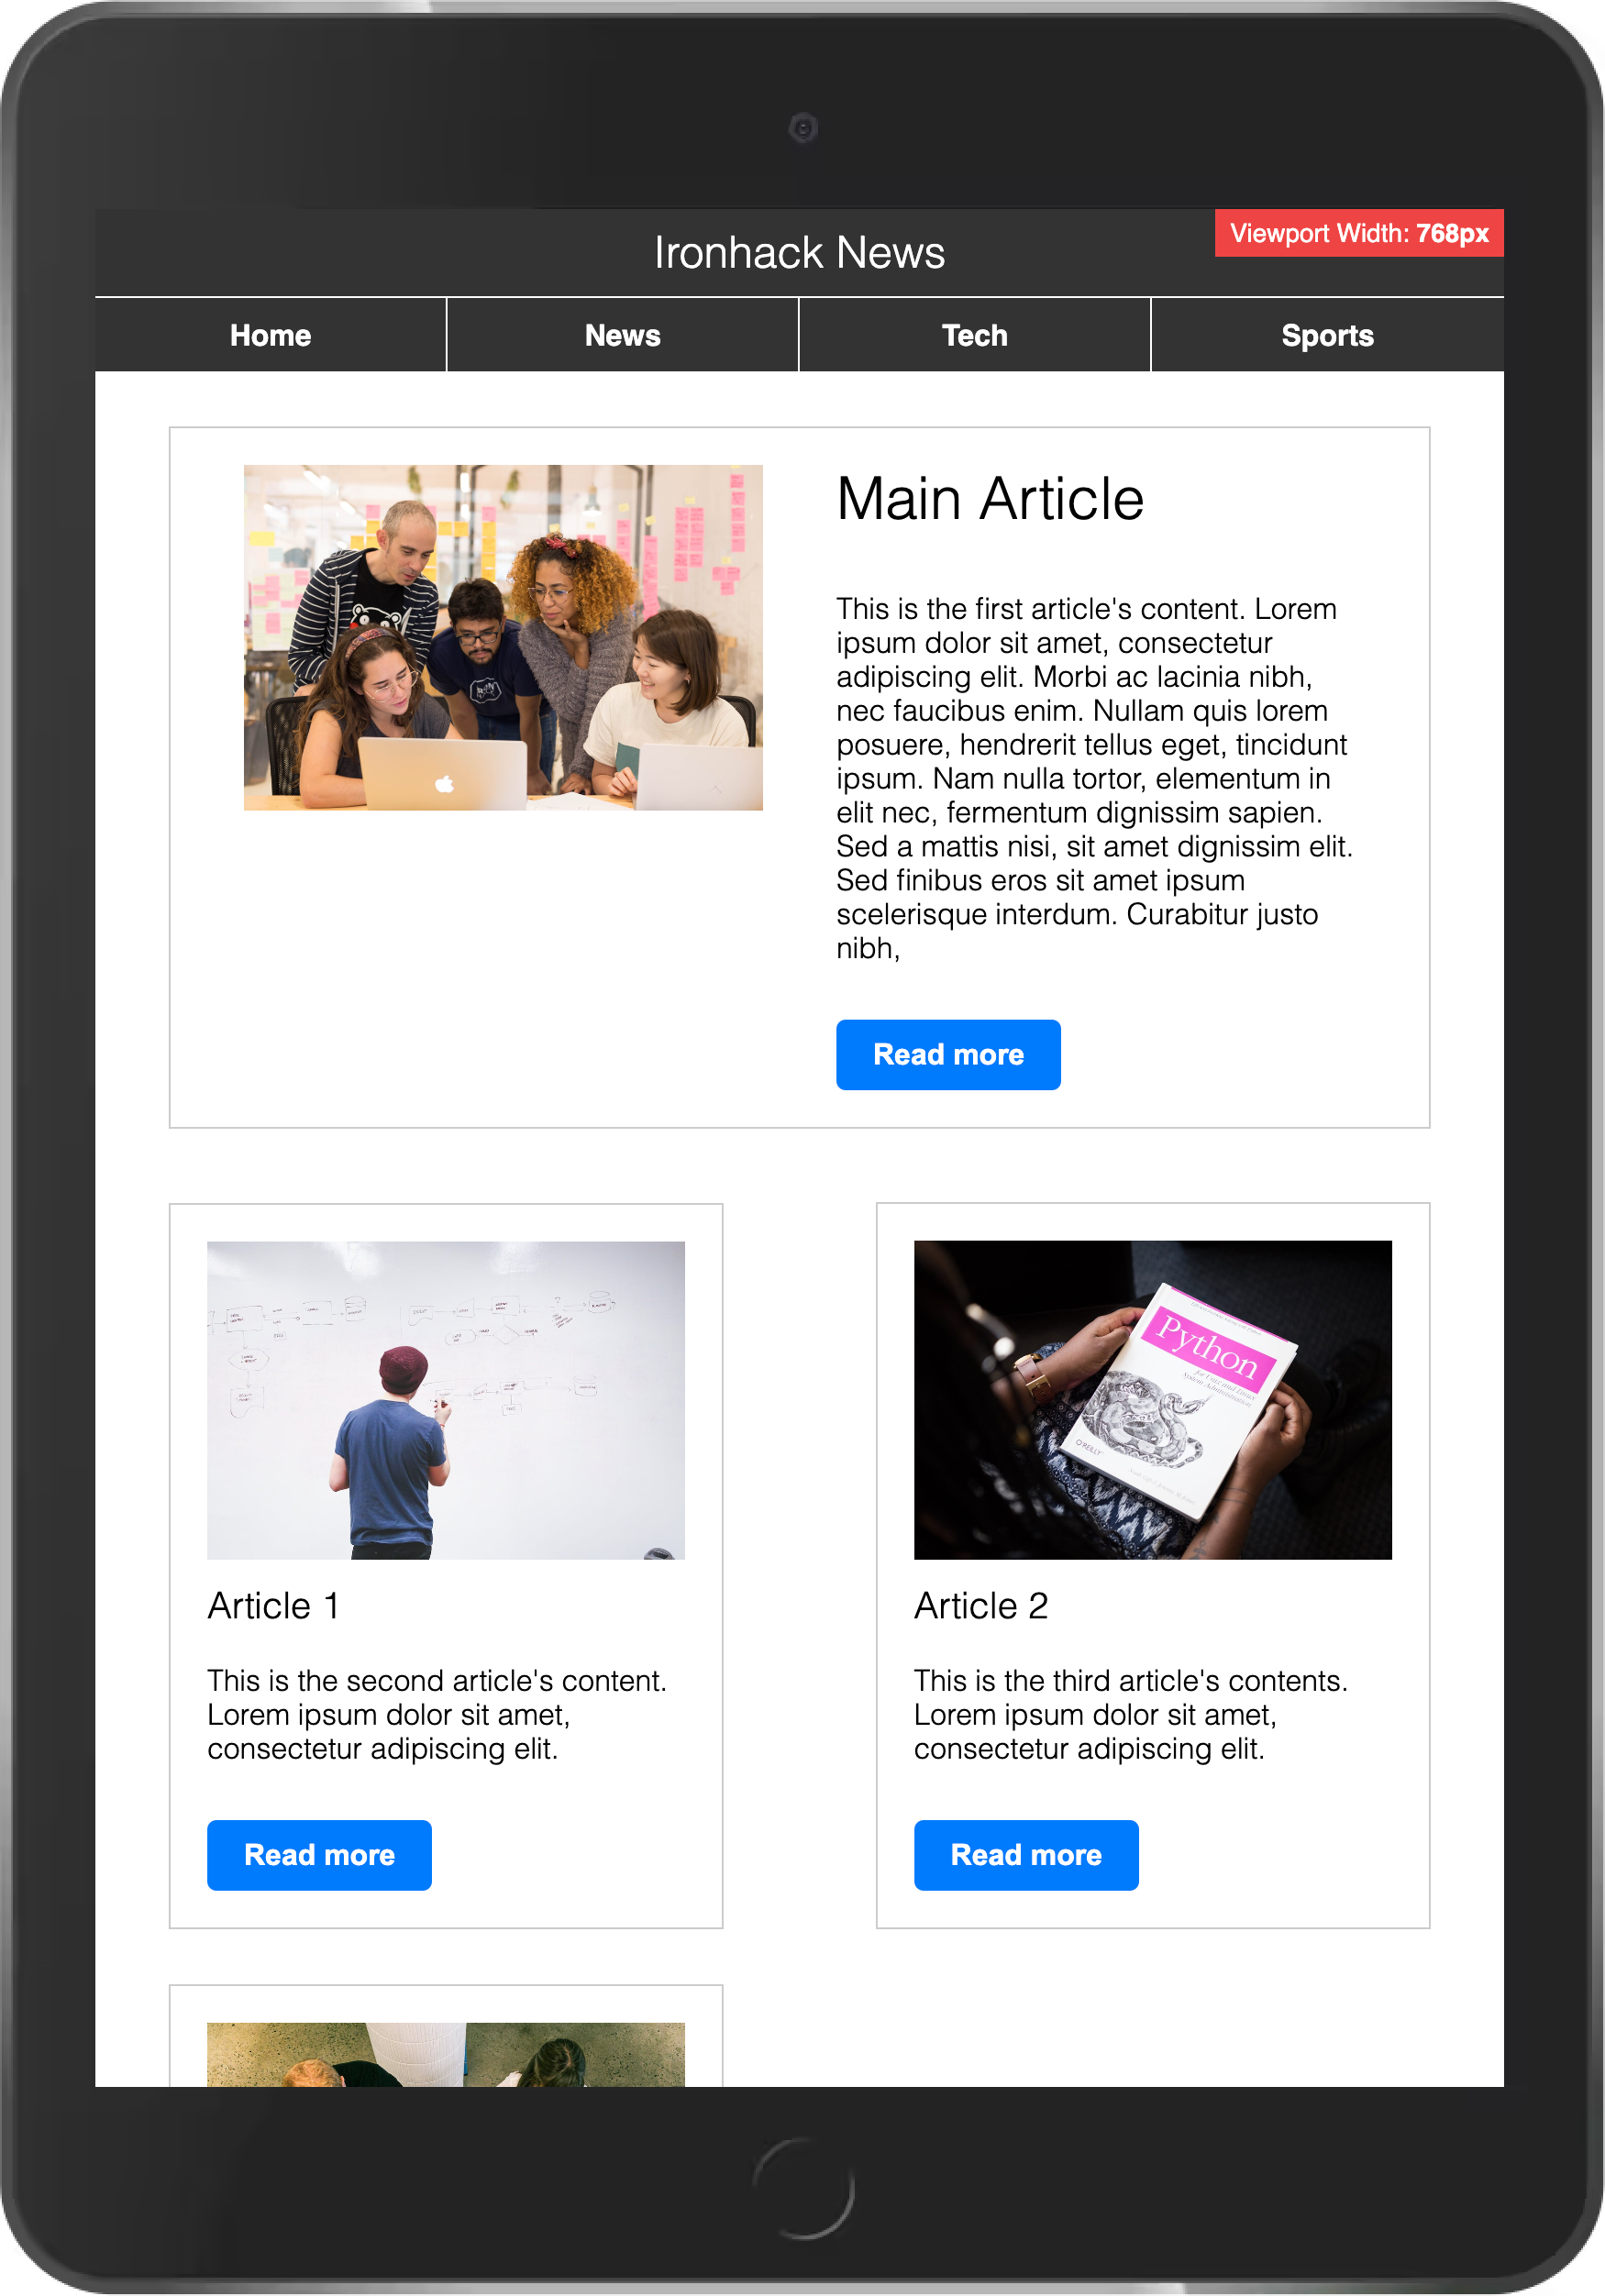
Use the following full page screenshot as the guide:
In this bonus iteration, your task is to hide the "Navbar" links on small mobile screens 📱 and instead display the "menu" icon.
To do this, you will need to add a new element to the index.html to display the menu icon and add the necessary styles to the style.css file.
You can find the menu icon in the images/ folder.
The final result should look like in the below image.
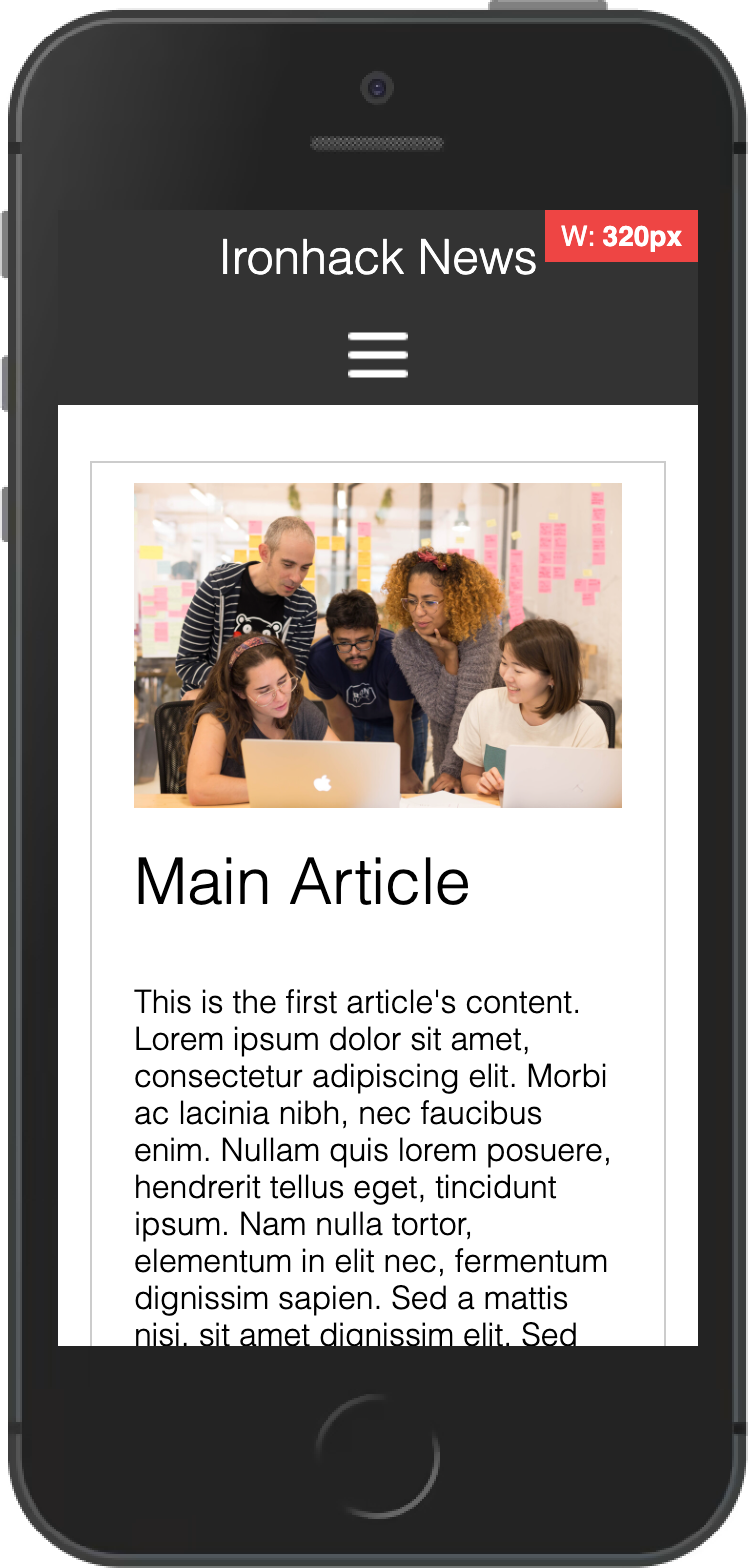
Credits - Menu icon by ariefstudio (Flaticon)
Happy coding! 💙
I am stuck in the exercise and don't know how to solve the problem or where to start.
If you are stuck in your code and don't know how to solve the problem or where to start, you should take a step back and try to form a clear question about the specific issue you are facing. This will help you narrow down the problem and come up with potential solutions.
For example, is it a concept that you don't understand, or are you receiving an error message that you don't know how to fix? It is usually helpful to try to state the problem as clearly as possible, including any error messages you are receiving. This can help you communicate the issue to others and potentially get help from classmates or online resources.
Once you have a clear understanding of the problem, you will be able to start working toward the solution.
How do I define a media query in CSS?
Media queries in CSS use the following syntax: @media followed by the media type (like screen), and a condition. This condition can check things like the size of the screen (width and height) or its orientation (portrait or landscape). When the condition is true, the styles inside the media query are applied.
Syntax
@media <media-type> (<condition>) {
  /* CSS rules */
}
Note: In the above example, <media-type>, and <condition> are placeholders. Replace them with your specific values.
Here's an example of defining a couple of media queries in CSS:
CSS
/* Apply this style when the screen width is 600px or less */
@media screen and (max-width: 600px) {
  body {
    background-color: lightblue;
  }
}

/* Apply this style when the screen width is between 600px and 1200px */
@media screen and (min-width: 600px) and (max-width: 1200px) {
  body {
    background-color: lightgreen;
  }
}
In the above example, the body background color changes depending on the screen width. The first media query applies when the screen width is 600px or less, and the second applies whenn the width is between 600px and 1200px.
Beyond width, media queries can be used to apply styles based on other features like screen height and orientation (portrait or landscape), enabling more dynamic and adaptive designs.
For more information on media queries and the syntax, check: MDN: Beginner's guide to media queries
How do I center align HTML text elements?
To center align HTML text elements, you can use the text-align property and set it to center. This property can be applied to any inline or block-level element.
Here is an example of how you can use the text-align property to center align multiple text elements:
HTML
<div>
  <h2>This is a title</h2>

  <p>This is some text in here</p>
</div>
CSS
/* CSS */

p {
  text-align: center; /* Center align all p elements */
}

h2 {
  text-align: center; /* Center align all h2 elements */
}
This will center align all p and h2 elements within the parent div.
For more information, check: W3C: Centering Things
How do I center align HTML block elements?
To center align a block-level element, such as a div, h1, etc., you can use the margin property and set it to auto. This will center the element horizontally within its parent container.
Here is an example of how you can do this:
HTML
<section>
  <div>
    <p> Lorem ipsum dolor sit amet consectetur, adipisicing elit.</p>
  </div>
</section>
CSS
/* CSS */

div {
  width: 500px;
  margin: 0 auto;
}
This will set the width property of the div to 500 pixels and we set the left and right margins to be equal by using margin: 0 auto;.
How do I center align an HTML image element?
There are a few ways you can center align an image element.
To center an image element in HTML, you can use the text-align property on the parent element, such as div. Example:
HTML
<div>
  <img src="https://placehold.co/300x150.png" />
</div>
CSS
div {
  text-align: center;
}
This will center align all the children elements within the section element, including the img element.
The other way is converting the image into a block element and using margin: 0 auto. Here is an example:
HTML
<section>
  <img src="https://placehold.co/300x150.png" />
</section>
CSS
img {
  display: block;
  margin: 0 auto;
}
This will center the image horizontally within the parent section element. The display: block property is used to make the image a block-level element, allowing the margin: 0 auto property to work. The margin: 0 auto property sets the left and right margins to be equal, centering the element within its parent container.
How can I center align elements within a Flexbox container?
To center align elements within a Flexbox parent container, you can use the `justify-content` property and set it to `center`. This will horizontally center the elements within the Flexbox container.
Example:
.container {
  display: flex;
  justify-content: center; /* Center elements horizontally */
}
You can also use the align-items property and set it to center to vertically center align the elements within the Flexbox container.
Example:
.container {
  display: flex;
  justify-content: center;  /* Center elements horizontally */
  align-items: center;      /* Center elements vertically */
}
For more information and an interactive Flexbox guide, check: An Interactive Guide to Flexbox
How can I change the header from having 1 column to having 2 columns using Flexbox?
To change the header of an HTML page from having one column to having two columns using Flexbox, you should do the following in your CSS:
- Use the
displayproperty and set it toflex. - Add the
flex-directionproperty and set it tocolumnto arrange the elements in a column. - Add the
justify-contentproperty to align the elements horizontally - Use the
align-itemsproperty to align them vertically.
header {
  display: flex;
  flex-direction: column; /* Arrange elements in a column */
  justify-content: space-between; /* Align horizontally */
  align-items: center; /* Align vertically */
}
To make the header responsive and change it to a two column layout on screens that are wider than 800 pixels, use a media query and set the flex-direction property to row:
@media (min-width: 800px) {
  header {
    flex-direction: row;
  }

  /* Change the width of nested div elements */
  header > div {
    width: 50%;
  }
}
The header will maintain a single-column layout on smaller screens, but on screens larger than 800 pixels wide, it will change to a two-column layout.
Why are my media query styles not displaying properly on my browser?
When using media queries to create a responsive layout, it is recommended to start with the default styles for mobile (smaller) screens and then use media queries at the end of your stylesheet to apply styles for each increasing viewport size.
There are a few possible reasons why your media query styles may not be properly displayed on your browser.
- Where applicable, check that you already have default styles for mobile screens. These styles should be placed at the beginning of your stylesheet before your media queries.
- Ensure you have placed your media queries at the end of your stylesheet after your regular styles. This is because media queries are applied after regular styles, so if you place them before your regular styles, they will be overridden.
- Ensure you have the correct syntax in your media query. The correct syntax is
@media (expression) {...}. - Make sure that you are using the correct media query expression. For example, if you are trying to target screens that are wider than 800 pixels, you should use the
min-widthin your expression, like this:@media (min-width: 800px) {...}.
For more information on CSS media queries, check: MDN: Beginner's guide to media queries
I am unable to push changes to the repository. What should I do?
There are a couple of possible reasons why you may be unable to push changes to a Git repository:
- You have not committed your changes: Before you can push your changes to the repository, you need to commit them using the
git commitcommand. Make sure you have committed your changes and try pushing again. To do this, run the following terminal commands from the project folder:
git add .
git commit -m "Your commit message"
git push- You do not have permission to push to the repository: If you have cloned the repository directly from the main Ironhack repository without making a Fork first, you do not have write access to the repository. To check which remote repository you have cloned, run the following terminal command from the project folder:
git remote -vIf the link shown is the same as the main Ironhack repository, you will need to fork the repository to your GitHub account first and then clone your fork to your local machine to be able to push the changes.
Note: You should make a copy of your local code to avoid losing it in the process.

