
Freerouting is an advanced autorouter for all PCB programs that support the standard Specctra or Electra DSN interface.


Installers for Windows and Linux can be downloaded here.
This software can be used together with all host PCB design software systems containing a standard Specctra or Electra DSN interface. It imports .DSN files generated by the Specctra interface of the host system and exports .SES Specctra session files.
Altough the software can be used for manual routing in 90 degree, 45 degree and free angle modes, it's main focus is on autorouting.
If you use KiCad, Autodesk EAGLE, Target3001! or pcb-rnd, click on them here for their integrations, otherwise you can run Freerouting as a standalone application:
-
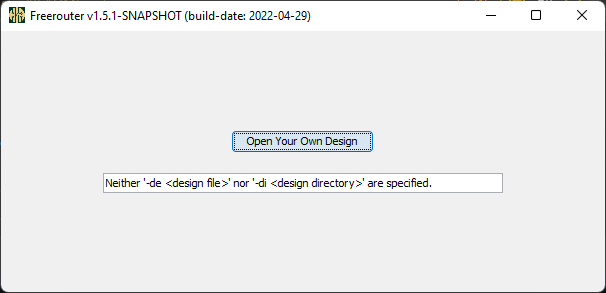
After launching freerouting.jar, a window appears promting you to select your exported .DSN design file.
-
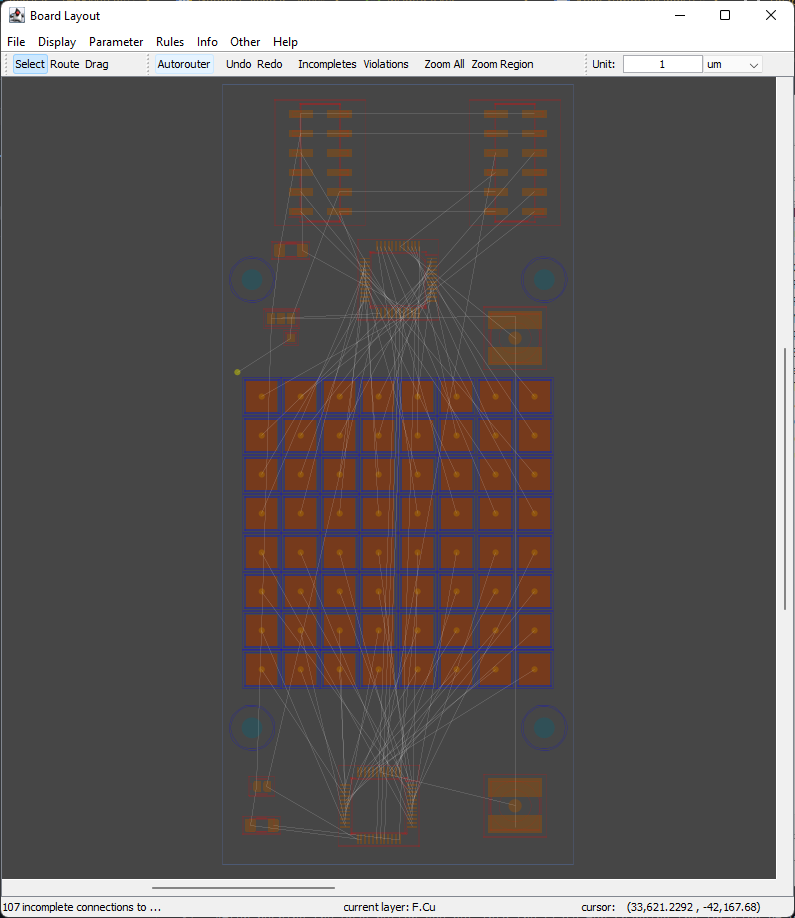
After opening a design you can start the autorouter with the button in the toolbar on top of the board window.
-
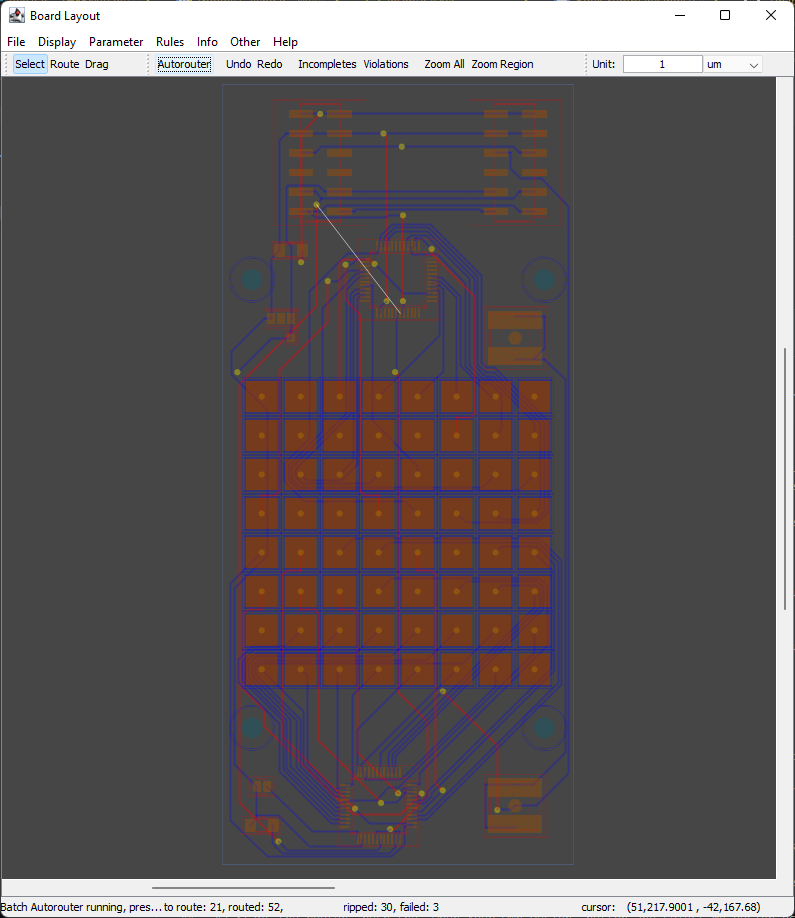
While autorouter is running you can follow the progress both visually in the board editor and numerically in the footer.
-
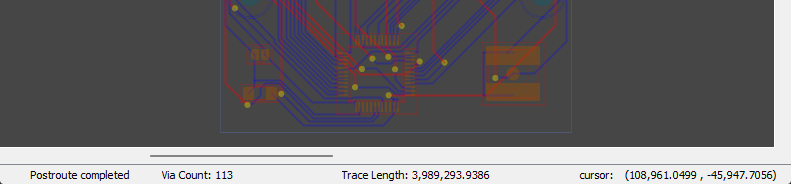
You are going to have a short summary when it is finished.
-
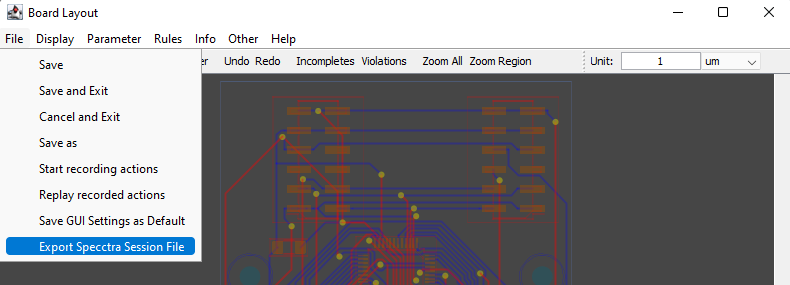
You can now save your routed board as a .SES file in the File / Export Specctra Session File menu.
For more information please use the online help in the board editor.
Additional steps for users of KiCad
-
Open KiCad 6.0 or newer
-
Start Tools / Plugin and Content Manager (Ctrl+M)

- Search for the Freerouting plugin

- Click on the Install button

-
Open you PCB design in PCB Editor
-
(Optional) Remove routed tracks and via from the design

- Start Freerouting from the Tools / External Plugins menu

- Wait until the Freerouting app exits and the plugin loads your routed design

Additional steps for users of Autodesk EAGLE
-
Download the latest eagle2freerouter ulp file
-
Start EAGLE and open in the control panel of Eagle for example the design my_design.brd.
-
Choose in the Files pulldown-menu of Eagle the item "execute ULP" and select the Eagle2freerouter ulp file. A file with name my_design.dsn is generated.
-
Start the router, push the "Open Your Own Design" button and select my_design.dsn in the file chooser.
-
After making some changes to the design with the router select "export Eagle session script" in the Files pulldown-menu. A file with name my_design.scr is generated.
-
Choose in the Files pulldown-menu of Eagle the item "execute Script" and select my_design.scr.
Additional steps for users of Target 3001!
- Freerouting is accesible directly from the GUI menu in Actions / Automatisms and assistants / Autorouter / Freerouting autorouter...

- There you can select the signals (=nets) to be routed

- Next you can influence the algorithm

- They will get the Freerouting installer from https://github.com/freerouting/freerouting/releases/

- Normally the user does not have to change the settings and can click directly on the [Start] button. So then it is a one-click solution. After the creation of the session file SES, Target automatically asks, if the results shall be used

- The tracks and vias are imported immediately into the TARGET project file

Additional steps for users of pcb-rnd
-
Download the latest
freerouting-1.7.0.jarfile from the Releases page -
Start pcb-rnd and load your layout.
-
Export the layout as Specctra DSN (File / Export... / Specctra DSN).
-
Start the router by running the
freerouting-1.7.0.jarfile, push the "Open Your Own Design" button and select the exported .dsn file in the file chooser. -
Do the routing.
-
When you're finished, export the results into a Specctra session file (File / Export Specctra Session File). The router will generate a .ses file for you.
-
Go back to pcb-rnd and import the results (File / Import autorouted dsn/ses file...). Track widths and clearances during autorouting are based on the currently selected route style during DSN export.
-
Download the latest freerouting-1.7.0-linux-x64.zip from the Releases page
-
Unzip it and rename the top directory freerouting-1.7.0-linux-x64 to freerouting.net (the default location is /opt/freerouting.net)
-
Start pcb-rnd and ensure that this directory is specified in (File / Preferences / Config Tree / Plugins / ar_extern / freerouting_net...); the location of the executable can be customised.
-
Load your layout
-
Open the external autorouter window with (Connect / Automatic Routing / External autorouter...)
-
Select the freerouting.net tab, and push the "Route" button.
-
Go back to the layout and inspect the autorouted networks. Track widths and clearances during autorouting are based on the currently selected route style when the autorouter is started.
Freerouter was designed as a GUI program, but it also can function as a command line tool. Typically you would have an input file (e.g. Specctra DSN) that you exported from you EDA (e.g. KiCad). If this file has unconnected routes, you would want to wire those with autorouter, and save the result in a format that you can then import back into your EDA.
The following command line arguments are supported by freerouter:
- -de [design input file]: loads up a Specctra .dsn file at startup.
- -di [design input directory]: if the GUI is used, this sets the default folder for the open design dialogs.
- -dr [design rules file]: reads the rules from a previously saved .rules file.
- -do [design output file]: saves a Specctra board (.dsn), a Specctra session file (.ses) or Eagle session script file (.scr) when the routing is finished.
- -mp [number of passes]: sets the upper limit of the number of auto-router passes that will be performed.
- -l [language]: "en" for English, "de" for German, "zh" for Simplified Chinese, otherwise it's the system default. English is set by default for unsupported languages.
- -mt [number of threads]: sets thread pool size for route optimization. The default is one less than the number of logical processors in the system. Set it to 0 to disable route optimization.
- -oit [percentage]: stops the route optimizer if the improvement drops below a certain percentage threshold per pass. Default is 0.1%, and
-oit 0means to continue improving until it is interrupted by the user or it runs out of options to test. - -us [greedy | global | hybrid]: sets board updating strategy for route optimization: greedy, global optimal or hybrid. The default is greedy. When hybrid is selected, another option "hr" specifies hybrid ratio.
- -hr [m:n]: sets hybrid ratio in the format of #_global_optiomal_passes:#_prioritized_passes. The default is 1:1. It's only effective when hybrid strategy is selected.
- -is [sequential | random | prioritized]: sets item selection strategy for route optimization: sequential, random, prioritized. The default is prioritized. Prioritied stragegy selects items based on scores calculated in previous round.
- -inc [net class names, separated by commas]: auto-router ignores the listed net classes, eg.
-inc GND,VCCwill not try to wire components that are either in the "GND" or in the "VCC" net class. - -im: saves intermediate steps in version-specific binary format. This allows to user to resume the interrupted optimization from the last checkpoint. Turned off by default.
- -dl: disable logging.
- -h: shows help.
A complete command line looks something like this if your are using PowerShell on Windows:
java.exe -jar freerouting-1.7.0.jar -de MyBoard.dsn -do MyBoard.ses -mp 100 -dr MyBoard.rulesThis would read the MyBoard.dsn file, do the auto-routing with the parameters defined in MyBoard.rules for the maximum of 100 passes, and then save the result into the MyBoard.ses file.
After Freerouting completes auto-routing it switches to the next phase, called route optimization to improve the board even further. Multi-threading reduces the time it will take to do this second step.
Besides multi-threading, multiple optimzation strategies were also implemented. Global optimal strategy selects the global optimal update after processing all items in an optimation pass, while greedy strategy adopts an update as soon as it is found to be better than current one, so there will be multiple updates in a greedy optimization pass. Hybrid strategy mixes the above two, and there is an option to select the mixing ratio.
Sequential, random and prioritized item selection strategies are implemented to determine which item to process next during an optimization pass. Each item is ranked during the optimization pass so that it's possible to prioritize items with better scores when selecting items to process in next optimization pass.
Test runs on a 12-core system using freerouting v1.6.2:
| Settings | Auto-routing time | Route optimization time | Route opt. improvement |
|---|---|---|---|
| -mt 0 | 18.00 seconds | N/A | N/A |
| -mt 1 -us greedy -is prioritized | 18.50 seconds | 55 minutes | 51.02% |
| -mt 11 -us greedy -is prioritized | 19.95 seconds | 13 minutes | 50.85% |
| -mt 11 -us greedy -is sequential | 19.31 seconds | 20 minutes | 50.32% |
| -mt 11 -us greedy -is random | 18.68 seconds | 14 minutes | N/A |
| -mt 11 -us global -is prioritized | 18.99 seconds | 93 minutes | 50.84% |
| -mt 11 -us hybrid -hr 1:1 | 18.40 seconds | 33 minutes | 51.08% |
| -mt 11 -us hybrid -hr 1:3 | 18.48 seconds | 31 minutes | 50.98% |
| File | Settings | Auto-routing time | Route optimization time | Route optimization improvement |
|---|---|---|---|---|
| zMRETestFixture.dsn | 19.95 seconds | 797 seconds | 50.85% | |
| zMRETestFixture.dsn | -oit 0.25 | 18.18 seconds | 49 seconds | 50.23% |
| Mars-64-revE.dsn | -oit 0.25 | 26.27 seconds | 29 seconds | 51.03% |
| smoothieboard.dsn | -oit 0.25 | 488.25 seconds | 60 seconds | N/A |
All parameter defaults are set according to these test results, so you don't need to change them unless you have a special need.
There are only installers for Windows x64 and Linux x64. Fortunatelly though the platform independent .JAR files can be run on the other systems, if the matching Java runtime is installed.
You will need the following steps to make it work:
- Get the current JAR release from our Releases page
- Install Java JRE
- Select your operating system and architecture
- Select
JREas package type - Select
17as version
- Run the downloaded JAR file using the installed java
java -jar freerouting-1.7.0.jar(macOS: please note that you can't start Freerouting from the Mac Finder, you must you the Mac Terminal instead!)
- Java >= 17 (Adoptium Temurin 17 JRE)
- Gradle 6.x
- Internet connection (dependencies are downloaded automatically)
- For IDE integration: Gradle extension (not necessary for command line usage)
Open the freerouting Gradle project in your favourite IDE (NB, IntelliJ, Eclipse etc. with Gradle Plugin) and build it
by calling the assemble task.
Navigate to the Gradle project (e.g., path/to/freerouting) and enter the following command
./gradlew assemblegradlew assemble
All four .jar files will be generated in the build\libs subfolder. You would typically run the freerouting-executable.jar file.
Creating a release takes about half an hour if everything goes according to the plan. Usually it doesn't, so free up ~3 hours for this.
Let's suppose that the new version is 2.3.4. You need to complete these steps:
- Change
ext.publishing.versionIdinproject-info.gradleto2.3.4 - Push it to GitHub
- Check if it was built successfully on GitHub Actions
- Create a new draft release
- Run
gradlew.bat assemble-> this will generate the files in\build\libs\freerouting*.jar - Rename to
freerouting-executable.jartofreerouting-2.3.4.jarand add it to the release draft - Update the
integrations\KiCad- Copy
freerouting-2.3.4.jarinto\integrations\KiCad\kicad-freerouting\plugins\jar\ - Update
\integrations\KiCad\kicad-freerouting\plugins\plugin.iniwith the new filename - Update
\integrations\KiCad\kicad-freerouting\metadata.json - Create a ZIP file from the
kicad-freeroutingfolder - Copy this
kicad-freerouting.zipfile tokicad-freerouting-2.3.4.zip - Use KiCad Packager from https://gitlab.com/kicad/addons/metadata/tools to get hash and file sizes
- Update
\integrations\KiCad\metadata.jsonwith these values - Delete previous fork at https://gitlab.com/freeroutingapp/metadata (Settings / General / Delete this project)
- Fork https://gitlab.com/kicad/addons/metadata again
- Create a new branch, named
freerouting-2.3.4 - Replace https://gitlab.com/freeroutingapp/metadata/-/blob/main/packages/app.freerouting.kicad-plugin/metadata.json with the new one
- Create a megre request at https://gitlab.com/kicad/addons/metadata / Merge request / ...
- Copy
- Update README
- Publish the release
- Check if Windows and Linux installers were added to the release in GitHub Actions
- Change
ext.publishing.versionIdinproject-info.gradleagain to2.3.5-SNAPSHOT
We ❤️ all our contributors; this project wouldn’t be what it is without you!
If you want to help out, please consider replying to issues, creating new ones, or even send your fixes and improvements as pull requests.