The PyTorch Summer Hackathon is back this year with all new opportunities for the connection with the PyTorch community to build innovative, impactful models, applications and other projects that create positive impact for organizations or people. My team has Created Harmonies with web interfaces powered by PyTorch.
Harmonies is an online photo editor that aims to simplify the process of editing photos. Now, you can use the same advanced tools from photoshop by drag and drop easily. We take advantage of the capabilities of computer vision to help our users with edit photos in an appropriate way. Our web application is powerd by three different Computer Vision (CV) models.
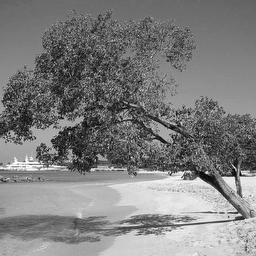
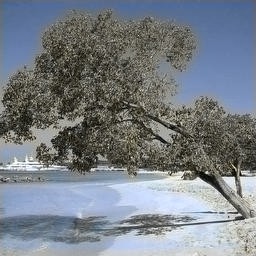
Generally, it will take you around 30 minutes to colorize (add color to) a black and white photo, but as you use Harmonies. You will bring new life to old photos by automatically colorizing them using the capabilities of Computer Vision!
In this part we reimplemented this paper using PyTorch for images auto colorization
To install all dependencies run:
cd image colorization
pip install -r requirements.txt
$ python app.py
Then send the following JSON request on localhost:5000
{
        "img": "data:image/jpeg;base64,/9j/2wCEAAgGBgcGBQ..."
}The response text will be the base64 representation of the masked colorized image.
This is a real output using our model!
The pen tool is the most powerful tool in Illustrator and Photoshop. It allows you to define your own anchor points to extract elements from your image. Now you don't need all of this hard work, with Harmonies you can easily extract your image from the background and add it to another photo!
In this part we reimplemented this paper using PyTorch for auto-cropping a person from an image. We used the same concept of image segmentation and instead of adding masks, we return a PNG photo.
detectron2 is a pytorch based, easy to use library for image segmentation.
By feeding an image to detectron2 it produces a bunch of useful outputs, we are interested in two of them.
output['instances'].pred_classes and output['instances'].pred_masks.
The first is an array of class labels telling us which object is being segmented (class 0 => person).
The second is an array of bit masks that segment the respective objects in pred_classes.
By choosing the bit masks corresponding to persons (class 0), converting them to uint8, summing them over the last axis, capping the values between 0 and 1 and multiplying the matrix by 255, we get the alpha layer of the output image.
Then we just stack this layer with the input RGB image and we get a png image where only people are visible.
NOTE
If you're running on a GPU, then the linecfg.MODEL.DEVICE = 'cpu'should be removed to reduce latency, however, if, like us, you are going to deploy this app to azure app service, this line is important.
To install all dependencies run:
cd image-segmentation
pip install -r requirements.txt
$ python app.py
Then send the following JSON request on localhost:5000
{
        "img": "data:image/jpeg;base64,/9j/2wCEAAgGBgcGBQ..."
}The response text will be the base64 representation of the masked PNG image.
This is a real output using our model!

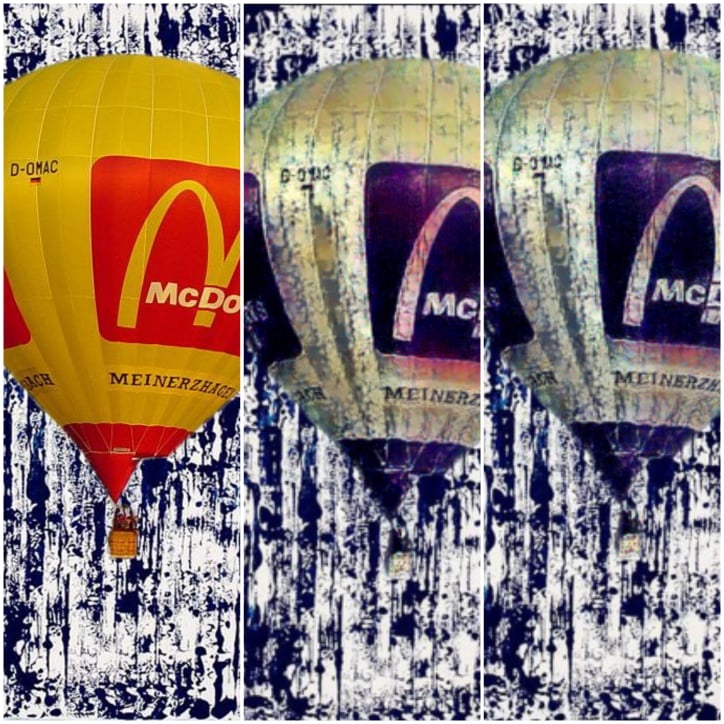
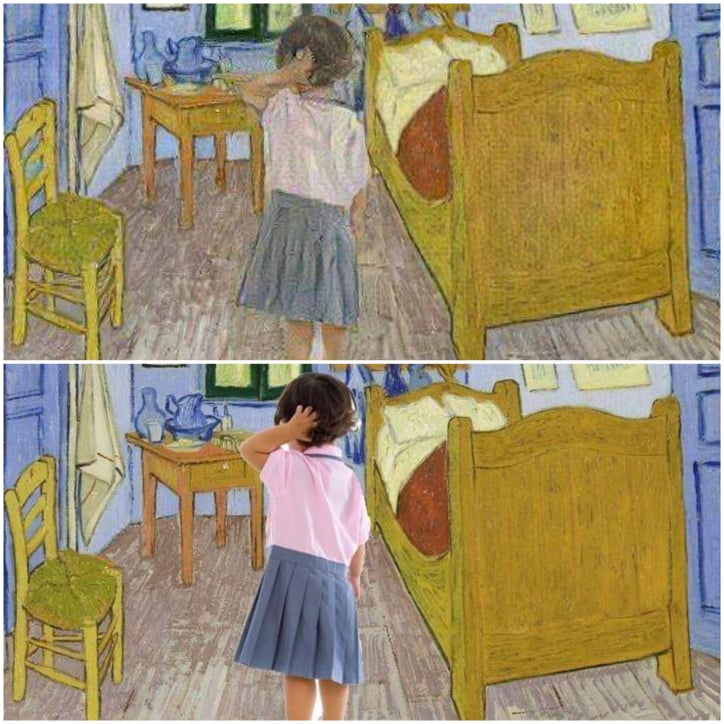
Copying an element from a photo and pasting it into a painting is a challenging task. Applying photo compositing techniques in this context yields subpar results that look like a collage. We introduce a technique to adjust the parameters of the transfer depending on the painting. For adding Harmonies to the painting and give a sense of uniqueness!.
In this part we reimplemented this paper using PyTorch to add harmonies to the adjusted element.
This is a real output using our model!