Serverless diary application where a user can note down their thoughts, feelings and images.
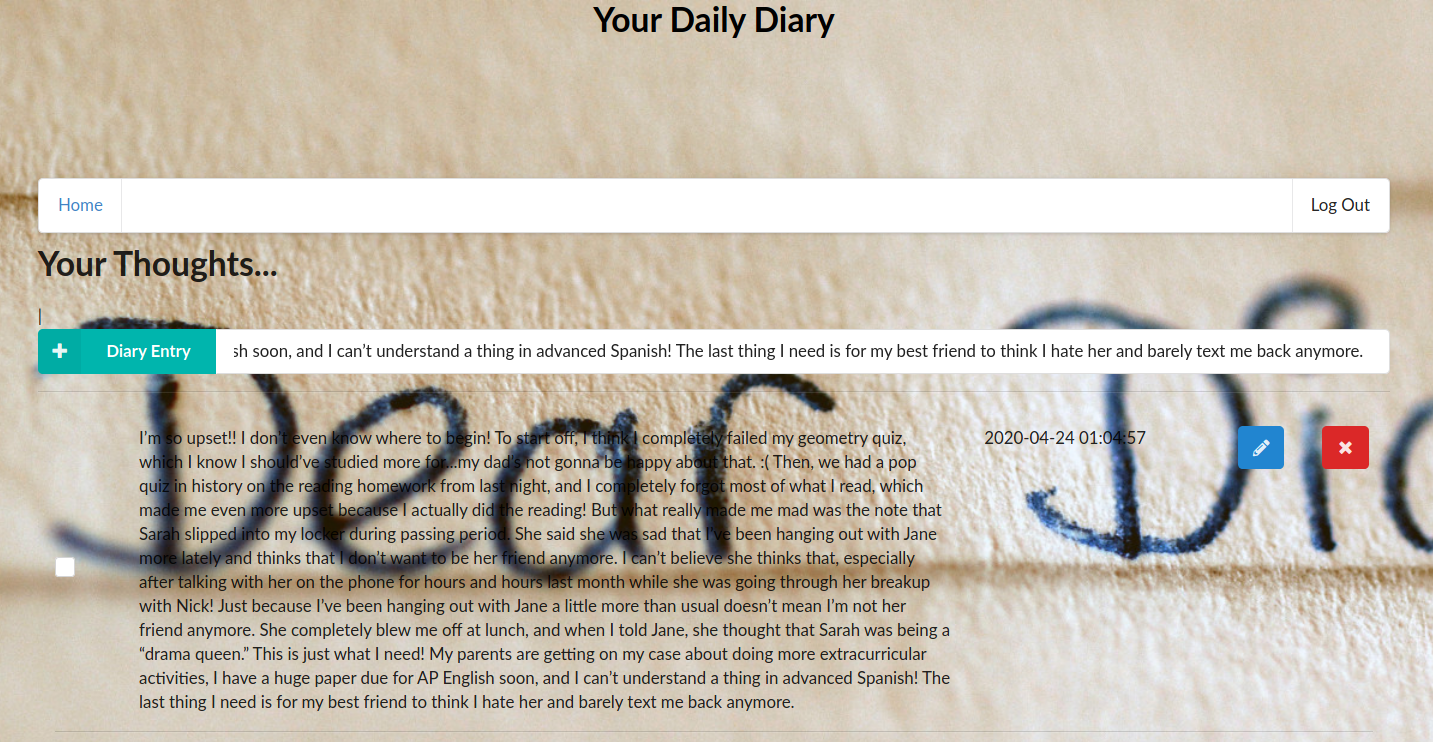
- A user needs to authenticate in order to use an application home: See image below
- The application allows users to create, update, delete diary items.
- The application allows users to upload a file.
- The application only displays items/Diaries for a logged in user.


The application consists of a frontend and backend.
The client folder contains a web application that can use the API developed in the project.
This frontend works with the serverless application.
The backend folder contains a serverless application that uses the serverless framework
- The code is split into multiple layers separating business logic from I/O related code.
- Code is implemented using async/await and Promises without using callbacks.
Authentication in this application, is done through Auth0, Which uses asymmetrically encrypted JWT tokens.
In order to run local developments, the following packages are needed:
Dependency Installation
The Serverless Framework will need us to configure access to AWS. This can be accomplished by running
serverless config credentials --provider aws --key KEY --secret SECRET
Where KEY and SECRET are our AWS Key and secret key. We are not deploying to AWS, but the serverless plugin needs this configuration to exist in order to work correctly.
npm install -g serverless
npm install -g serverless-offline
serverless plugin install --name serverless-dynamodb-local
serverless plugin install --name serverless-s3-local
Run serverless offline
cd backend
npm i
export IS_OFFLINE=true
serverless offline --httpPort 3050 --printOutput
Once the serverless application is running open Postman and test the requests, see configuration below.
On a separate terminal run the following command which will start a dynamoDb and s3 instance locally:
cd backend
serverless dynamodb install
serverless dynamodb start &
serverless s3 create
serverless s3 start &To deploy an application run the following commands:
cd backend
export NODE_OPTIONS=--max_old_space_size=8192
npm install
serverless deploy -vTo run a client application first edit the client/src/config.ts file to set correct parameters. And then run the following commands:
cd client
npm install
# If locally developing
export REACT_APP_IS_OFFLINE=false
npm run start
or, run on a docker container:
docker build -t "$USER/$(basename $PWD)" .
docker run -it --rm -v ${PWD}:/app -p 3000:3000 "$USER/$(basename $PWD)"
This should start a development server with the React application that will interact with the serverless application.
- All resources in the application are defined in the serverless.yml file.
- Each function has its own set of permissions.
- Application has sufficient monitoring.
- HTTP requests are validated.
An alternative way to test your API, you can use the Postman collection that contains sample requests. You can find a Postman collection in this project. To import this collection, do the following.
Click on the import button:

Click on the "Choose Files":

Select a file to import:

Right click on the imported collection to set variables for the collection:

Provide variables for the collection (similarly to how this was done in the course):


