Git Product home page Git Product logo

edi-cl's Introduction

edi Project Configuration for Compulab Devices

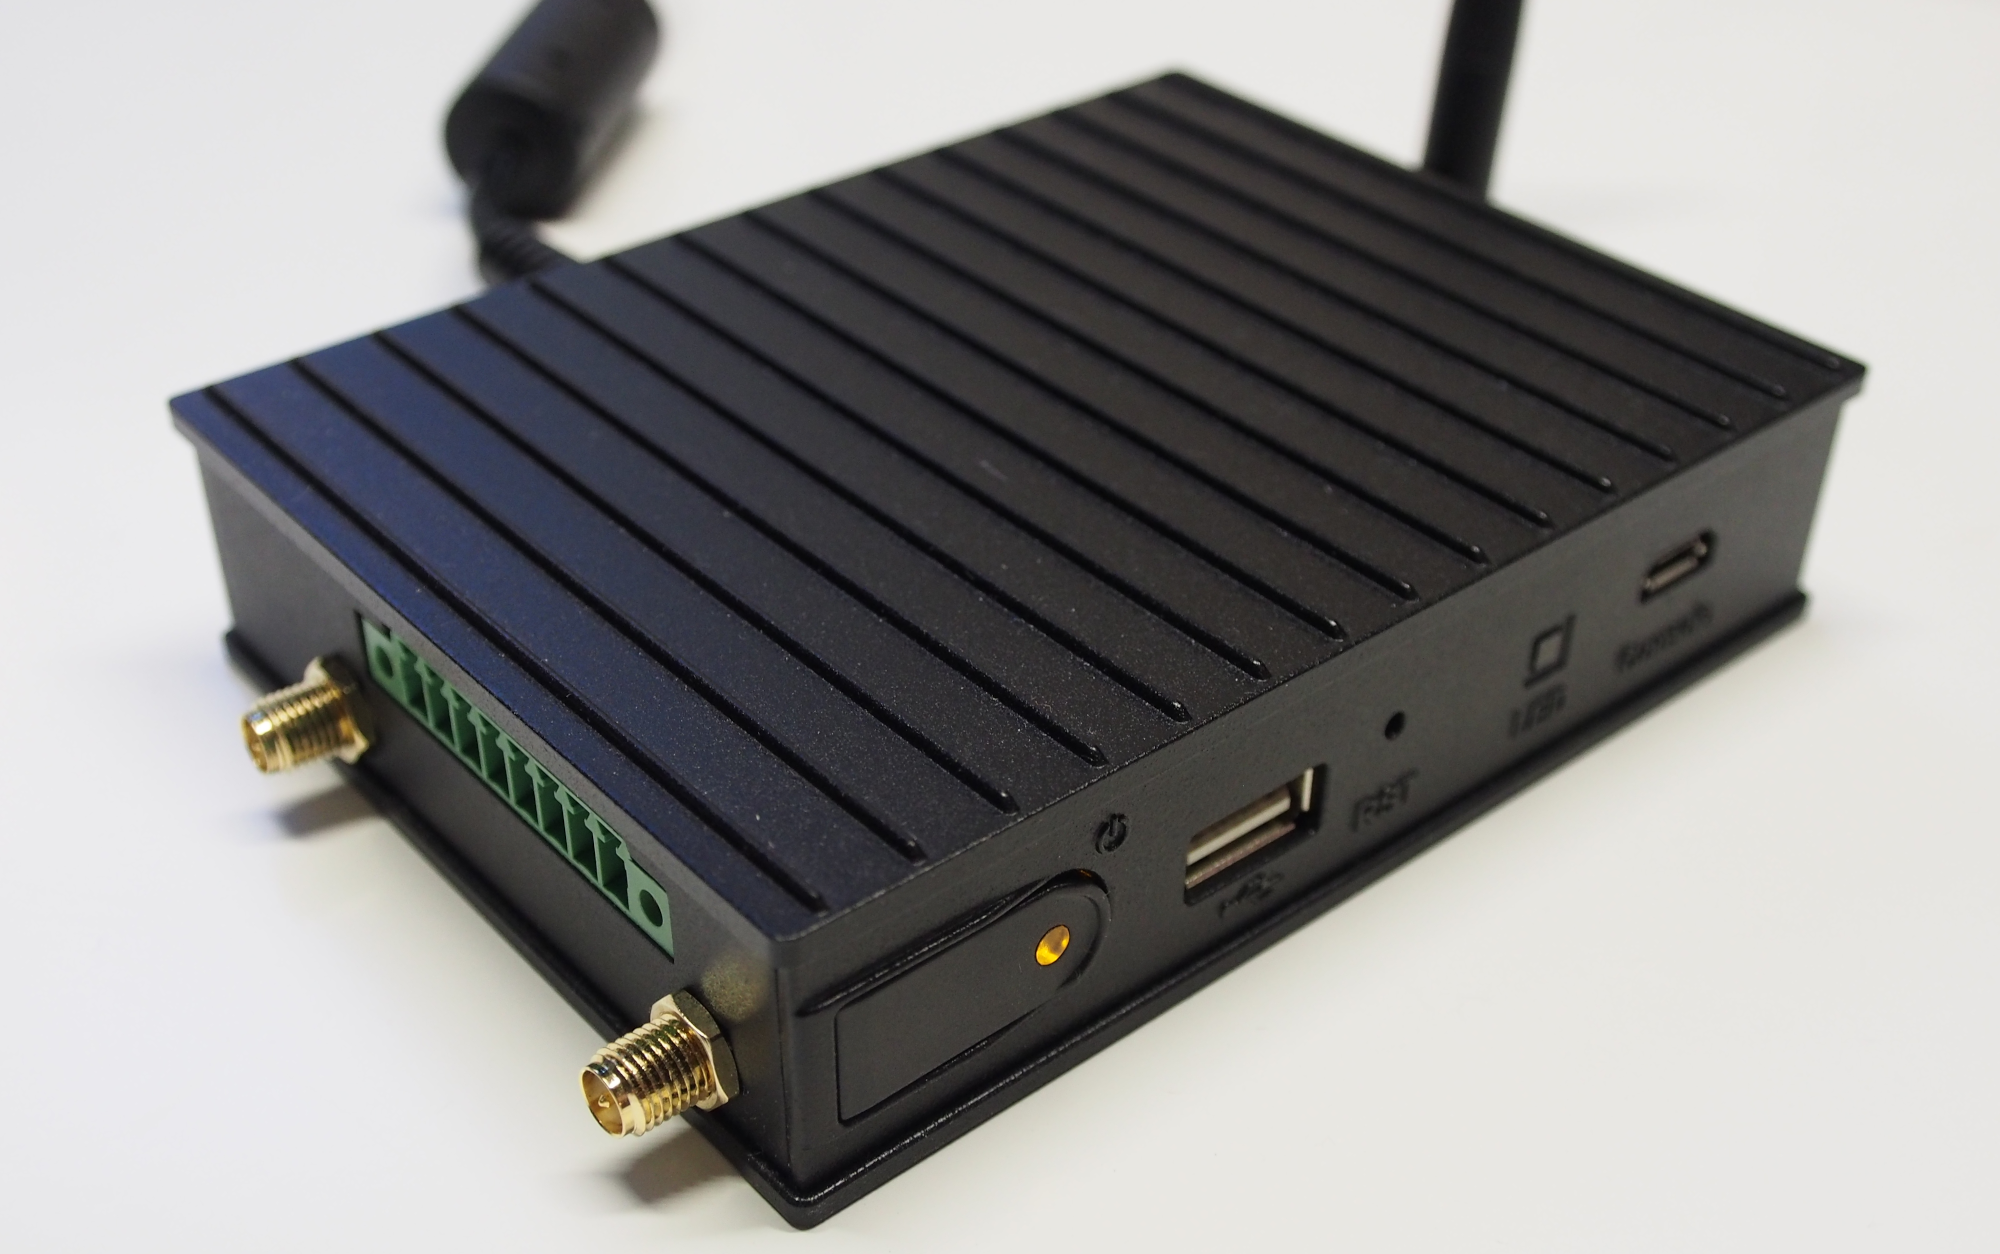
This edi project configuration currently supports the Compulab iot-gate-imx8.

Compulab iot-gate-imx8

Note

The master branch is currently basing upon Debian bookworm. For Debian bullseye please check out the debian_bullseye branch.

Introduction

The edi configuration contained in this repository can be used to generate the following artifacts:

  • A minimal Debian bookworm arm64 (64bit) image suitable for the Compulab iot-gate-imx8.
  • A matching Mender update artifact for the above configuration.
  • An LXD container with a pre-installed cross development toolchain (arm64) for C and C++.

Important Note

Please note that image generation operations require superuser privileges, and therefore you can easily break your host operating system. Therefore, make sure that you have a backup copy of your data.

Basic Usage

Preparation

Prior to using this edi project configuration you have to install edi according to this instructions. Please take a careful look at the "Setting up ssh Keys" section since you will need a proper ssh key setup in order to access the container or the target device using ssh.

The image post-processing commands require some additional tools. On Ubuntu 20.04 and newer those tools can be installed as follows:

sudo apt install e2fsprogs bmap-tools mtools parted rsync zerofree python3-sphinx mender-artifact

Creating a Target Image

A target image can be created using the following command:

sudo edi -v image create iot-gate-imx8.yml

The resulting image can be copied to a USB stick (here /dev/sda) using the following command (Please note that everything on the USB stick will be erased!):

sudo bmaptool copy artifacts/iot-gate-imx8.img /dev/sda

If the command fails, unmount the USB stick (sudo umount /dev/sda?) and repeat the above command.

Warning: The image requires u-boot version 2.0 or above! Please follow the Compulab instructions in case you need to upgrade the bootloader of your device.

Once you have booted the device using the above USB stick (plugged into the USB port next to the power button) you can access it using ssh (the access should be granted thanks to to your ssh keys):

ssh compulab@IP_ADDRESS

The password for the user compulab is compulab (just in case you want to execute a command using sudo or login via a local terminal).

Flashing the Image to the eMMC

The same image that has been used for the USB stick can also be flashed to the builtin eMMC as follows:

Copy the image to the device that has been booted from the USB stick:

scp artifacts/iot-gate-imx8.img compulab@IP_ADDRESS:

Access the device:

ssh compulab@IP_ADDRESS

Flash the image to the eMMC (Everything on mmcblk2 will be erased!):

sudo dd if=iot-gate-imx8.img of=/dev/mmcblk2 bs=1M

Now you can remove the power supply and the USB stick from the device. When powering up the device again, it should boot the new image from the eMMC storage device.

Connecting to Mender

To enable over the air (OTA) updates, the generated images are configured to connect to https://hosted.mender.io/. In order to connect to your Mender tenant you have to provide your tenant token prior to building the images. The tenant token can be added to configuration/mender/mender.yml. If you do not want to add the tenant token to the version control system you can also copy configuration/mender/mender.yml to configuration/mender/mender_custom.yml and add the tenant token there.

Creating a Cross Development LXD Container

A cross development container can be created using the following command:

sudo edi -v lxc configure iot-gate-imx8-cross-dev-bookworm iot-gate-imx8-cross-dev.yml

The container can be accessed as follows (the password is ChangeMe!):

lxc exec iot-gate-imx8-cross-dev-bookworm -- login ${USER}

Or with ssh (Hint: retrieve IP_OF_CONTAINER with lxc list):

ssh IP_OF_CONTAINER

You can directly start to cross compile applications:

aarch64-linux-gnu-g++ ...

For your convenience, the LXD container shares the folder edi-workspace with the host operating system.

Documenting an Artifact

During the image build the documentation gets rendered to artifacts/CONFIGNAME_documentation as reStructuredText. The text files can be transformed into a nice pdf file with some additional tools that need to be installed first:

sudo apt install texlive-latex-recommended texlive-pictures texlive-latex-extra texlive-xetex latexmk

Then the pdf can be generated using the following commands:

cd artifacts/CONFIGNAME_documentation
make PDFLATEX=xelatex latexpdf

More Information

For more information about the Compulab device please take a look at the official documentation.

For more information about this setup please read the edi documentation and this blog post.

For details about the Mender based robust update integration please refer to this blog post.

If you are curious about the U-Boot bootloader setup please take a look at this blog post.

For the kernel build instructions please check the docs folder of this project.

The WiFi setup is documented here.

The backport of the mender-client package is documented here.

edi-cl's People

Contributors

lueschem avatar lueschem-sch avatar villewitt avatar

Stargazers

 avatar  avatar  avatar  avatar  avatar  avatar  avatar  avatar  avatar

Watchers

 avatar  avatar  avatar  avatar

edi-cl's Issues

Switch Digital Twin Container to NetworkManager

In order to keep the digital twin LXD container as close as possible to the real hardware it would make sense to switch the network management from ifup to NetworkManager also within the LXD container.

For this the package network-manager needs to be installed during bootstrapping. After this there is no need to separately configure eth0 as the default NetworkManager config is DHCP for wired network interfaces.

The switch to NetworkManager within the LXD container could lead to temporary incompatibilities and special care needs to be taken if an existing LXD container gets switched over to NetworkManager. Maybe the container should get re-created from scratch or as a new configuration.

How are servicec enabled during image build?

Hello Matthias,

there is (at least) one thing left which I do not understand: How are the services which I install by copying the service unit files to /lib/systemd/system/ enabled? I recognised that the are enabled by default. How can prevent them for being enabled?

For example this ansible play:

  • name: Copy start-vpn-client service file.
    copy:
    src: start-vpn-client.service
    dest: /lib/systemd/system/
    mode: 0644
    owner: root
    group: root

leads to this one after first boot:

/etc/systemd/system/multi-user.target.wants/start-vpn-client.service -> /lib/systemd/system/start-vpn-client.service

How can I prevent edi from adding those links?

Thanks in advance!

Nils

resizefs on first boot not working

First of all thanks for this great framework. This is exactly what i was looking for!

I had success building the image for the iot gateway and booting it. Unfortunately the resize script was failing on first boot because the command sfdisk was missing. I tried adding fdisk to the "playbook" but had no success with it. After installing it "by hand" on the device and executing the script the resize was successfull. What do I have to di to get fdisk installed during the image build process?
Thanks!
Nils

Identical machine-id on multiple devices

Problem Description

Despite the deletion of /etc/machine-id during the image build it was observed that the machine-id is identical on multiple device instances.

Root Cause

There is a "redundant" copy of /etc/machine-id in /var/lib/dbus/machine-id. During the first boot /etc/machine-id gets derived from /var/lib/dbus/machine-id.

Solution

Also delete /var/lib/dbus/machine-id during image build.

Partition 4 is not aligned to 1MiB boundaries

The edi-resize-rootfs script automatically resizes partition 3 and adds partition 4.
When preparing the migration to gpt I found out that partition 4 does not get properly aligned to 1MiB boundaries as recommended e.g. here. This could result in reduced performance.

The alignment can be checked as follows:

compulab@iot-gate-imx8:/$ sudo parted /dev/mmcblk2 align-check optimal 3
3 aligned
compulab@iot-gate-imx8:/$ sudo parted /dev/mmcblk2 align-check optimal 4
4 not aligned

Firmware update

Hi Matthias,

edi-cl is a huge help to build our system-images.

Context:
With the newest release r3.2.1 from compulab we need to update the firmware of our devices as the new kernel won't work correctly (missing can device besides other issues). Building the new firmware is easy and it works well after flashing

Issue:
It's not feasable to manually copy and flash the firmware to all our devices. Is is possible to embed the new firmware in the mender image created by edi-cl?

Thanks in advance.

Switch from dos to gpt partition table

To get rid of some legacy it could make sense to switch from the dos partition table to the gpt partition table.

Things to consider:

  • gpt has a secondary partition table at the end of the disk.
  • edi-resize-rootfs and rootfs2image need to take this into account.
  • sfdisk needs to be replaced by sgdisk.
  • An old edi-resize-rootfs script might throw errors when trying to resize a gpt disk. Therefore a new image type might make sense.

Setting ufw rules

Hello Matthias,

I have an issue configuratind the ufw rules for my comulab gateway. Maybe you can point me to the right direction.

I added a role "ufw"

image

When executing the playbook I get the following error:

TASK [ufw : Reset UFW and deny everything] *********************************************************************************** fatal: [edi-2ebded6f-a5c2baac]: FAILED! => {"changed": false, "commands": ["/usr/sbin/ufw status verbose"], "msg": "ERROR: Couldn't determine iptables version\n"}

I checked if I can read the version of iptables on the gateway:

compulab@iot-gate-imx8-0001c034e69b:~$ sudo iptables --version iptables v1.8.9 (nf_tables)

Maybe it is not the right way of setting the rules? Should I copy a script which runs on first boot?

Additional question: Is it possible to test such a new role seperately without building the complete image?

Thanks for your help!

Cheers Nils

Recommend Projects

  • React photo React

    A declarative, efficient, and flexible JavaScript library for building user interfaces.

  • Vue.js photo Vue.js

    ๐Ÿ–– Vue.js is a progressive, incrementally-adoptable JavaScript framework for building UI on the web.

  • Typescript photo Typescript

    TypeScript is a superset of JavaScript that compiles to clean JavaScript output.

  • TensorFlow photo TensorFlow

    An Open Source Machine Learning Framework for Everyone

  • Django photo Django

    The Web framework for perfectionists with deadlines.

  • D3 photo D3

    Bring data to life with SVG, Canvas and HTML. ๐Ÿ“Š๐Ÿ“ˆ๐ŸŽ‰

Recommend Topics

  • javascript

    JavaScript (JS) is a lightweight interpreted programming language with first-class functions.

  • web

    Some thing interesting about web. New door for the world.

  • server

    A server is a program made to process requests and deliver data to clients.

  • Machine learning

    Machine learning is a way of modeling and interpreting data that allows a piece of software to respond intelligently.

  • Game

    Some thing interesting about game, make everyone happy.

Recommend Org

  • Facebook photo Facebook

    We are working to build community through open source technology. NB: members must have two-factor auth.

  • Microsoft photo Microsoft

    Open source projects and samples from Microsoft.

  • Google photo Google

    Google โค๏ธ Open Source for everyone.

  • D3 photo D3

    Data-Driven Documents codes.