- Run Mocha Tests
- Read Mocha Tests
- Use
debuggerto figure out bugs in code
In Mocha, to make a set of tests for a particular subject, we set it apart by creating a describe function with the first argument as the subject, and the second as an function. Within that function, we can either go more specific with nested describe blocks or an it function. it is an actual test; it takes a string as the first argument about what it is testing and a function that contains an assertion (we're using the expect library here) that compares your code to the expected outcome.
If we need to run certain code before or after some (or all) functions run, we can use before() and after() as well as beforeEach() and afterEach().
For example, in our test file, we're writing browser-based tests, we need to simulate a browser in our testing environment. To do so, we use jsdom, which mocks out objects and behaviors as if we were in a browser without actually forcing us to render anything in a browser window. This setup makes our tests portable — that is, it makes it so that they can run just about anywhere.
We set up the "browser" in a call to before():
before(done => {
  const src = path.resolve(__dirname, '..', 'code.js');

  jsdom.env('<div></div>', [src], (err, window) => {
    if (err) {
      return done(err);
    }

    Object.keys(window).forEach(key => {
      global[key] = window[key]
    });

    done();
  });
});
This looks a little intimidating, but don't worry, we'll walk you through it.
The first thing to notice is done. This signals to Mocha that what we're doing inside of before() runs asynchronously, and tells Mocha to wait until we call done() to start running any of the tests. Notice where we call done() inside of the callback that gets err, window as its arguments.
Then we assign the location of the code we want to test to the variable src — pretty basic. (Don't worry too much about path.resolve — it's a part of the Node.js path library for determining the path of something. In this case, it's figuring out where code.js lives.)
Then we call jsdom.env(). This function receives four arguments:
- An HTML string. This string sets up the DOM — it can be arbitrarily long (we could even read in a full HTML file), but in this case, we just need something basic, since our tests don't really use the DOM.
- An array of paths to source files. We only have on file to test, so it's the only element in the array.
- A callback. This function, in typical Node.js fashion, receives an error first. The
errwill most likely benull, but if it's defined, we calldone(err)to tell Mocha to stop and show us what went wrong. Assuming things are going as expected, we then take all of the things defined onwindow(including, in this lab, the functions we've written) and add them toglobalso that we can call them in our tests.
Finally, we call done() with no arguments to tell Mocha that we're finished with this before(). The tests start running here.
describe('favoriteIceCream(favorite)', () => {
  it('returns "I love ${favorite}"', () => {
    expect(favoriteIceCream("mint chocolate chip")).toBe("I love mint chocolate chip");
  });
});
The test above tests a function named favoriteIceCream. The it block declares in plain English the expectation being tested. In this case, we're testing that the function returns a sentence about the favorite ice cream. The expect block calls the function behind tests, and uses a matcher (in this case toBe) to test what the return value of the function should be.
The expect is calling the function favoriteIceCream() and passing in the parameter "mint chocolate chip" — it's just as if favoriteIceCream() were running in a "real" application, but we can make assertions about what it returns..
Before you get started, make sure you run learn to see the test output in your terminal. Take each test step by step, and remember that you can use debugger if you get stuck.
For example, in our function favoriteIceCream(), you might want to see what the arguments look like. You can add a debugger statement like so:
function favoriteIceCream(flavor) {
  debugger
}
Then, if you open up index.html in your browser (if you're using the IDE, simply right click on the file and select "Open in browser") and call favoriteIceCream('chocolate') in the browser's terminal, you can inspect the flavor argument simply by hovering over it. Pretty cool, right?
As we mentioned above, we're actually running our tests in a slightly contrived environment. This setup lets us be very flexible with our approach to debugging. If you're reading this lesson locally (that is, if you aren't using the IDE), you can run npm run debug to launch a debugging session in your browser. This will run the tests in Terminal.app, letting you inspect the results as you step through the code. Note that you must use Chrome for the debugger to work.
If you're using the IDE, you'll want to run npm run debug-ide. You'll see output like this:
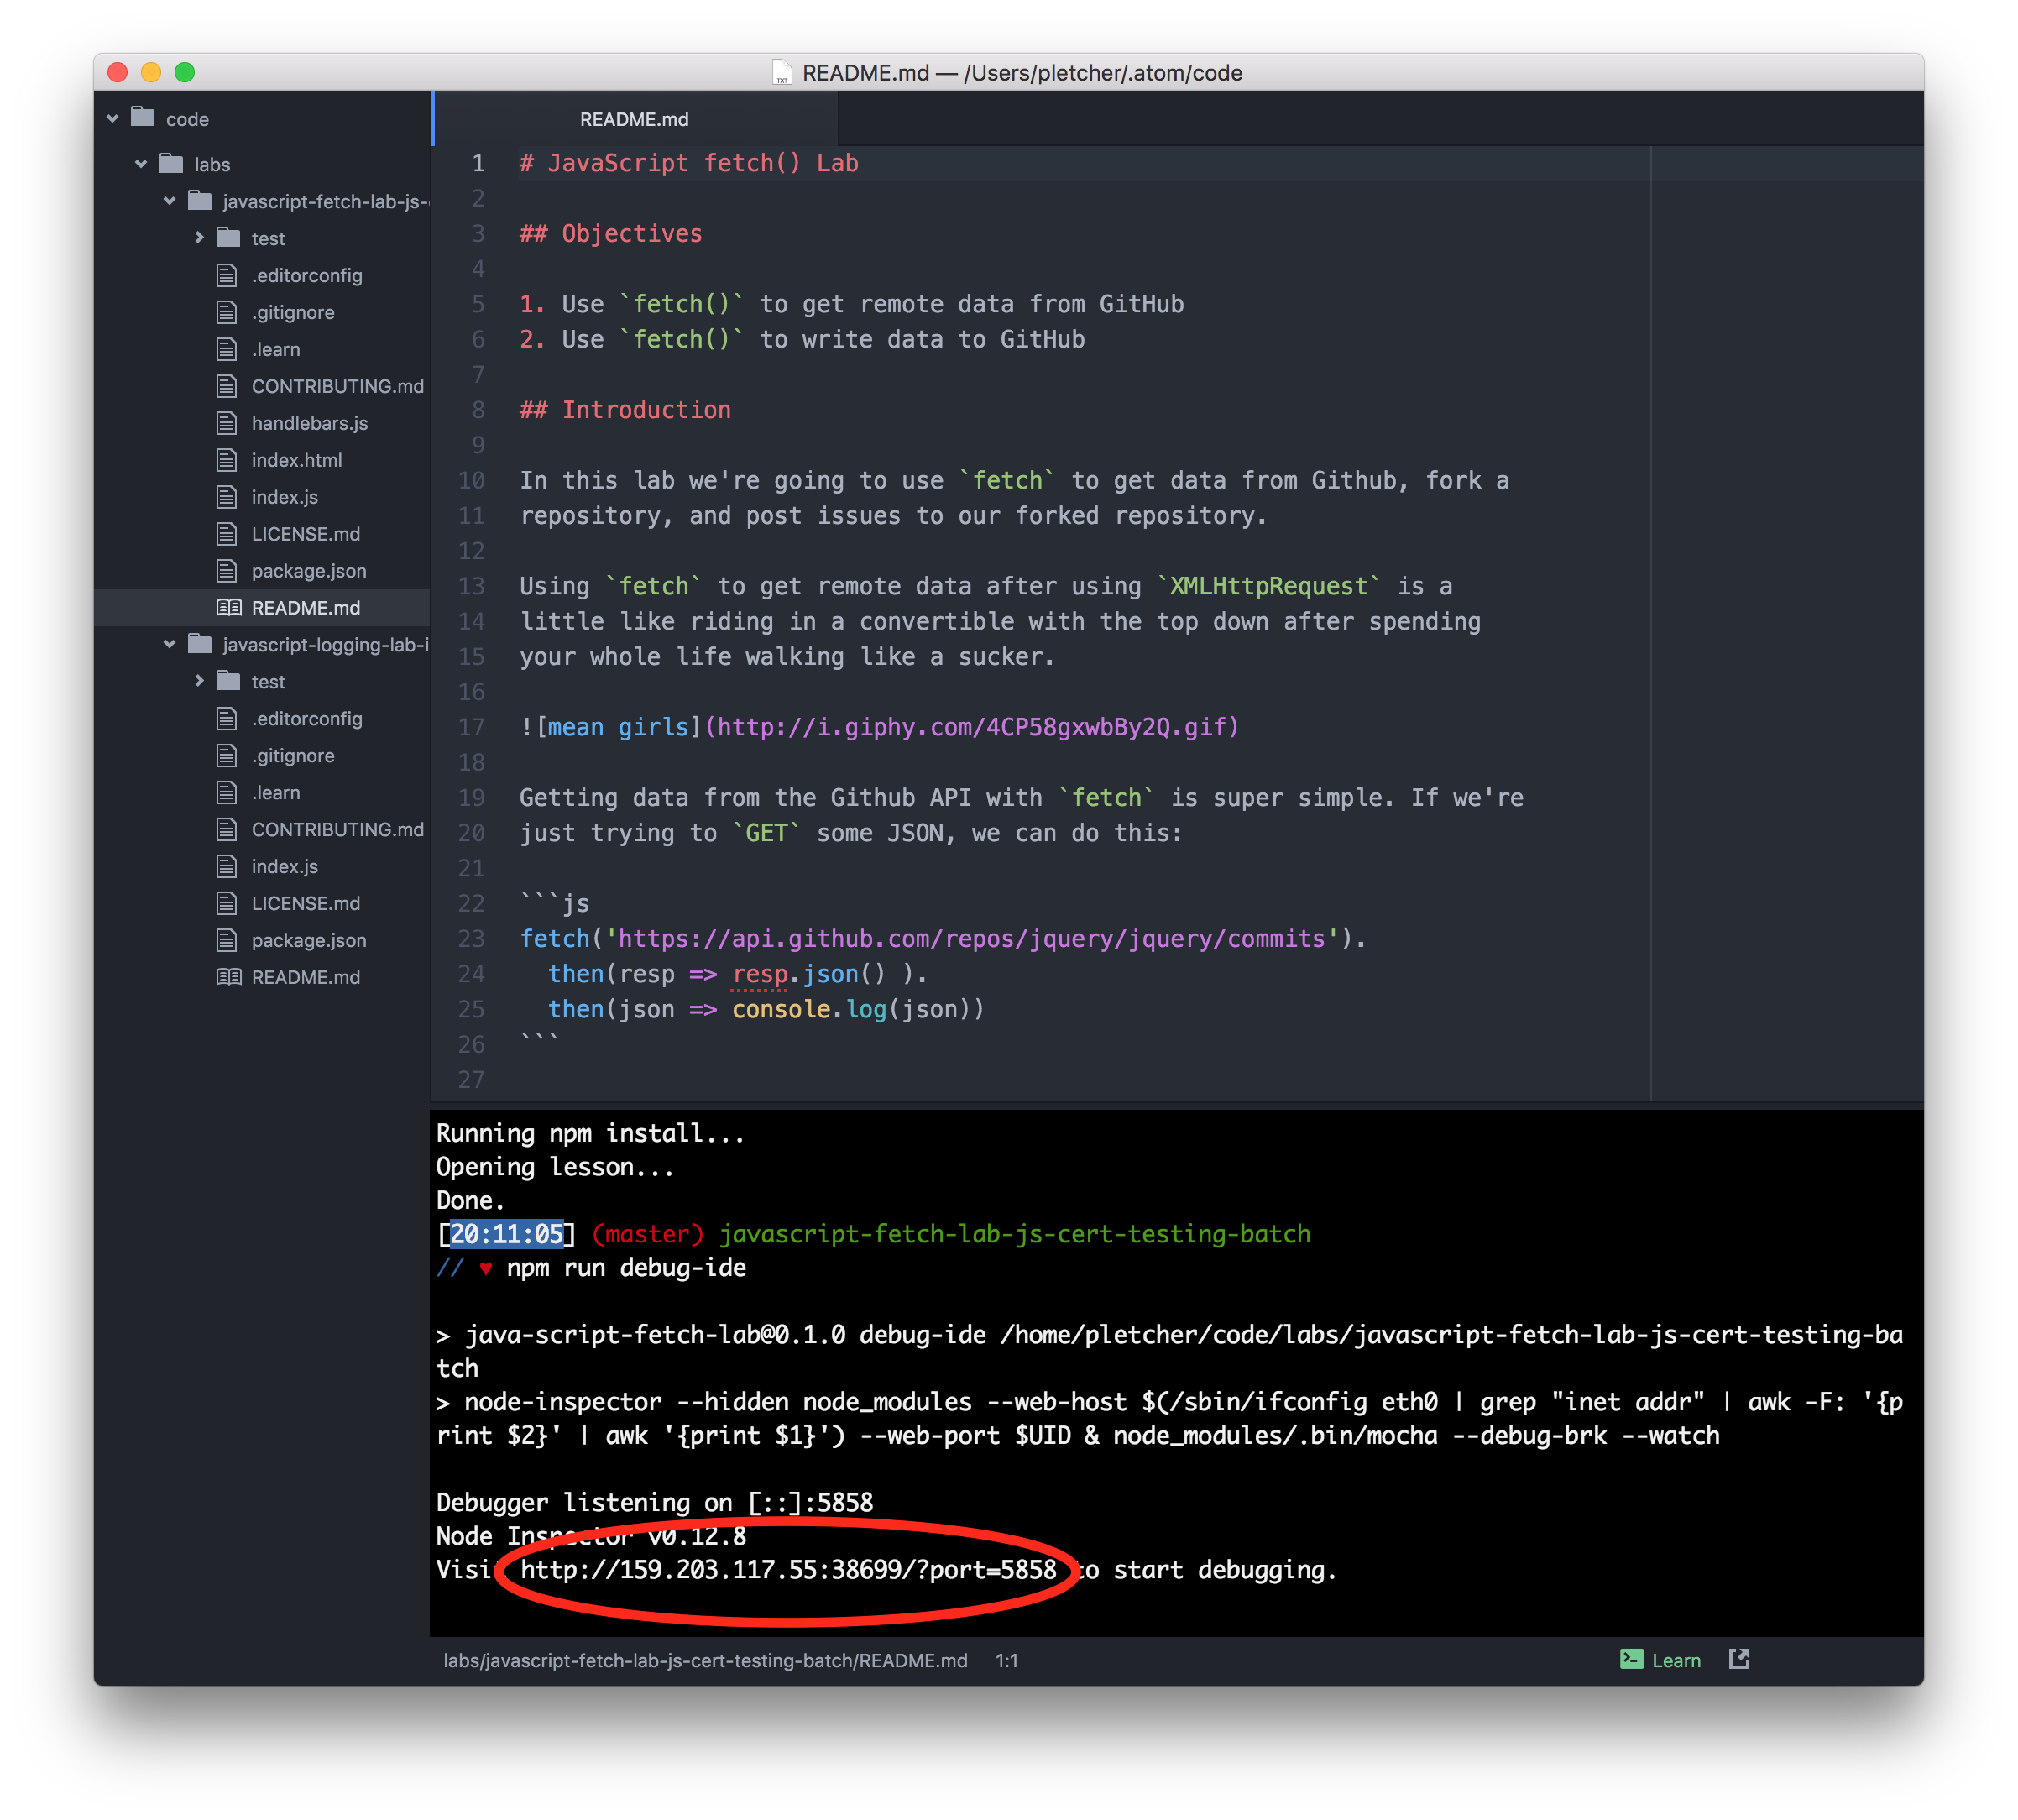
Simply navigate to the provided URL (circled above; your URL will look slightly different) in Chrome on your machine, and you can debug remotely.
This lab is designed to get you comfortable with the syntax of Mocha as well as JavaScript. All you need to do to complete it is make all the tests pass in the test/intro-test.js. You'll be coding your solution in code.js.
-
Write a function called
favoriteIceCream, which accepts a parameter and returns the string"I love <NAME_OF_ICECREAM>". -
Write a function called
shouting, which accepts a string as a parameter and returns the string in all caps. -
Write a function called
roundDown, which accepts a number as parameter and returns the number rounded down the closest whole number. -
Write a function called
theTruth, which returnstrue.


