In this course we will be exploring how to use MongoDB in the Java environment. We will be looking into:
- Different versions and flavors of the MongoDB Java driver
- How to express CRUD operations in Java code
- Using the Aggregation Framework to express analytical queries
- Building an application backend in Java that interacts with MongoDB
For this course we will be setting up an application, MFlix, that will allow users to list and interact with a movies catalog (any similarity with other popular video streaming services is pure coincidence!).
In the finished version of the MFlix application, users will be able to:
- Perform movie searches with the following criteria:
- cast members
- genre types
- text matches in title or description
- country of origin
- Create faceted filters on movie searches
- Create an account and manage their preferences
- Leave comments on their favorite (or least favorite) movies
... among other features, typical of any movie streaming service.
Your job, as new team member of the team that builds MFlix, and soon-to-be MongoDB Java developer expert, is to implement the backend component, in specific the Database Access Object (DAO) layer. No worries, your team has already built all the integration and unit tests, you just need to get them all to pass!
MFlix is composed of two main components:
- Frontend: All the UI functionality is already implemented for you, which includes the built-in React application that you do not need to worry about.
- Backend: Java Spring Boot project that provides the necessary service to the application. The code is managed by a Maven project definition file that you will have to load into your Java IDE.
Most of what you will implement is located in the src/main/java/mflix/api/daos directory, which contains all database interfacing methods.
The unit tests in src/tests/java/mflix/api/daos will test these database access methods directly, without going through the API.
The UI will run these methods as part of the integration tests, and therefore they are required for the full application to be running.
The API layer is fully implemented, as is the UI. By default the application will run on port 5000, but if you need it to run on a port other than 5000, you can edit the index.html file in the build directory to modify the value of window.host. You can find index.html in the src/main/resources/build directory.
We're using Spring Boot for the API. Maven will download this library for you. More on that below.
We will be using MongoDB Atlas, MongoDB's official Database as a Service (DBaaS), so you will not need to manage the database component yourself. However, you will still need to install MongoDB locally to access the command line tools that interact with Atlas, to load data into MongoDB and potentially do some exploration of your database with the shell.
The following set of steps are here to get you setup for this course.
There are two main system dependencies in this course:
- Java 1.8
- The java version this course is built against is Java 1.8. You can download the appropriate version for your operating system by clicking here
- Maven
- We use Maven to manage dependencies for the MFlix project. Click here to download Maven
The mflix project is supported by a Maven POM file that deals with all the dependencies required, as well as providing the test and run commands to control our project. This means that you can run all the tests and deploy the mflix backend from the command line with Maven.
However, we recommend you use a Java IDE to follow along with the lessons and to accomplish the Tickets assigned to you in the course.
You can use any IDE that you like, as you do not need to have a specific product to complete the course. It would be better if your IDE supports Maven POM files, so it can set the dependencies correctly, otherwise you will need to download and install manually the different libraries and drivers used by the project.
That said, all the lectures and examples of this course have been produced using IntelliJ IDEA CE edition. You will find a lesson dedicated to setting up and exploring this IDE for the course.
Once you downloaded and unzipped the mflix-java.zip file, you will find the project folder. The project folder contains the application code, the pom.xml file that you would import into your IDE, and the dataset required that you will have to import to Atlas.
$ ls
mflix README.rst
$ cd mflix
$ ls
src pom.xml dataIt is recommended to connect MFlix with MongoDB Atlas, so you do not need to have a MongoDB server running on your host machine. The lectures and labs in this course will assume that you are using an Atlas cluster instead of a local instance.
That said, you are still required to have the MongoDB server installed, in order to be able to use two server tool dependencies:
mongorestore- A utility for importing binary data into MongoDB.
mongo- The shell for exploring data in MongoDB.
To download these command line tools, please visit the MongoDB download center and choose the appropriate platform.
MFlix uses MongoDB to persist all its data.
One of the easiest ways to get up and running with MongoDB is to use MongoDB Atlas, a hosted and fully-managed database solution.
If you have taken other MongoDB University courses like M001 or M121, you may already have an account - feel free to reuse that cluster for this course.
Make sure to use a free tier cluster for the application and course.
Note: Be advised that some of the UI aspects of Atlas may have changed since the redaction of this README, therefore some of the screenshots in this file may be different from the actual Atlas UI interface.
If you already have a previous Atlas account created, perhaps because you've taken one of our other MongoDB university courses, you can repurpose it for M220J.
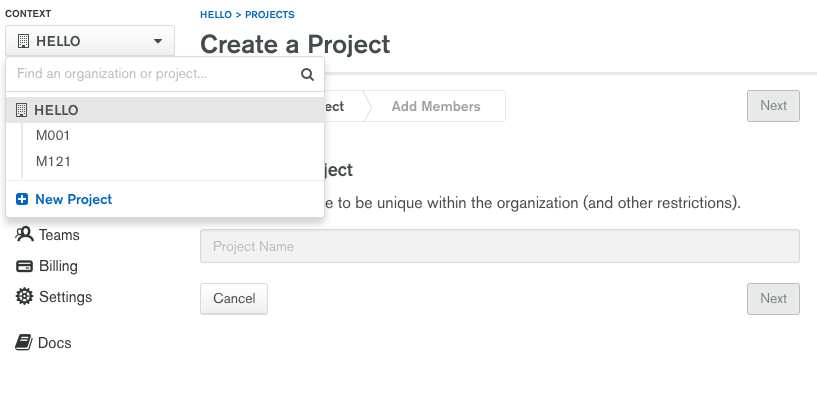
Log into your Atlas account and create a new project named M220 by clicking on the Context dropdown menu:
After creating this new project, skip the next section and proceed to the Creating an M0 free tier cluster mflix section.
If you do not have an existing Atlas account, go ahead and create an Atlas Account by filling in the required fields:
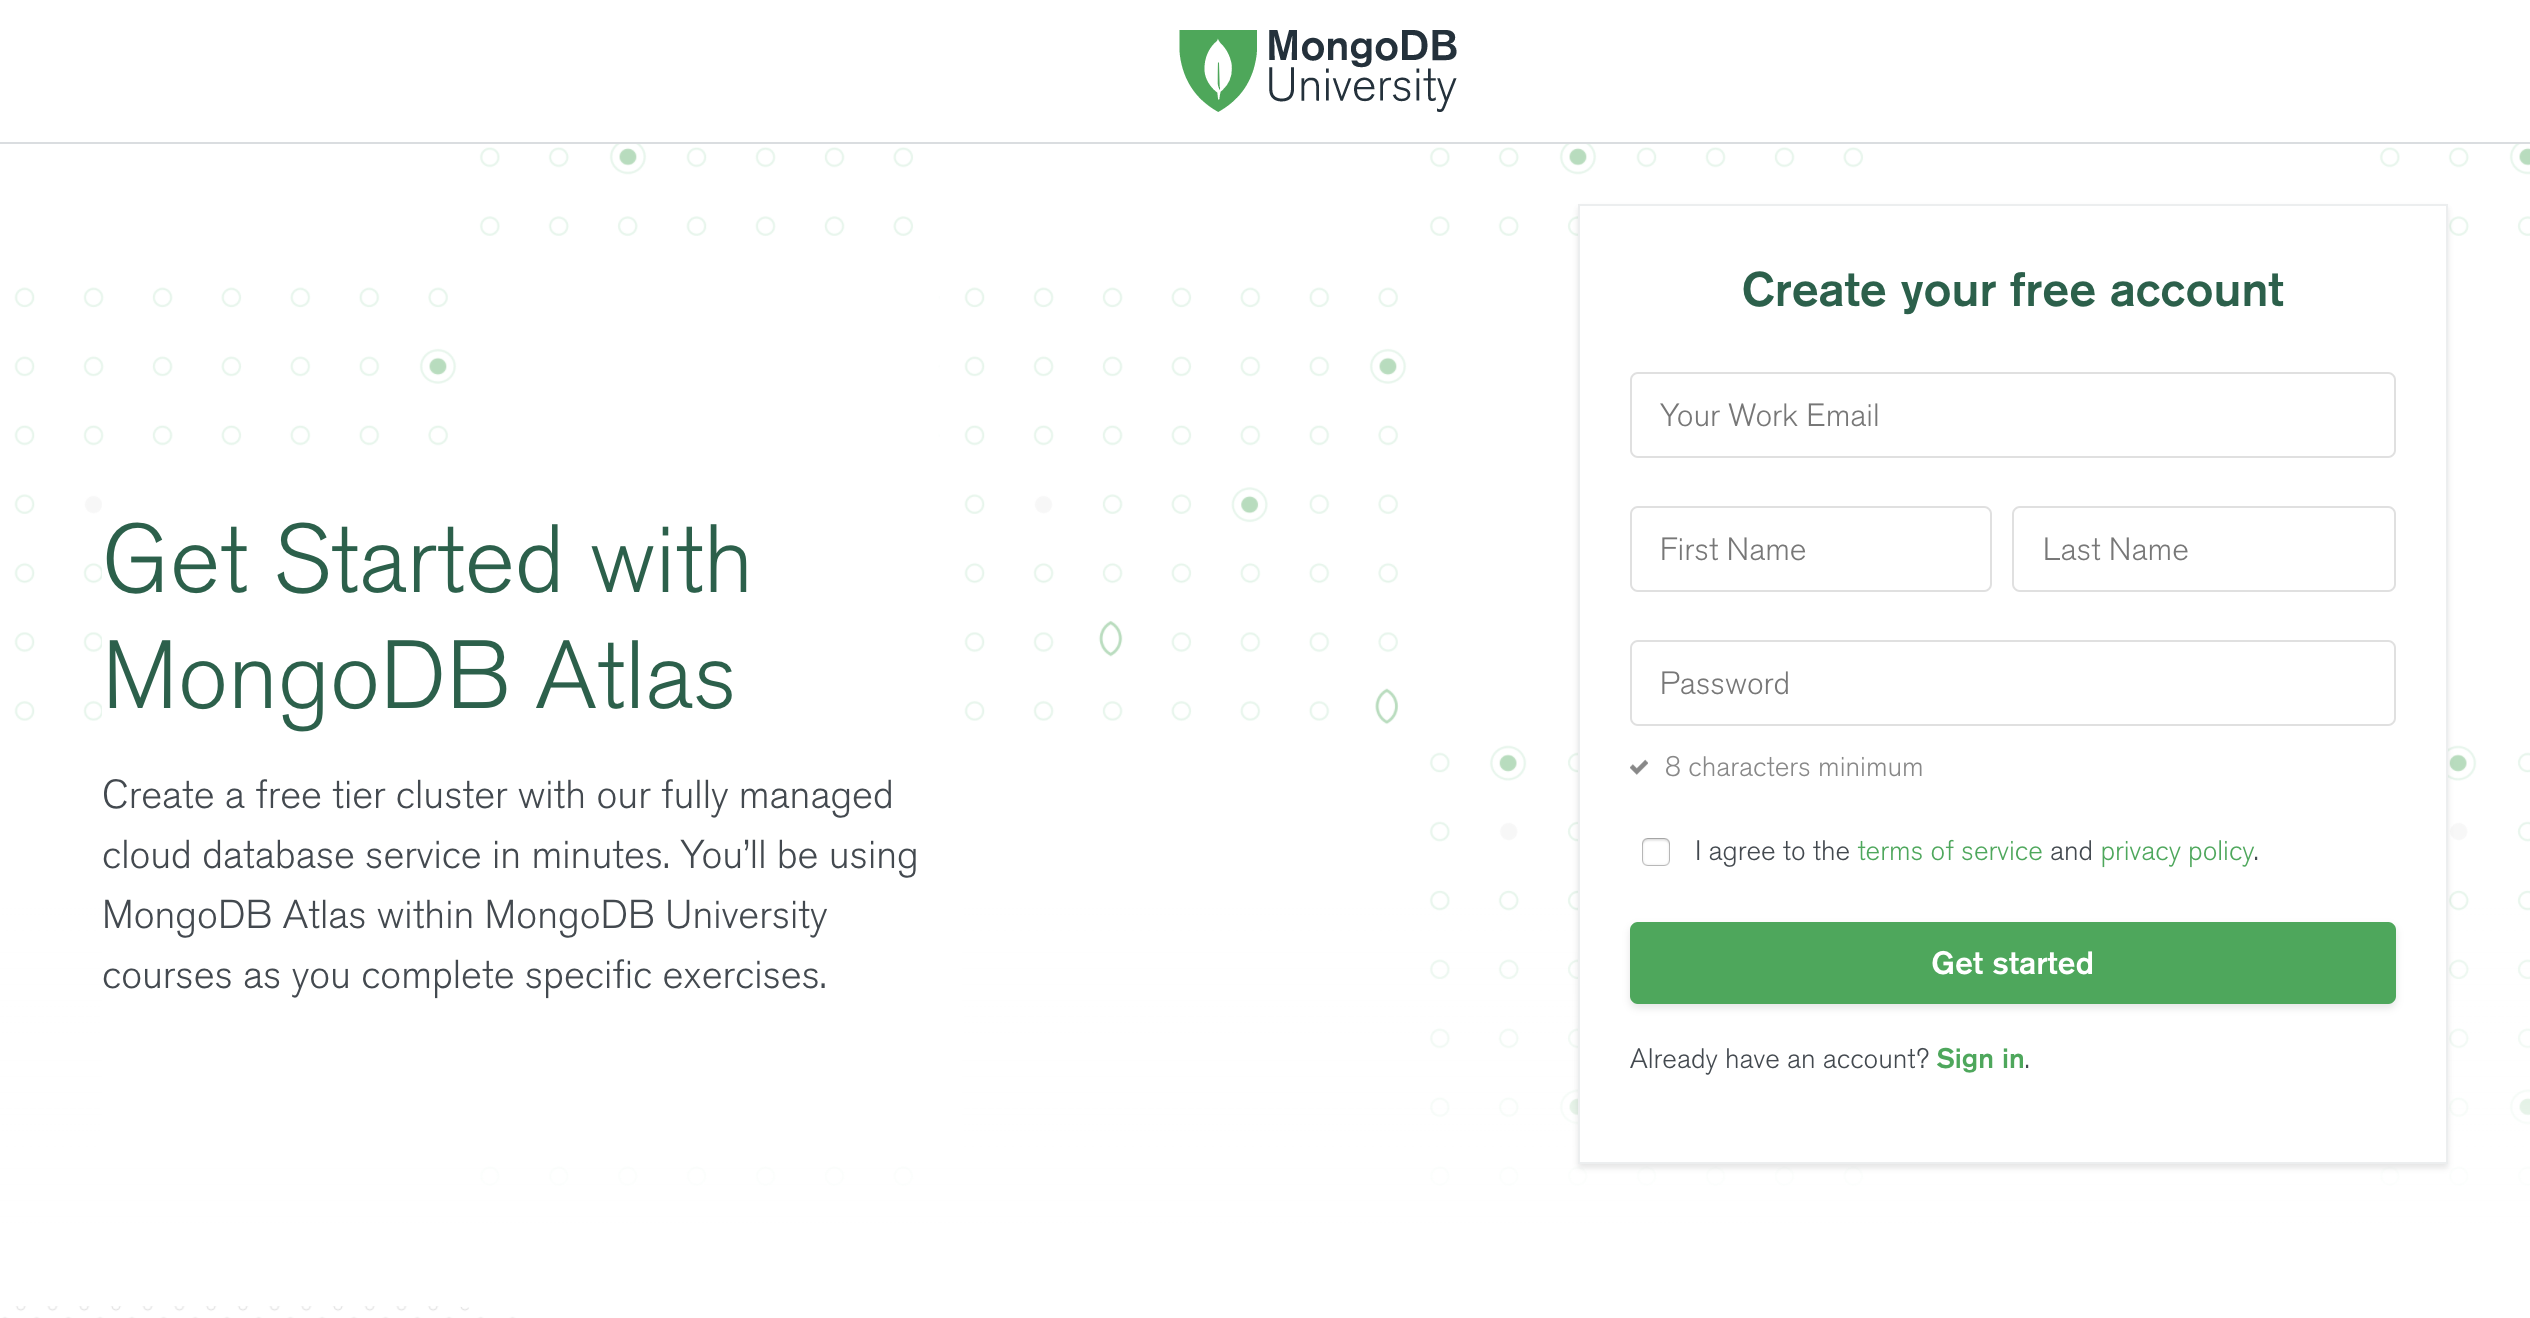
Note: You will need to do this step even if you are reusing an Atlas account.
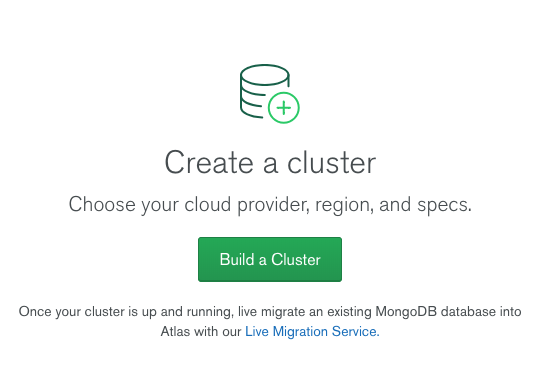
- After creating a new project, you will be prompted to create the first cluster in that project:
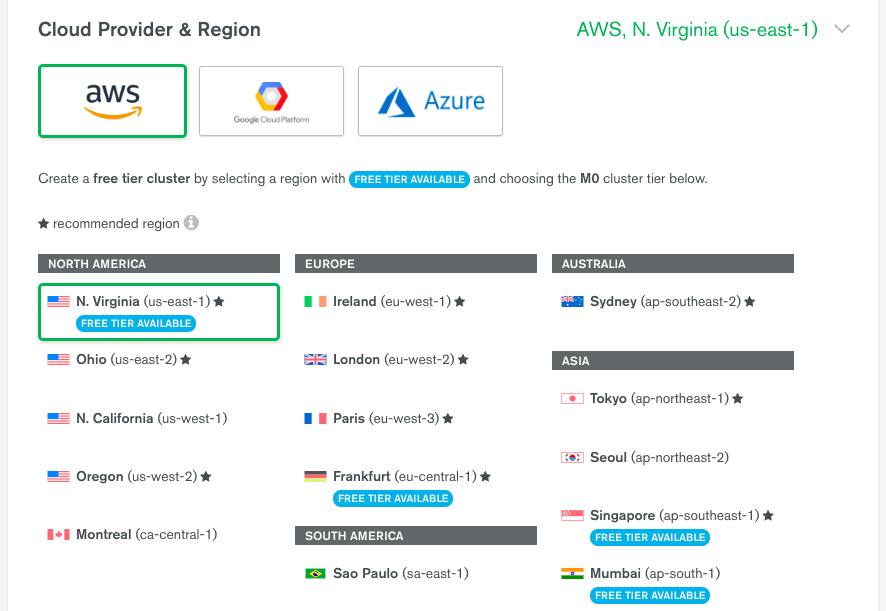
- Choose AWS as the cloud provider, in a Region that has the label Free Tier Available:
- Select Cluster Tier M0:

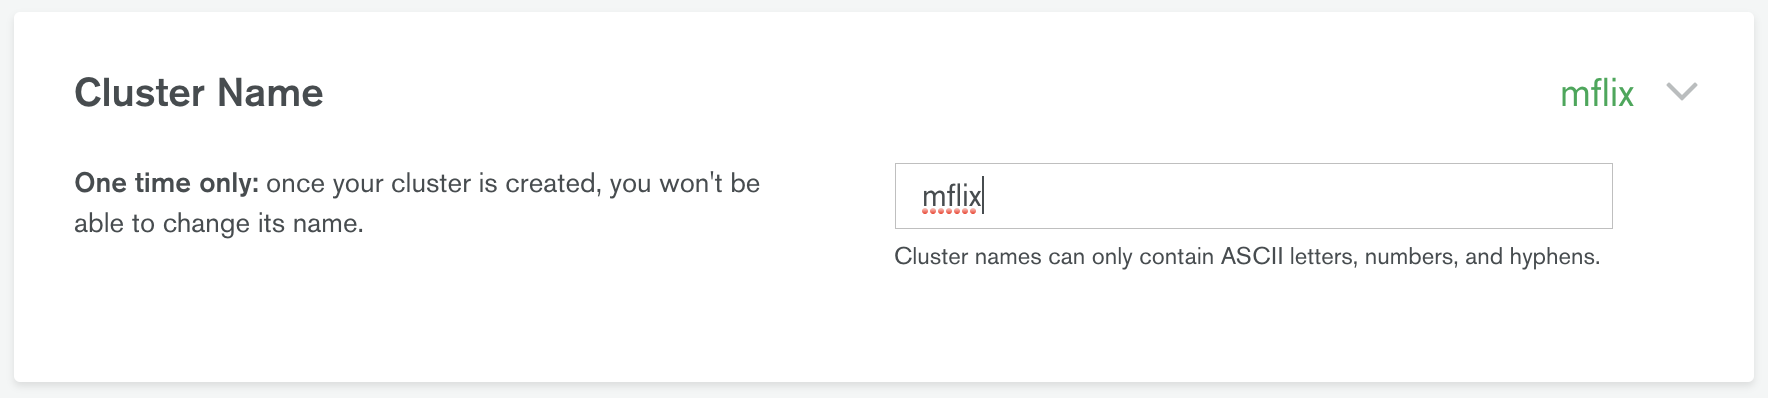
- Set Cluster Name to mflix by clicking on the default name Cluster0, and click Create Cluster:
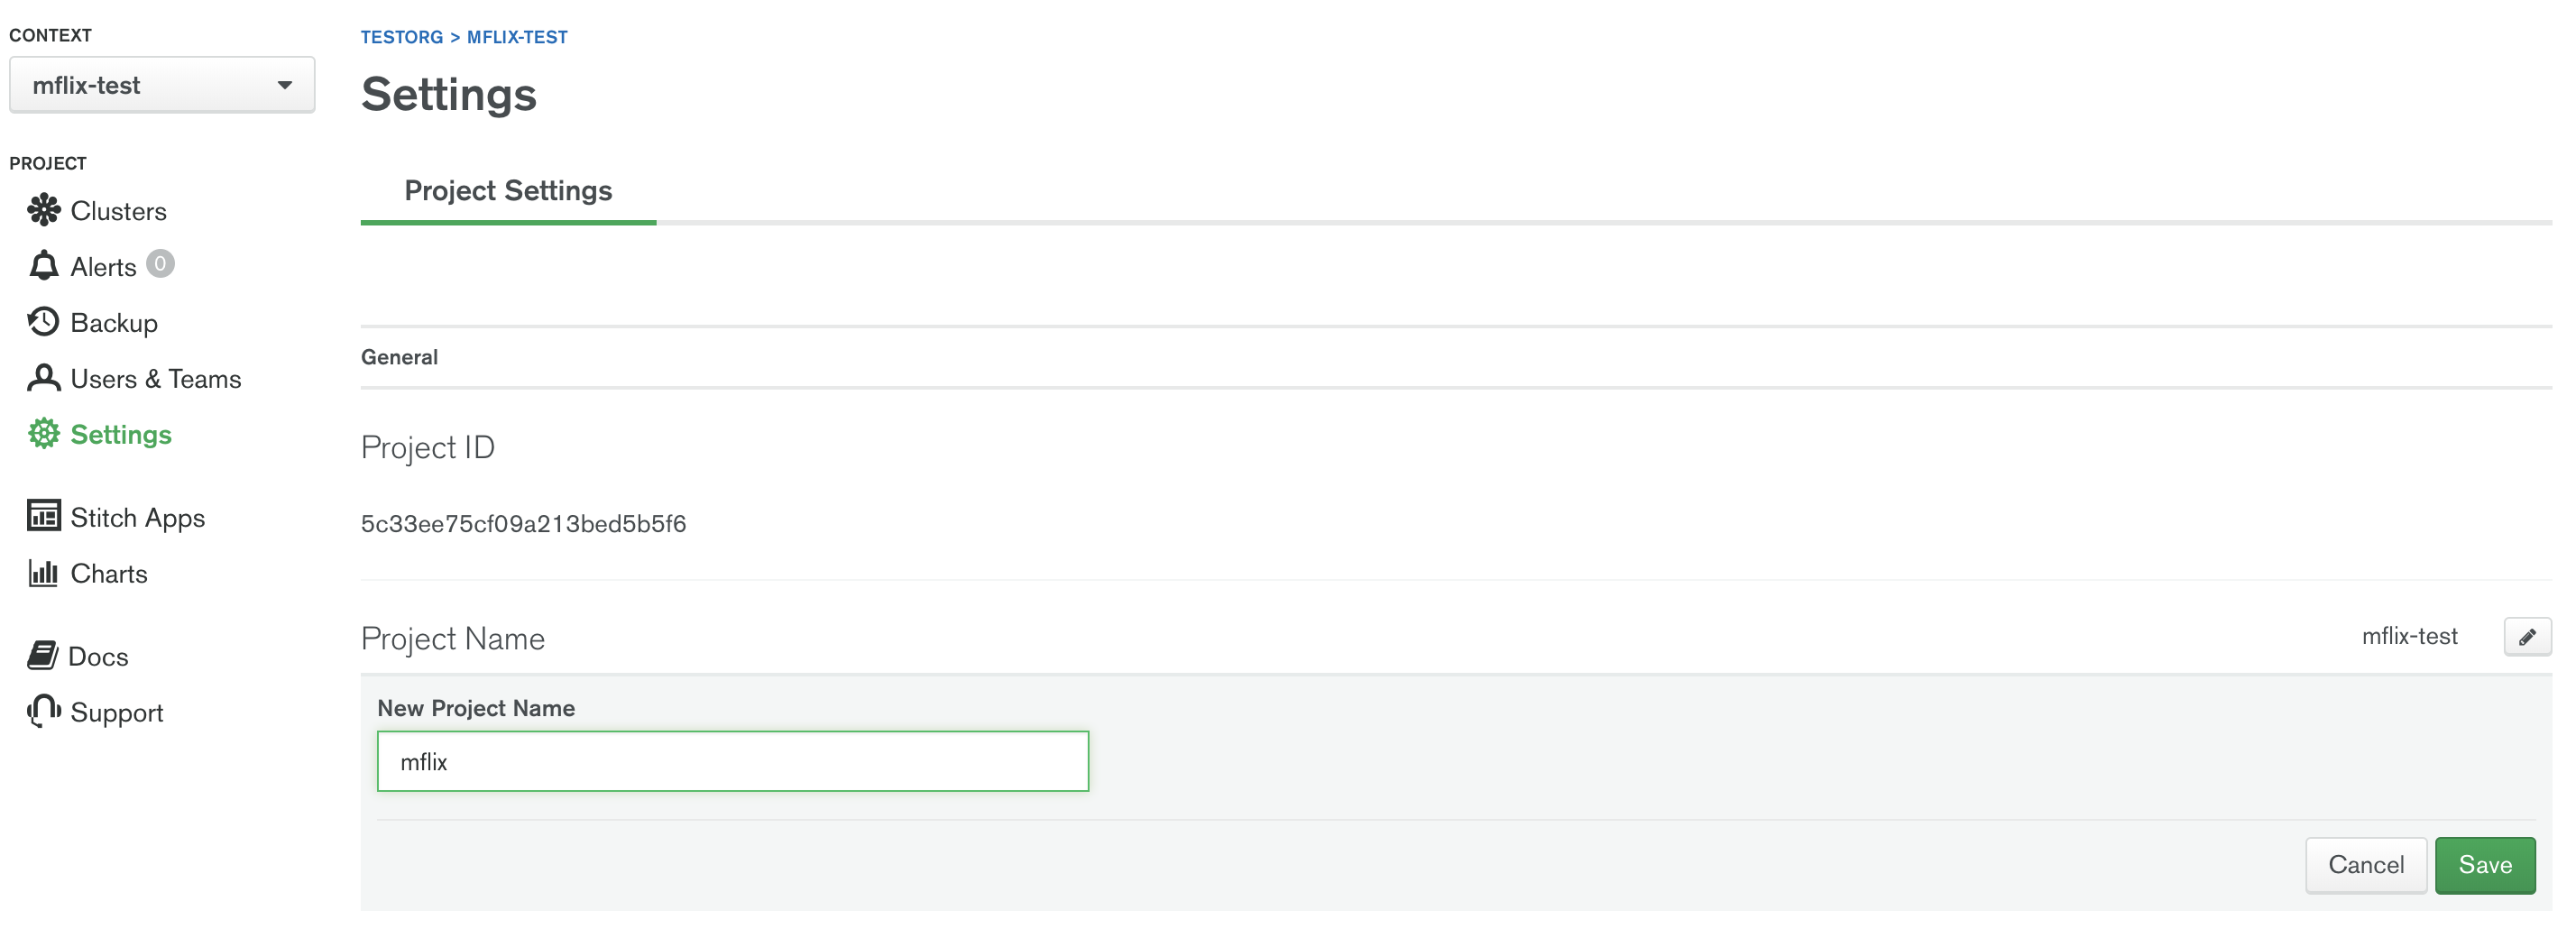
- Once you press Create Cluster, you will be redirected to the account dashboard. In this dashboard, make sure that the project is named M220. If not, go to the Settings menu item and change the project name from the default Project 0 to M220:
- Next, configure the security settings of this cluster, by enabling the IP Whitelist and MongoDB Users:
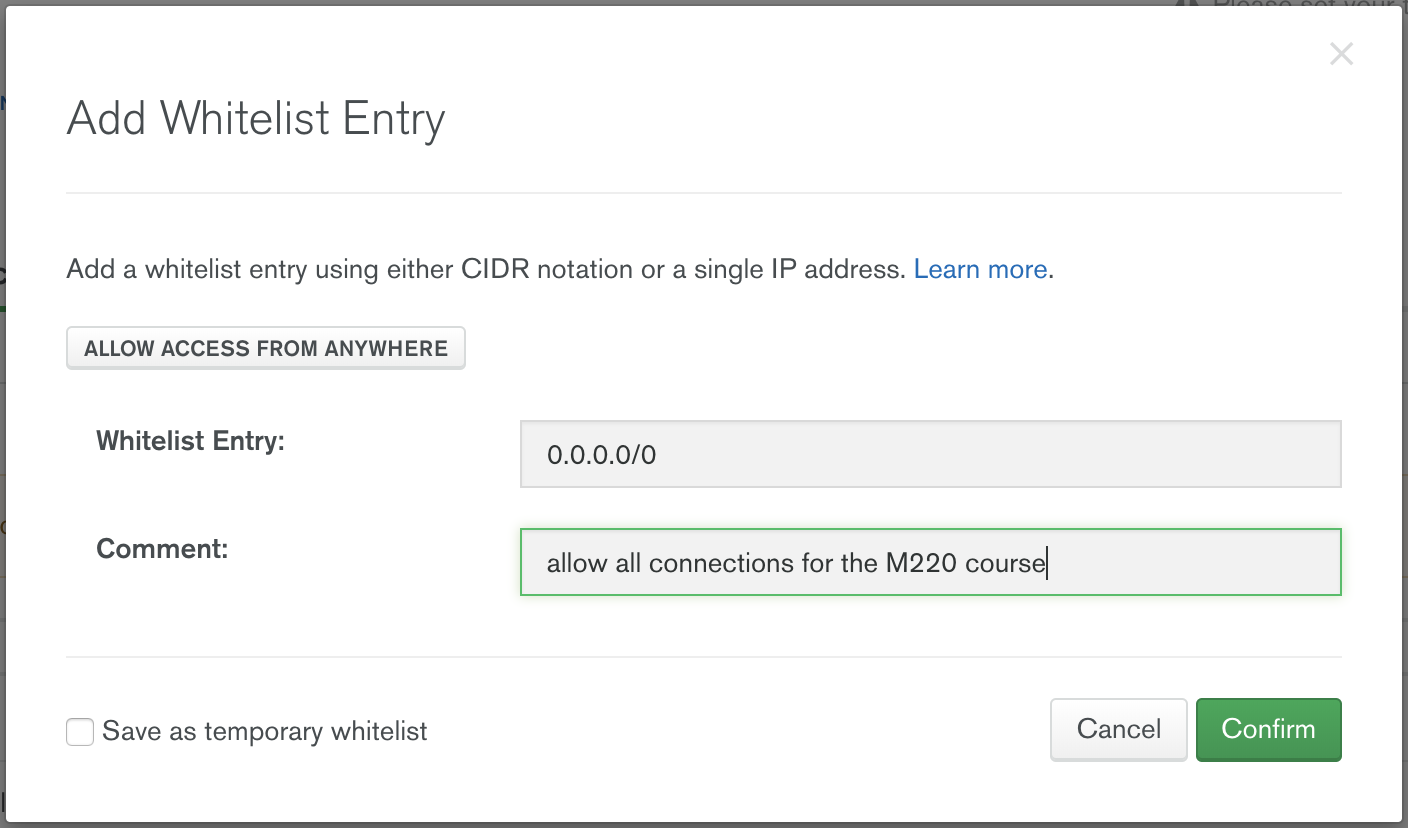
Update your IP Whitelist so that your app can talk to the cluster. Click the "Security" tab from the "Clusters" page. Then click "IP Whitelist" followed by "Add IP Address". Finally, click "Allow Access from Anywhere" and click "Confirm".
Note that in a production environment, you would control very tightly the list of IP addresses that can connect to your cluster.

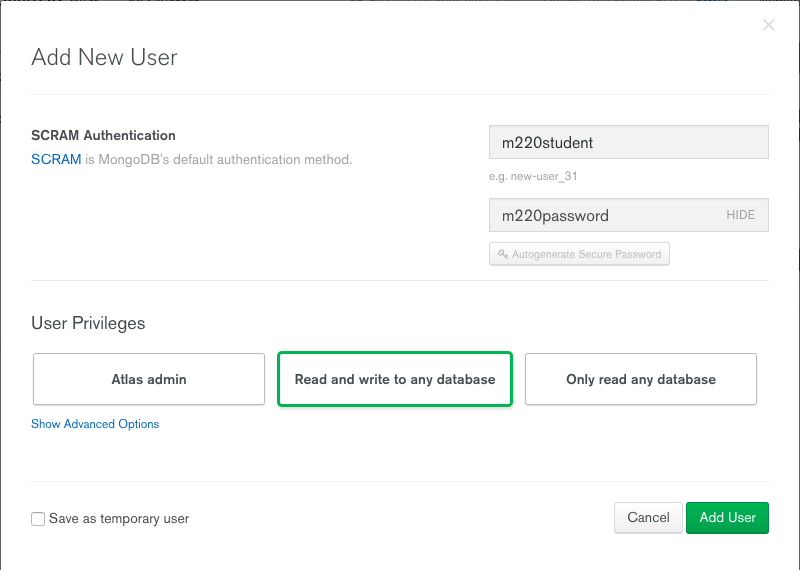
- Then create the MongoDB database user required for this course:
- username: m220student
- password: m220password
You can create new users through Security -> MongoDB Users -> Add New User
Allow this user the privilege to Read and write to any database:
- When the user is created, and the cluster is deployed, you can test the setup by connecting via the
mongoshell. You can find instructions to connect in the Connect section of the cluster dashboard:
Go to your cluster Overview -> Connect -> Connect Your Application. Select the option corresponding to MongoDB version3.6+ and copy the
mongoconnection URI.The below example connects to Atlas as the user you created before, with username m220student and password m220password. You can run this command from your command line:
mongo "mongodb+srv://m220student:m220password@<YOUR_CLUSTER_URI>"By connecting to the server from your host machine, you have validated that the cluster is configured and reachable from your local workstation.

The mongorestore command necessary to import the data is located below. Copy the command and use the Atlas SRV string to import the data (including username and password credentials).
Replace the SRV string below with your own:
# navigate to mflix-java directory
cd mflix-java

# import data into Atlas
mongorestore --drop --gzip --uri mongodb+srv://m220student:m220password@<YOUR_CLUSTER_URI> dataIn the mflix/src/main/resources directory you can find a file called application.properties.
Open this file and enter your Atlas SRV connection string as directed in the comment. This is the information the driver will use to connect. Make sure not to wrap your Atlas SRV connection between quotes:
spring.mongodb.uri=mongodb+srv://m220student:m220password@<YOUR_CLUSTER_URI>To run MFlix, run the following command:
cd mflix
mvn spring-boot:run
And then point your browser to http://localhost:5000/.
It is recommended you use an IDE for this course. Ensure you choose an IDE that supports importing a Maven project. We recommend IntelliJ Community but you can use the product of your choice.
The first time running the application might take a little longer due to the initial setup process.
To run the unit tests for this course, you will use JUnit. Each course lab contains a module of unit tests that you can call individually with a command like the following:
cd mflix
mvn -Dtest=<TestClass> test
For example to run the ConnectionTest test your shell command will be:
cd mflix
mvn -Dtest=ConnectionTest test
Alternatively, if using an IDE, you should be able to run the Unit Tests individually by clicking on a green play button next to them. You will see this demonstrated in the course as we will be using IntelliJ.
Each ticket will contain the command to run that ticket's specific unit tests. When running the Unit Tests or the Application from the shell, make sure that you are in the same directory as the pom.xml file.