Terminal Keynote is a quick and dirty script I wrote for presenting my talks at BaRuCo 2012 and RailsClub 2012.
Slides are written in Ruby. See the examples folder.
This is a total hack. It is procedural, uses a global variable, it has not been parametrized or generalized in any way. It was tailor-made for what I exactly wanted but some people in the audience asked for the script. Even if it is quick and dirty I am very happy to share it so I have commented the source code and there you go!
None, just text going to a terminal.
If you want a list type "*"s. If you want bold face or colors use ANSI escape sequences. There are a few gems that may help, but take into account that creating them in Ruby is very easy using "\e" for ESC in a string with double-quotes semantics like the heredoc literals you'll see in the examples. For example
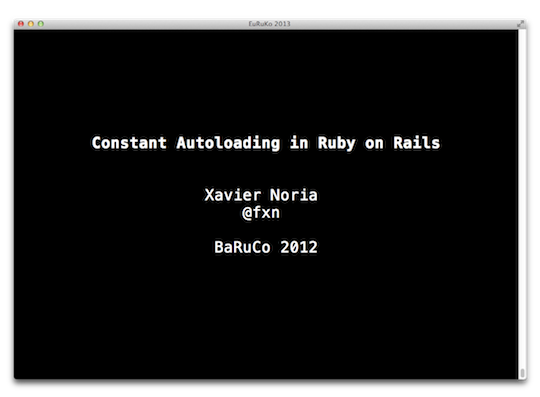
\e[1mConstant Autoloading in Ruby on Rails\e[0m
makes the title in the cover above to appear in bold, and
\e[31;1m21.64\e[0m
prints "21.64" in red and also using a bold face.
Also, old-school box drawing characters may give a nice touch to your slides:
These are the basic ones for copy & paste:
┌───┬───┐
│   │   │
├───┼───┤
│   │   │
└───┴───┘
If the boxes show a little vertical gap in the terminal instead of the solid lines seen in the screenshots, chances are the font is configured with some extra vertical spacing. Go to the font dialog and turn it back to 1.0 or something.
Terminal Keynote is text-based, but with style! Syntax highlighting is done on the fly with @tmm1's pygments.rb. The script uses the "terminal256" formatter and "bw" style, the lexer is "ruby" by default but this can be overriden in code slides.
There are five types of slides:
A slide with source code.
The listing is syntax highlighted on the fly. If you want to put a title or file name or something use source code comments and imagination.
The code method accepts a second argument with the name of the programming language, defaults to :ruby.
code <<-EOS
  # rubinius/kernel/common/module.rb

  class Module
    attr_reader :constant_table
    attr_writer :method_table
    ...
  end
EOS
A slide whose text is centered line by line.
Note that you can write the lines against the left margin just normal, Terminal Keynote will take care of centering them. This is illustrated in the following example.
center <<-EOS
  Corollary: Active Support does not emulate
  constant name resolution algorithms
EOS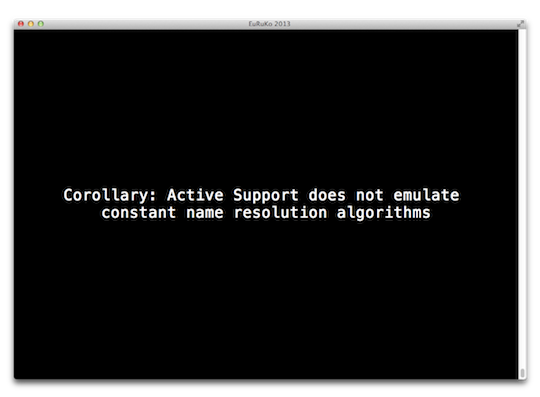
A slide with text content whose formatting is preserved, but that is centered as a whole in the screen. Do that with CSS, ha!
I find centering content in the screen as a block to be more aesthetically pleasant that flushing against the left margin. There is no way to flush against a margin.
block <<-EOS
  What is watched and reloaded:

    * Routes

    * Locales

    * Application files:

        - Ruby files under autoload_*

        - db/(schema.rb|structure.sql)
EOS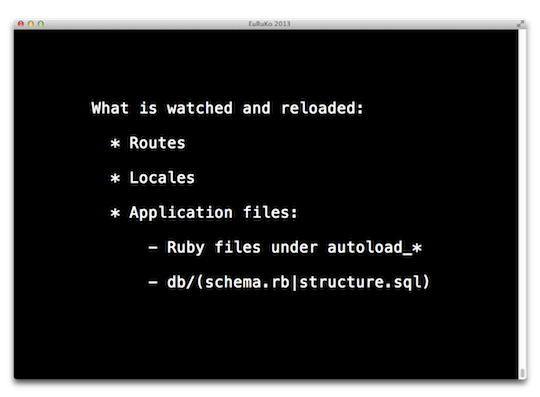
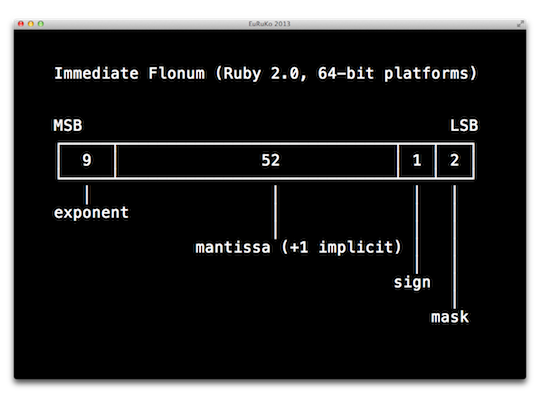
A slide with an image.
This is only supported in iTerm2, and you need to turn the blending level to the max to see the image normally (otherwise you'll see it with kind of a translucent layer on top). To do so move the "Blending" slider in Preferences > Profiles > Window all the way to the right.
image 'elements.png'
Sections have a title and draw kind of a fleuron. This is also hard-coded because it is what I wanted.
Sections allow you to group slides in your Ruby slide deck, and since they yield to a block you can collapse/fold the ones you are not working on for focus.
The nested structure is not modeled internally. The script only sees a flat linear sequence of slides.
section "Constants Refresher" do
  code <<-EOS
    X = 1
  EOS

  ...
end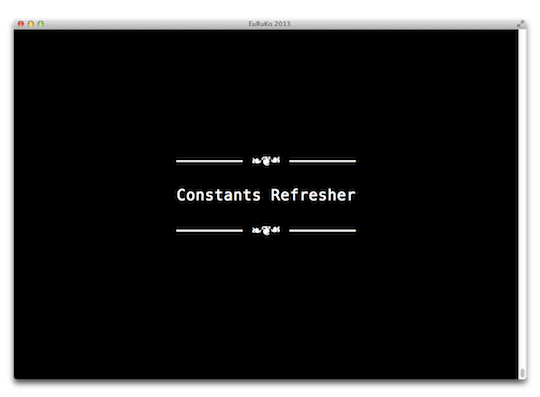
There is one hard-coded visual effect: Once the exact characters of a given slide are computed, we print char by char with a couple milliseconds in between. That gives the illusion of an old-school running cursor. Configure block blinking cursor for maximum awesomeness.
-
To go forward press any of " ", "n", "k", "l", Right, PageDown (but see below).
-
To go backwards press any of "b", "p", "h", "j", Left, PageUp (but see below).
-
First slide: "^".
-
Last slide: "$".
-
Go to slide: "g" (accepts a 1-based index, "t" for tallest, and "w" for widest, useful for checking font size).
-
Search for slide: "/".
-
Toggle status: "s".
-
Run
$SHELLinside the presentation (console): "c" (resume with Ctrl-D). -
Quit: "q".
Searching accepts a regular expression. A nice trick to enable a modifier in a particular search is to use the
(?imx−imx:...)
syntax. For example to look for "constant" in a case-insensitive way just enter
Search for: (?i:constant)
My Logitech remote emits PageDown and PageUp. You get those as "\e[5~" and "\e[6~" respectively and the script understands them, but you need to configure them in Terminal.app and also tell it to pass them down to the shell selecting "send string to the shell" in the "Action" selector.
For your preferred setup you typically have one profile per resolution:
-
Find out the resolution of the projector of the conference (ask the organization).
-
Set the screen to that resolution. In Mac OS X, if the resolution is not included among the ones available in the Displays configuration panel, try holding the Option key while clicking on the "Scaled" radio button.
-
Choose font and font size with a maximized window, make sure the widest and tallest slides in the deck fit (using
g t RETandg w RETrespectively). Check the number of rows and columns by opening a shell inside the presentation withcand runningstty size(Ctrl-D to go back to the presentation). -
Then, define in your terminal a profile for that resolution, choose a theme you like and configure those settings. In particular set font size and the initial rows and cols to those figures.
Using that profile the terminal will launch with all set no matter the screen resolution and you can hack your talk in your day to day with the native resolution, seeing how it is going to look in proportion.
The profile for the presentation above uses Menlo at 32 points. That gives 18x52 in a screen resolution of 1024x768.
PDF generation is easy.
For example, on a Mac, you can put the terminal in full screen, Cmd-Shift-4 to take a screenshot, space to say you want the entire window, click. Next slide. Repeat. No big deal, in a few minutes you're done. Then go to the directory with the screenshots and run
convert Screenshot*.png my_presentation.pdf
to get a PDF with all images on it.
A snippet for your editor is basic to write slides quickly. The extras folder has a snippet for Sublime Text 2.
Cathode is perfect for this thing. But because of how it draws the text it doesn't do bold faces and may not be able to render some colors or Unicode characters. YMMV.
By now Terminal Keynote is not going to be a gem, please clone the repo and hack your talk. In its current state it is just too tailor-made for anything but personal forks. Please keep the script together with the slides, that way you guarantee one year later the presentation will still run.
If Terminal Keynote evolves it is going to do so in backwards incompatible ways for sure. So, let's wait. If the thing ever converges to something that can be packaged then I'll do it.
Terminal Keynote needs Ruby 1.9 or 2.x and Pygments.
Once those are installed run gem install bundler, root privs may be needed. Then cd into the directory with your tkn clone and run bundle, this installs the Ruby dependencies.
All set, to launch the example run
bundle exec bin/tkn examples/constant_autoloading_in_ruby_on_rails.rb
Released under the MIT License, Copyright (c) 2012–ω Xavier Noria.


