For total noobs.


This tutorial was written by and is dedicated for absolute noobs - with no - or with really basic - electronic knowledge.
The knowledge is: don't play with high voltage. We'll be using 12 volts @ 2 amps of current AT MOST. Keep in mind, 2 amps would be enough to kill you, but 12 volts is not enough to make it through your skin, so in our case it's pretty safe to handle (unless you'll try to touch both wires by your tongue).
First of all - and probably most important - you want to be as secure as possible and you will need a multimeter. Everytime you're not 100% sure if wires you want to touch are safe, use multimeter to verify what voltage and current you're dealing with.
I've used Botland as an example shop where You can buy every single piece for this project, however - you'll probably be able to buy this stuff cheaper in your local store.
You will need:
- Multimeter - 5 EUR - 100 EUR (20 PLN - 400 PLN) - it's one-time buy, i'm using the cheapest one, so if it's not something you'll be doing often / or you're a noob like me - it'll be more than enough;
- Raspberry Pi - 35 EUR - 40 EUR (145 PLN - 200 PLN) - another one-time buy, i'm using Raspberry Pi 3, however you can use any version, as this tutorial "software-wise" is based on Raspbian - Debian Linux version dedicated for Raspberry Pi - and it's identical across all Raspberry Pi versions;
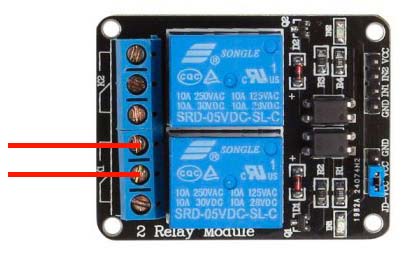
- 1 x Relay - 3 EUR (13 PLN) - relay is a device which connects and disconnects electrical current based on a signal from Raspberry Pi; long story short - Raspberry can deliver 5 volts @ 40 miliamps of current which is not enough to power our water pump, but is more than enough to turn our relay on and off; additionally - relay switch in our case can support 220 volts @ 10 amps and is completely separated from our Raspberry so the risk of it being burned is minimal;
- 3 x female jumper wires - 0,15 EUR (0,45 PLN) - you will use these wires to connect Raspberry to your relay;
- 2-3 meters of two-wire cable - 0,25 EUR (1 PLN) - you will use this cable to connect your pump with your relay;
- 2 x female DC 2.1/5.5 - 1 EUR (4 PLN) - you will plug in your 12 volt power supply to one of them and a water pump to the another; this way You will keep your project clean if for some reason you would like to use these sockets elsewhere;
- 1 x male DC 2.1/5.5 - 0,5 EUR (2 PLN) - you will connect your pump wire to this one;
- A pump - 20 EUR (80 PLN) - this is completely up to You and as long as you will pick 12 volt pump - everything in this tutorial is valid; what's important - this particular element should be discussed separately with your supplier. Ask him / her if it'll be sufficient to fullfill your needs as you may want either - smaller pump, to irrigate 2 flowers, or bigger pump to irrigate your entire garden;
- 12 volt power supply - 4 EUR (20 PLN) - this one will be used to drive your water pump; make sure it's enough to to support it's power requirement (in our case pump require 12 volt @ peak 1,5 amps and power supply can deliver 2,1 amps, which is sufficient);
- Raspberry Pi power supply - 0,5 EUR (2 PLN) - i'm using simple USB -> microUSB cable connected to my internet router (and it's enough!) - however, you could buy yourself a separate power supply (or if you're more experienced - use 12 volt input stepped down to 5 volt, google how to do it);
- Screwdriver :);
- Rubber pipes - for your water; depends on your needs, i bought 15 meters for 25 plants for around 5 EUR (20 PLN);
Total price for all elements which will be used in this project is 75 EUR (307,45 PLN). HOWEVER: multimeter and Raspberry Pi are elements, which you can use in your future projects, not only once (i'm using my Raspberry in this project and as a HTTP server at the same time). Most of these elements are plug and play with no need for soldering, so if You already have Raspberry and multimeter, you're looking at 35 EUR (142,45 PLN) in parts. Neat!
Raspberry Pi's maximum current is 5 volts @ few houndred miliamps which is not enough to power any real world pump. And even if it would be enough, you really shouldn't connect any powerful device directly to GPIO, as it isn't what it should do.
That's why we're using a relay. In simple words, relay is pretty similar to your light switch - you're connecting and disconnecting a circuit (which may be either 12 volt or 230 volt) using your finger, but in this case - you're using 5 volts from your Raspberry to toggle the switch.
I'm using 4 channel relay only because i didn't have anything smaller. 1 channel will be enough to finish this project.
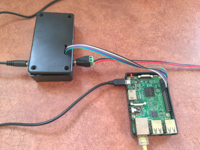
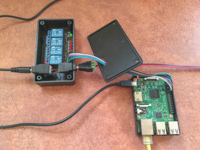
As you've bought two DC sockets (i've bought pretty neat fast connector sockets, so i don't even have to use a screwdriver), they're usually quite good described.
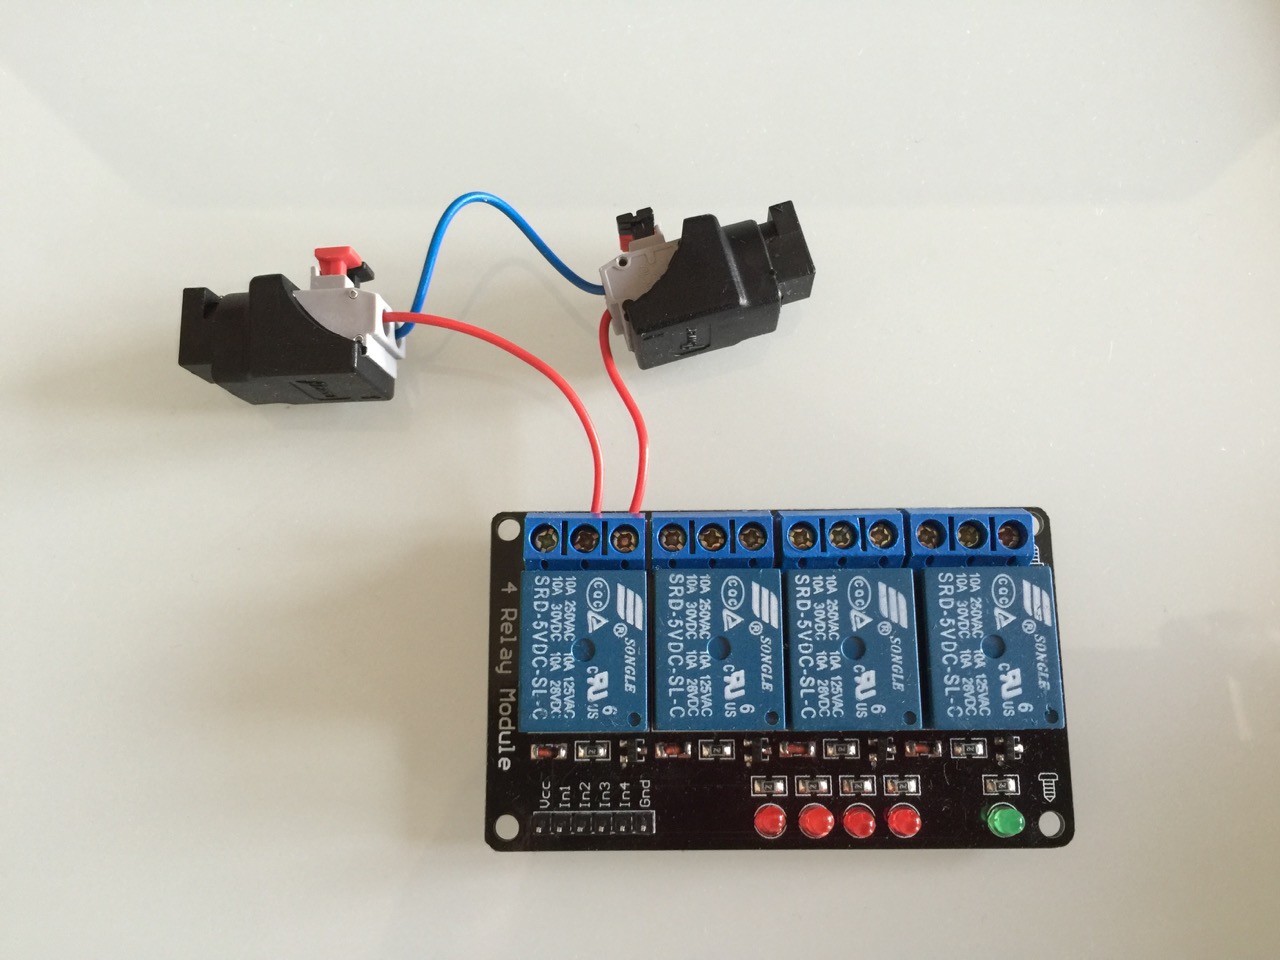
Connect one socket's GROUND (-) to the other sockets GROUND (-) using some kind of a standard color cable. I'm always using blue or black color while connecting GROUND (-), just for my convenience.
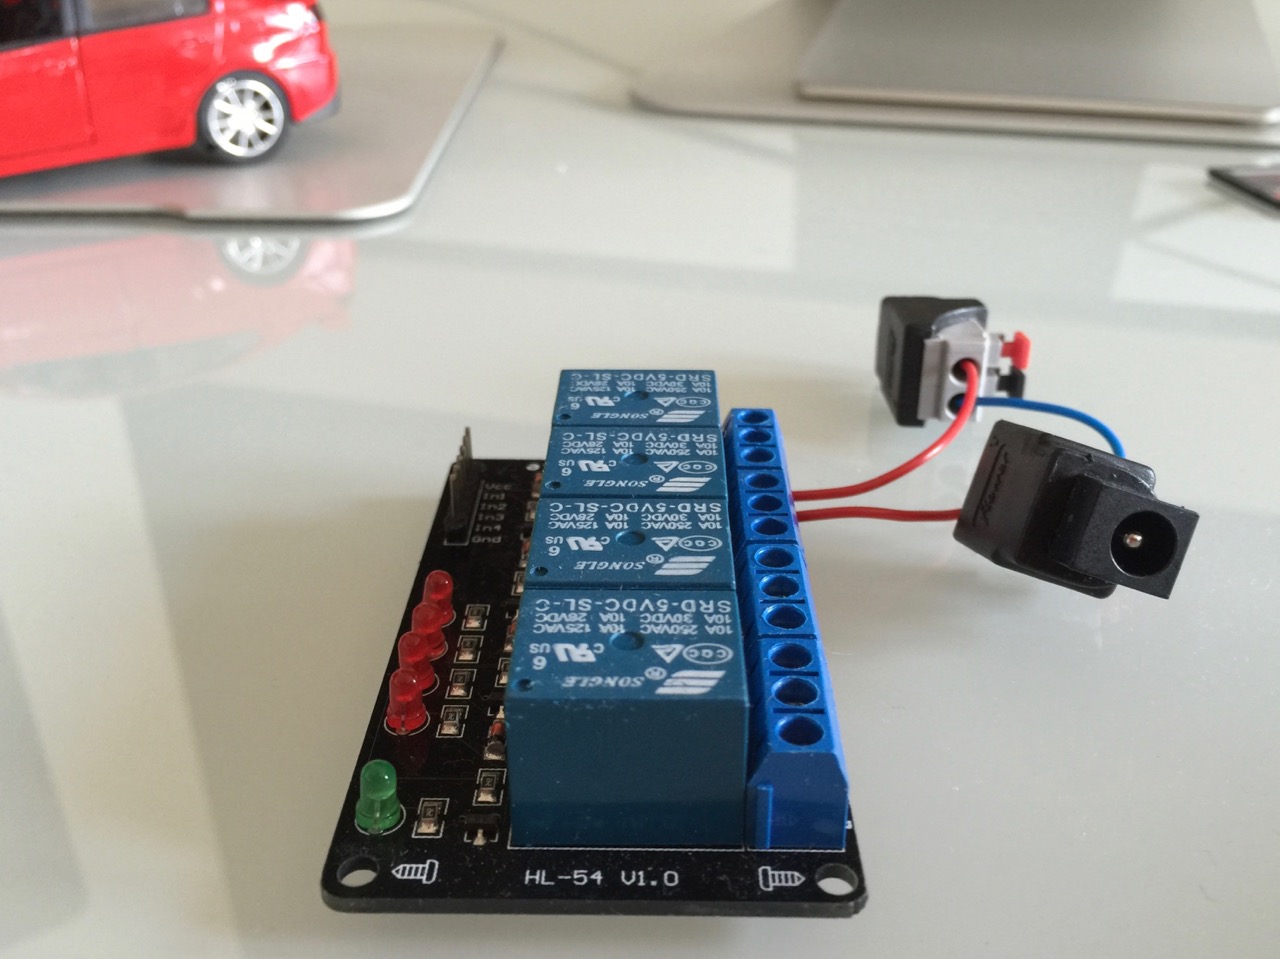
Now use the red wire, and connect from first socket's "+" to the relay, and another red wire to connect the relay to the other socket's "+". Ff you connect your sockets as above, relay will be disconnected as long as there is no electrical current applied (which is exactly what we need).
Voila!
Why each channel provides you 3 connectors? Every relay gives you an option - circuit can be either connected or disconnected when there is no current applied to the relay - it's your decision what do you need. If you connect your cable to the bottom two connectors - circuit will be closed when there is no current. However, it's obviously not what we need in this project :)
To do.
To do.
#!/usr/bin/python
#
#

import RPi.GPIO as GPIO
import time

GPIO.setwarnings(False)

RELAY_PIN = 4

def turn_on(duration = 5):
        GPIO.setmode(GPIO.BCM)
        GPIO.setup(PUMP_RELAY_PIN, GPIO.OUT, initial=GPIO.LOW)
        time.sleep(duration)
        GPIO.cleanup([RELAY_PIN])

turn_on(5)To do.
To do.


