In this lesson you will learn how to save the work you are doing to your personal GitHub profile. This process should be done once the lesson has been completed. This will be done through creating a fork of the lesson, changing the origin that git pushes to, and pushing the changes using a terminal in Illumidesk. After following this process, your contributions graph will register your work.
"Earning green squares on your contribution graph means celebrating the work you do in open source and public projects. Starting today, you can also celebrate the work you do in private by sharing anonymized contributions from private repositories."- Sarah Vessels, The GitHub Blog
Learn more about how contributions are counted Here.
You will be able to:
- Change the origin your information is pushed to in GitHub
- Save your work from Illumidesk to GitHub
- Open a new terminal in Illumidesk
- Earn credit for your work on your GitHub contribution graph
- Navigate to the lesson's repsitory from Canvas using the GitHub repository link

- Click on the
Forklink in that repository
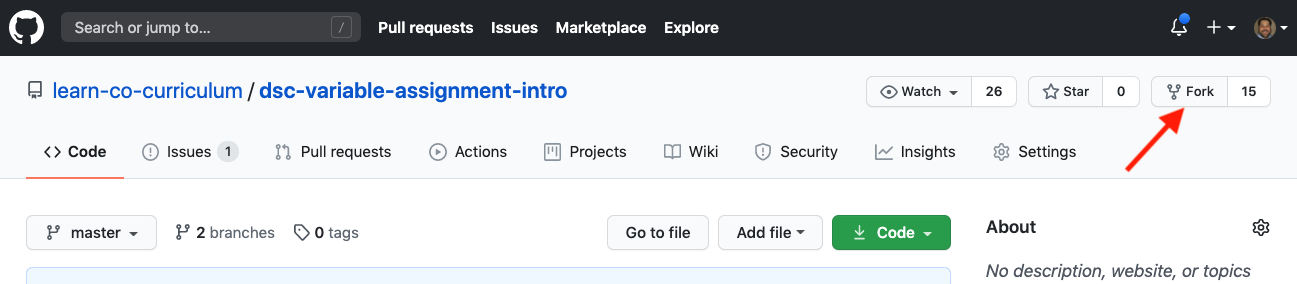
- This will create a forked copy in your GitHub profile
- You will be taken to your new repository once the forking is complete
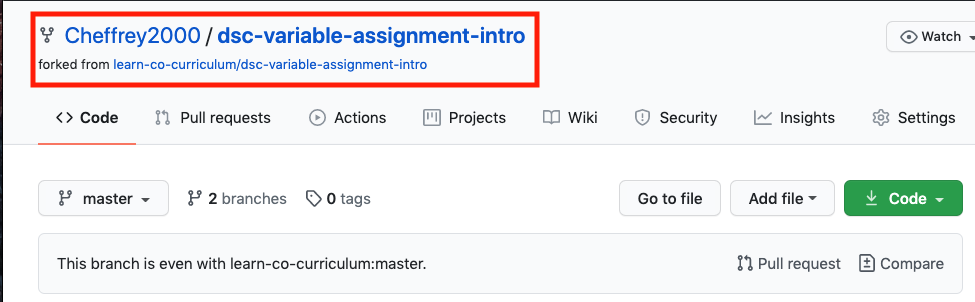
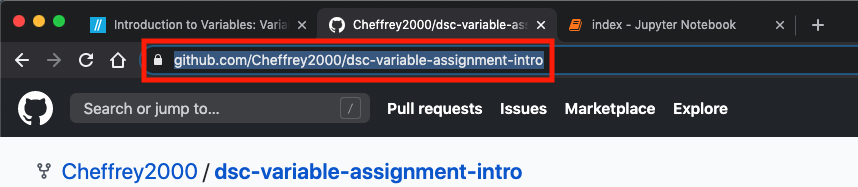
- Copy the url for this repo to your clipboard for use after a few more steps
The next step of the process can mostly be done in a Jupyter Notebook, but it is a good opportunity to get familiar with command line operations or working in Terminal, so we will do this part in a terminal in Illumidesk
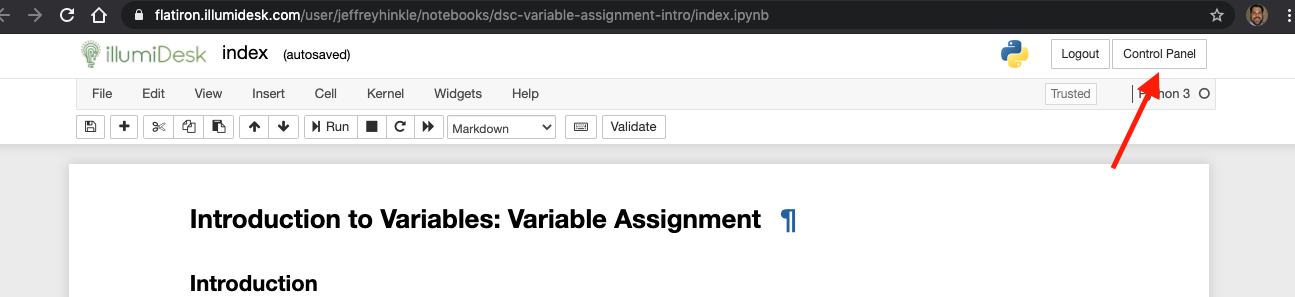
- Open your Illumidesk control panel by clicking on the
Control Panelbutton in the upper right corner of the notebook.
- Click on the
My Serverbutton to access your Illumidesk files

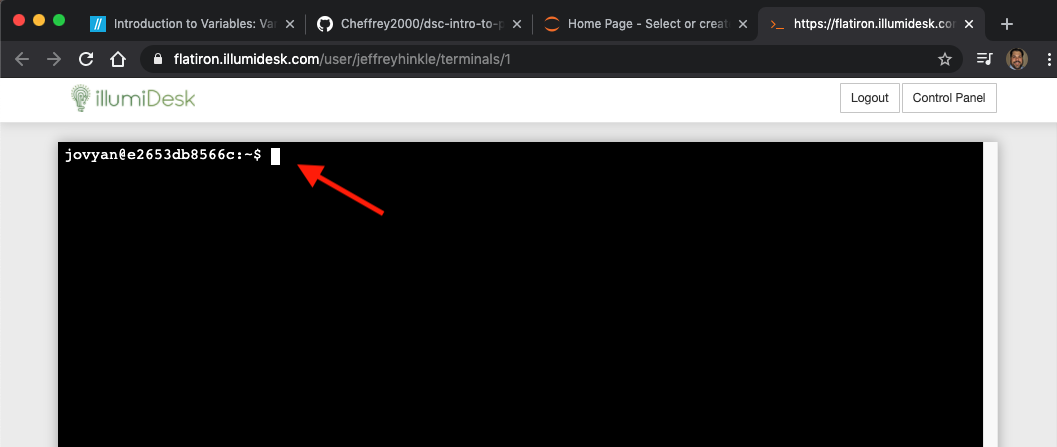
- Click the
Newdrop down menu and chooseTerminaland locate the command prompt- If you have not set up your github credentials in Illumidesk, you will need to run the following commands:
git config --global user.name "your github username here"
git config --global user.email "your github email here"
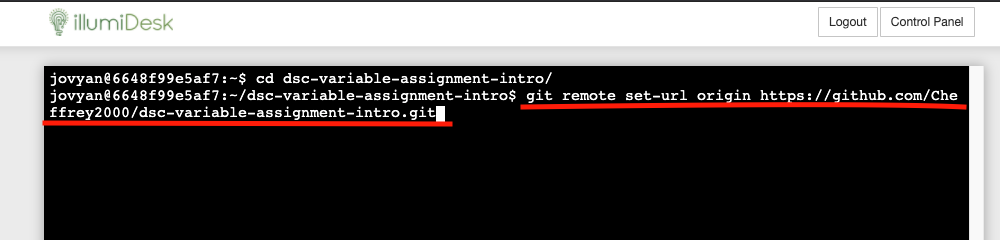
- Navigate to the directory of the lesson using the
cdcommand followed by the name of the repository which begins withdsc-:
cd <your lesson directory here>

- Change the remote location that GitHub will push your work to using
git remote set-url originand the repo location you copied to your clipboard from the fork you created in the first steps of this lesson.
git remote set-url origin <your copied fork url here>
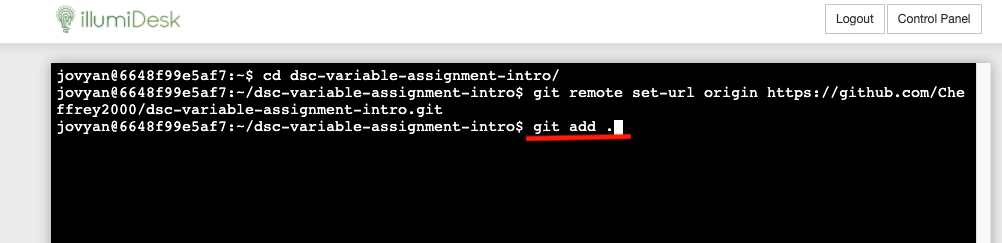
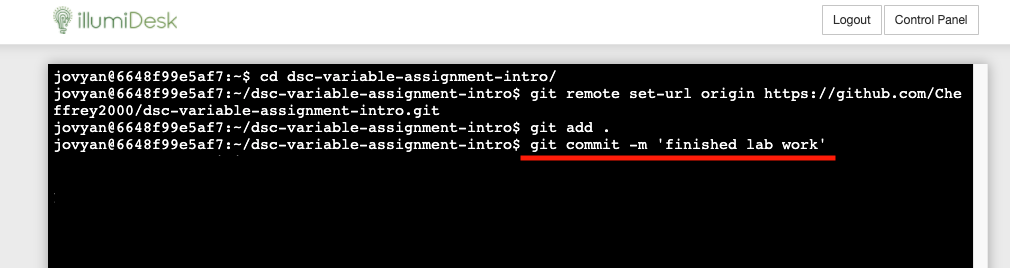
- Now that you have set the origin to your forked repository, you can stage and commit your work.
git add .
git commit -m '<your message here>'
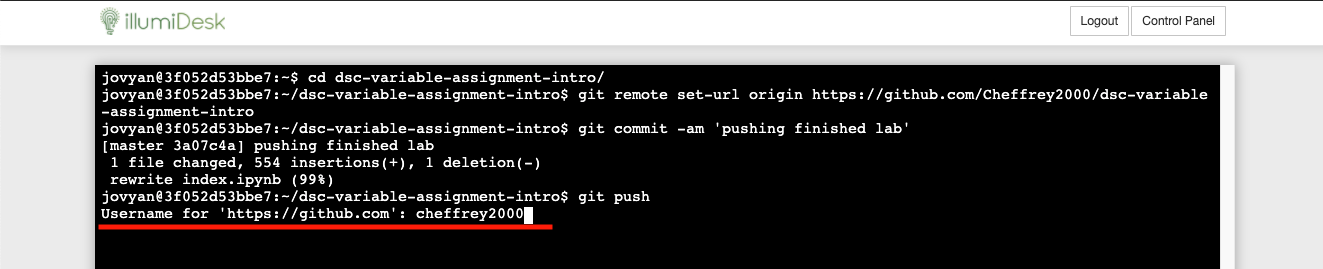
- Now that you have staged and commited your work, you are ready to complete the task by pushing the changes to GitHub. The
pushcommand will prompt you to enter your GitHub username and password before your push can be completed.
git push

- Enter your GitHub user name
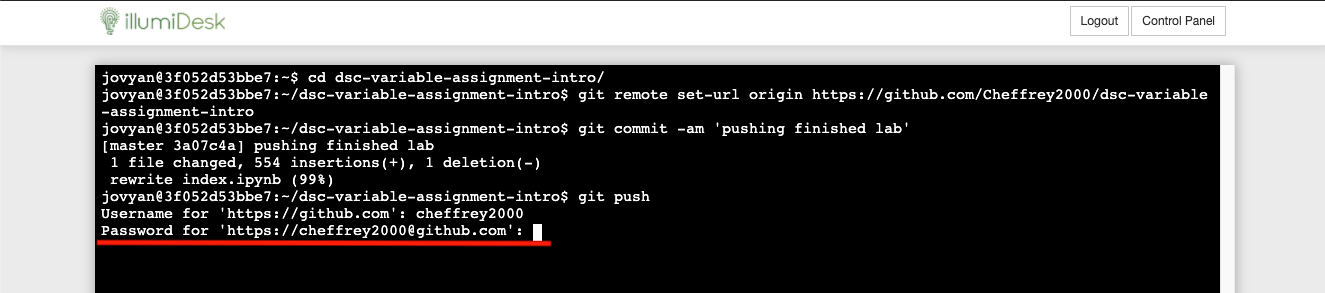
- Enter your password
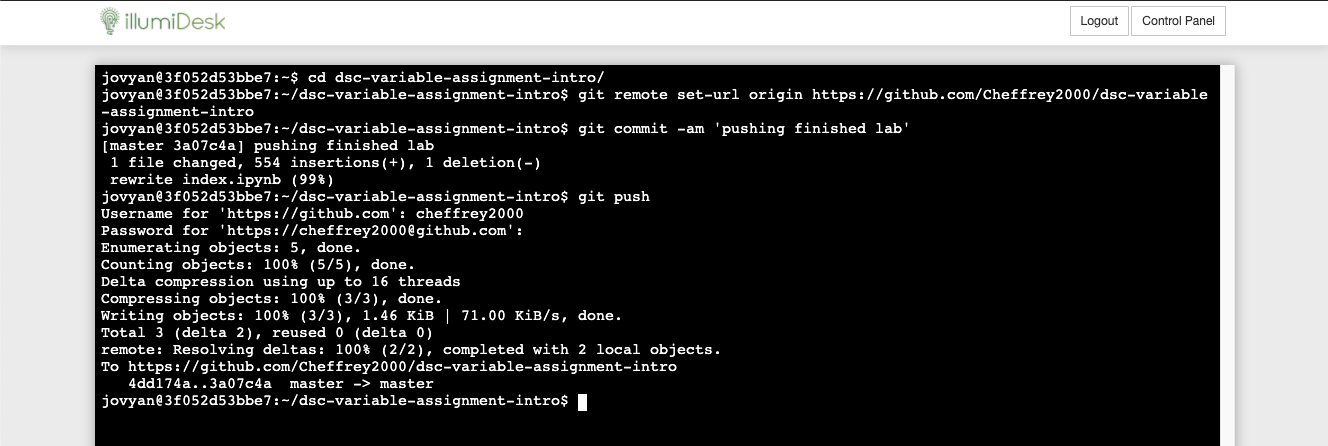
- If everything goes as planned, it should look something like this:
In this lesson, you were able to save the work you have done to your personal GitHub profile so you can begin showing activity on your GitHub profile. Below is a block containing all of the code used in this process:
cd <your directory here>
git remote set-url origin <your repository url here>
git add .
git commit -m '<your message here>'
git push
