
A straightforward React state management library with hooks and immutable state:

Jump to docs for <Store>, useStore(), useSelector(), useActions(), examples.
First create a React project (try Create-React-App) and install statux:
npm install statux
Now we are going to initialize our store at the App root level with a couple of initial values:
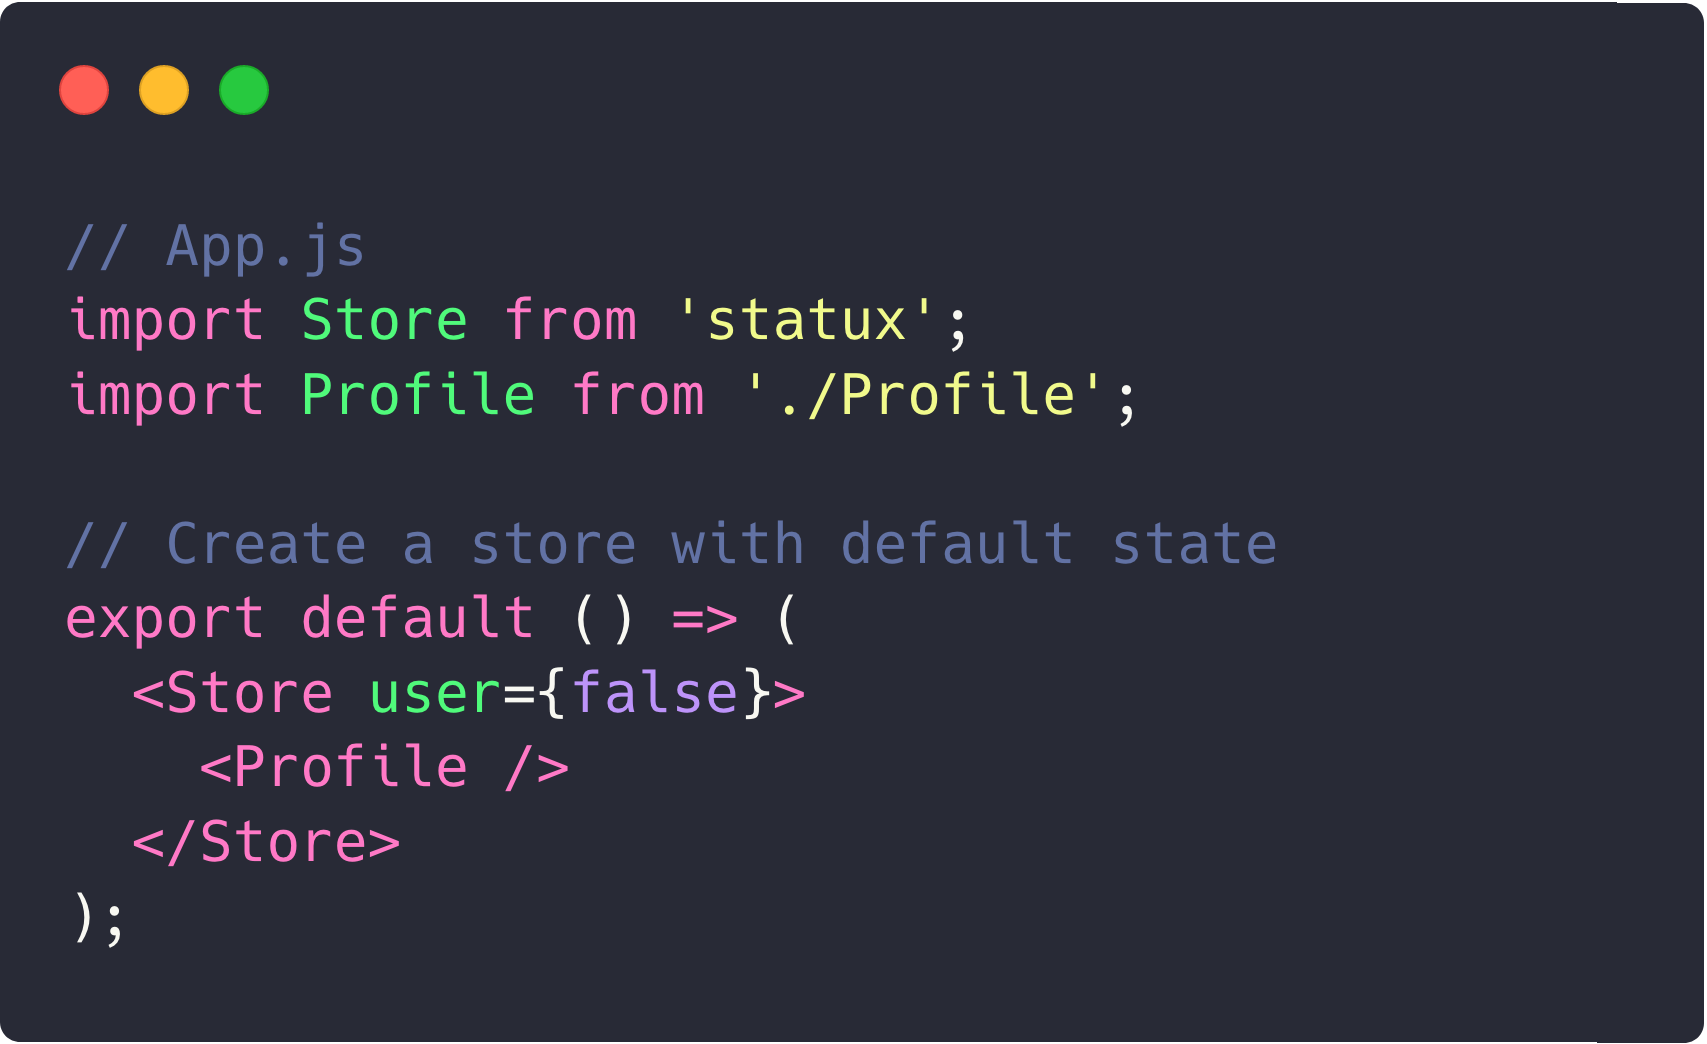
// src/App.js
import React from 'react';
import Store from 'statux'; // This library
import Website from './Website'; // Your code

// Initial state is { user: null, books: [] }
export default () => (
  <Store user={null} books={[]}>
    <Website />
  </Store>
);
Finally, use and update these values wherever you want:
// src/User.js
import React from 'react';
import { useStore } from 'statux';

export default () => {
  const [user, setUser] = useStore('user');
  return (
    <div>
      Hello {user ? user.name : (
        <button onClick={e => setUser({ name: 'Maria' })}>Login</button>
      )}
    </div>
  )
};There are four pieces exported from the library:
<Store>: the default export that should wrap your whole App. Its props define the store structure.useStore(selector): extracts a part of the store for data retrieval and manipulation. Accepts a parameter to specify what subtree of the state to use.useSelector(selector): retrieve a specific part of the store state based on the selector or the whole state if none was given.useActions(selector): generate actions to modify the state while avoiding mutations. Includes default actions and can be extended.
This should wrap your whole project, ideally in src/App.js or similar. You define the structure of all of your state within the <Store>:
// src/App.js
import Store from 'statux';
import Navigation from './Navigation';

// state = { id: null, friends: [] }
export default () => (
  <Store id={null} friends={[]}>
    <Navigation />
  </Store>
);
When your state starts to grow - but not before - it is recommended to split it into a separated variable for clarity:
// src/App.js
import Store from 'statux';
import Navigation from './Navigation';

const initialState = {
  id: null,
  friends: [],
  // ...
};

export default () => (
  <Store {...initialState}>
    <Navigation />
  </Store>
);
That's all you need to know for creating your state. When your app starts to grow, best-practices of redux like normalizing your state are recommended.
This is a React hook to handle a state subtree. It accepts a string selector and returns an array similar to React's useState():
import { useStore } from 'statux';

export default () => {
  const [user, setUser] = useStore('user');
  return (
    <div onClick={e => setUser({ name: 'Maria' })}>
      {user ? user.name : 'Anonymous'}
    </div>
  );
};
You can access deeper items and properties within your state through the selector:
import { useStore } from 'statux';

export default () => {
  // If `user` is null, this will throw an error
  const [name = 'Anonymous', setName] = useStore('user.name');
  return (
    <div onClick={e => setName('John')}>
      {name}
    </div>
  );
};
It accepts a string selector that will find the corresponding state subtree, and also return a modifier for that subtree. useStore() behaves as the string selector for useSelector() and useActions() together:
const [user, setUser] = useStore('user');
// Same as
const user = useSelector('user');
const setUser = useActions('user');
Note: useStore() only accepts either a string selector or no selector at all; it does not accept
functionsorobjectsas parameters.
The first returned parameter is the frozen selected state subtree, and the second parameter is the setter. This setter is quite flexible:
// Plain object to update it
setUser({ ...user, name: 'Francisco' });

// Function that accepts the current user
setUser(user => ({ ...user, name: 'Francisco' }));

// Modify only the specified props
setUser.assign({ name: 'Francisco' });
See the details and list of helpers on the useActions() section.
This React hook retrieves a frozen (read-only) fragment of the state:
import { useSelector } from 'statux';

export default () => {
  const user = useSelector('user');
  return <div>{user ? user.name : 'Anonymous'}</div>;
};
You can access deeper objects with the dot selector, which works both on objects and array indexes:
import { useStore } from 'statux';

export default () => {
  const title = useSelector('books.0.title');
  const name = useSelector('user.name');
  return <div>{title} - by {name}</div>;
};
It accepts both a string selector and a function selector to find the state that we want:
const user = useSelector('user');
const user = useSelector(({ user }) => user);
const user = useSelector(state => state.user);
You can dig for nested state, but if any of the intermediate trees is missing then it will fail:
// Requires `user` to be an object
const name = useSelector('user.name');

// Can accept no user at all:
const user = useSelector(({ user }) => user ? user.name : 'Anonymous');

// This will dig the array friends -> 0
const bestFriend = useSelector('friends.0');This React hook is used to modify the state in some way. Pass a selector to specify what state fragment to modify:
const setState = useActions();
const setUser = useActions('user');
const setName = useActions('user.name');

// Update in multiple ways
setName('Francisco');
setName(name => 'San ' + name);
setName((name, key, state) => { ... });
These actions must be executed within the appropriate callback:
import { useActions } from 'statux';
import Form from 'your-form-library';

const ChangeName = () => {
  const setName = useActions('user.name');
  const onSubmit = ({ name }) => setName(name);
  return <Form onSubmit={onSubmit}>...</Form>;
};
There are several helper methods. These are based on/inspired by the array and object prototype linked in their names:
fill()(array): replace all items by the specified one.pop()(array): remove the last item.push()(array): append an item to the end.reverse()(array): invert the order of the items.shift()(array): remove the first item.sort()(array): change the item order according to the passed function.splice()(array): modify the items in varied ways.unshift()(array): prepend an item to the beginning.append()(array): add an item to the end (alias ofpush()).prepend()(array): add an item to the beginning (alias ofunshift()).remove()(array): remove an item by its index.assign()(object): add new properties as specified in the argument.remove()(object): remove the specified property.extend()(object): add new properties as specified in the passed object (alias ofassign()).
See them in action:
// For the state of: books = ['a', 'b', 'c']
const { fill, pop, push, ...setBooks } = useActions('books');

fill(1);  // [1, 1, 1]
pop(); // ['a', 'b']
push('d'); // ['a', 'b', 'c', 'd']
setBooks.reverse(); // ['c', 'b', 'a']
setBooks.shift(); // ['b', 'c']
setBooks.sort(); // ['a', 'b', 'c']
setBooks.splice(1, 1, 'x'); // ['a', 'x', 'c']
setBooks.unshift('x'); // ['x', 'a', 'b', 'c']

// Aliases
setBooks.append('x');  // ['a', 'b', 'c', 'x']
setBooks.prepend('x');  // ['x', 'a', 'b', 'c']
setBooks.remove(1);  // ['a', 'c']

// These are immutable, but this still helps:
setBooks.concat('d', 'e');  // ['a', 'b', 'c', 'd', 'e']
setBooks.slice(1, 1);  // ['b']
setBooks.filter(item => /^(a|b)$/.test(item)); // ['a', 'b']
setBooks.map(book => book + '!'); // ['a!', 'b!', 'c!']
setBooks.reduce((all, book) => [...all, book + 'x'], []); // ['ax', 'bx', 'cx']
setBooks.reduceRight((all, book) => [...all, book], []); // ['c', 'b', 'a']

// For the state of: user = { id: 1, name: 'John' }
const setUser = useActions('user');
setUser(user => ({ ...user, name: 'Sarah' });   // { id: 1, name: 'Sarah' }

setUser.assign({ name: 'Sarah' });  // { id: 1, name: 'Sarah' }
setUser.extend({ name: 'Sarah' });  // { id: 1, name: 'Sarah' }
setUser.remove('name');  // { id: 1 }
These methods can be extracted right in the actions or used as a method:
const BookForm = () => {
  const setBooks = useActions('books');
  const onSubmit = book => setBooks.append(book);
  // OR
  const { append } = useActions('books');
  const onSubmit = book => append(book);

  return <Form onSubmit={onSubmit}>...</Form>;
};Some examples to show how statux works. Help me write these? And feel free to suggest new ones.
A TODO list in 30 lines (click image for the demo):

// App.js
export default () => (
  <Store todo={[]}>
    <h1>TODO List:</h1>
    <TodoList />
  </Store>
);
// TodoList.js
import { useStore } from "statux";
import React from "react";
import forn from "forn";
const Todo = ({ index }) => {
const [item, setItem] = useStore(`todo.${index}`);
return (
<li onClick={() => setItem.assign({ done: !item.done })}>
{item.done ? <strike>{item.text}</strike> : item.text}
</li>
);
};
export default () => {
const [todo, { append }] = useStore("todo");
return (
<ul>
{todo.map((item, i) => (
<Todo key={i + "-" + item.text} index={i} />
))}
<li>
<form onSubmit={forn(append, { reset: true })}>
<input name="text" placeholder="Add item" />
<button>Add</button>
</form>
</li>
</ul>
);
};See pokemon loading list with graphics (click image for the demo):

// src/App.js
import Store from 'statux';
import React from 'react';
import PokemonList from './PokemonList';

export default () => (
  <Store pokemon={[]}>
    <h1>The Best 151:</h1>
    <PokemonList />
  </Store>
);
// src/PokemonList.js
import { useStore } from "statux";
import React, { useEffect } from "react";
import styled from "styled-components";
const url = "https://pokeapi.co/api/v2/pokemon/?limit=151";
const catchAll = () =>
fetch(url)
.then(r => r.json())
.then(r => r.results);
const Pokemon = ({ id, children }) => <li id={id}>{children}</li>;
export default () => {
const [pokemon, setPokemon] = useStore("pokemon");
useEffect(() => {
catchAll().then(setPokemon);
}, []);
if (!pokemon.length) return "Loading...";
return (
<ul>
{pokemon.map((poke, i) => (
<li key={i} id={i + 1}>
<Label>{poke.name}</Label>
</li>
))}
</ul>
);
};When calling an API, make sure you are using React's useEffect():
// Login.js
export default () => {
  const [auth, setAuth] = useStore('auth');
  const onSubmit = useCallback(async data => {
    const token = await api.login(data);
    setAuth(token);
  }, [auth]);
  return (
    <LoginForm onSubmit={onSubmit}>
      {...}
    </LoginForm>
  );
}Now that you know how to call an API for long, let's see how to store/retrieve the token in localStorage automatically:
import Store, { useSelector } from 'statux';

// Initial auth token load
const auth = localStorage.getItem('auth');

// Save/remove the auth token when it changes anywhere in the app
const TokenUpdate = () => {
  const auth = useSelector('auth');
  useEffect(() => {
    localStorage.setItem('auth', auth);
  }, [auth]);
  return null;
};

export default () => (
  <Store auth={auth}>
    <TokenUpdate />
    ...
  </Store>
)Why did I create this instead of using useState+useContext() or Redux? There are few reasons that you might care about:
It is a lot simpler in the way it handles state, which is great to avoid the relatively huge boilerplate that comes with small projects with Redux. Instead of defining the reducers, actions, action creators, thunk action creators, etc. you manipulate the state directly. Statux removes a full layer of indirection.
On the downside, this couples the state structure and operations, so for large projects something following the Flux architecture like Redux would be better suited. If you are following this Redux antippatern you can give Statux a try.
The whole state is frozen with Object.freeze() so no accidental mutation can drive subtle bugs and stale state. Try mutating the state of your app for testing (see demo):
const App = () => {
  const [user] = useStore("user");
  // TypeError - can't define property "name"; Object is not extensible
  user.name = 'John';
  return <div>{user.name}</div>;
};
This will avoid whole categories of bugs. Did you know these for instance?
arr.sort((a, b) => {...}).map()is also mutating the original array.setValue(value++)will mutate the original value.
It will throw a TypeError since you cannot mutate the state directly. Instead, try defining a new variable if you indeed want to read it with a default:
const App = () => {
  const [user] = useStore("user");
  const name = user.name || 'John';
  return <div>{name}</div>;
};
Or directly access the name with the correct selector and a default:
const App = () => {
  const [name = 'John'] = useStore("user.name");
  return <div>{name}</div>;
};
When you want to change the state, you can do it without mutations or use one of the helpers we provide:
// Set the name of the user
const onClick = name => setUser({ ...user, name });
const onClick = name => setUser(user => ({ ...user, name }));
const onClick = name => setUser.assign({ name });

// Add a book to the list
const onSubmit = book => setBooks([...books, book]);
const onSubmit = book => setBooks(books => [...books, book]);
const onSubmit = book => setBooks.append(book);
