
During this module, you will get familiar with HTML & CSS. Both technologies combined offer you all the tools you need to create a website. HTML without CSS is ugly, and CSS without HTML is... well, nothing!
That is why you will be working on this exercise on multiple occasions during this module. Our end goal is to create a basic HTML & CSS website, where you will practice the various concepts as you are learning them.
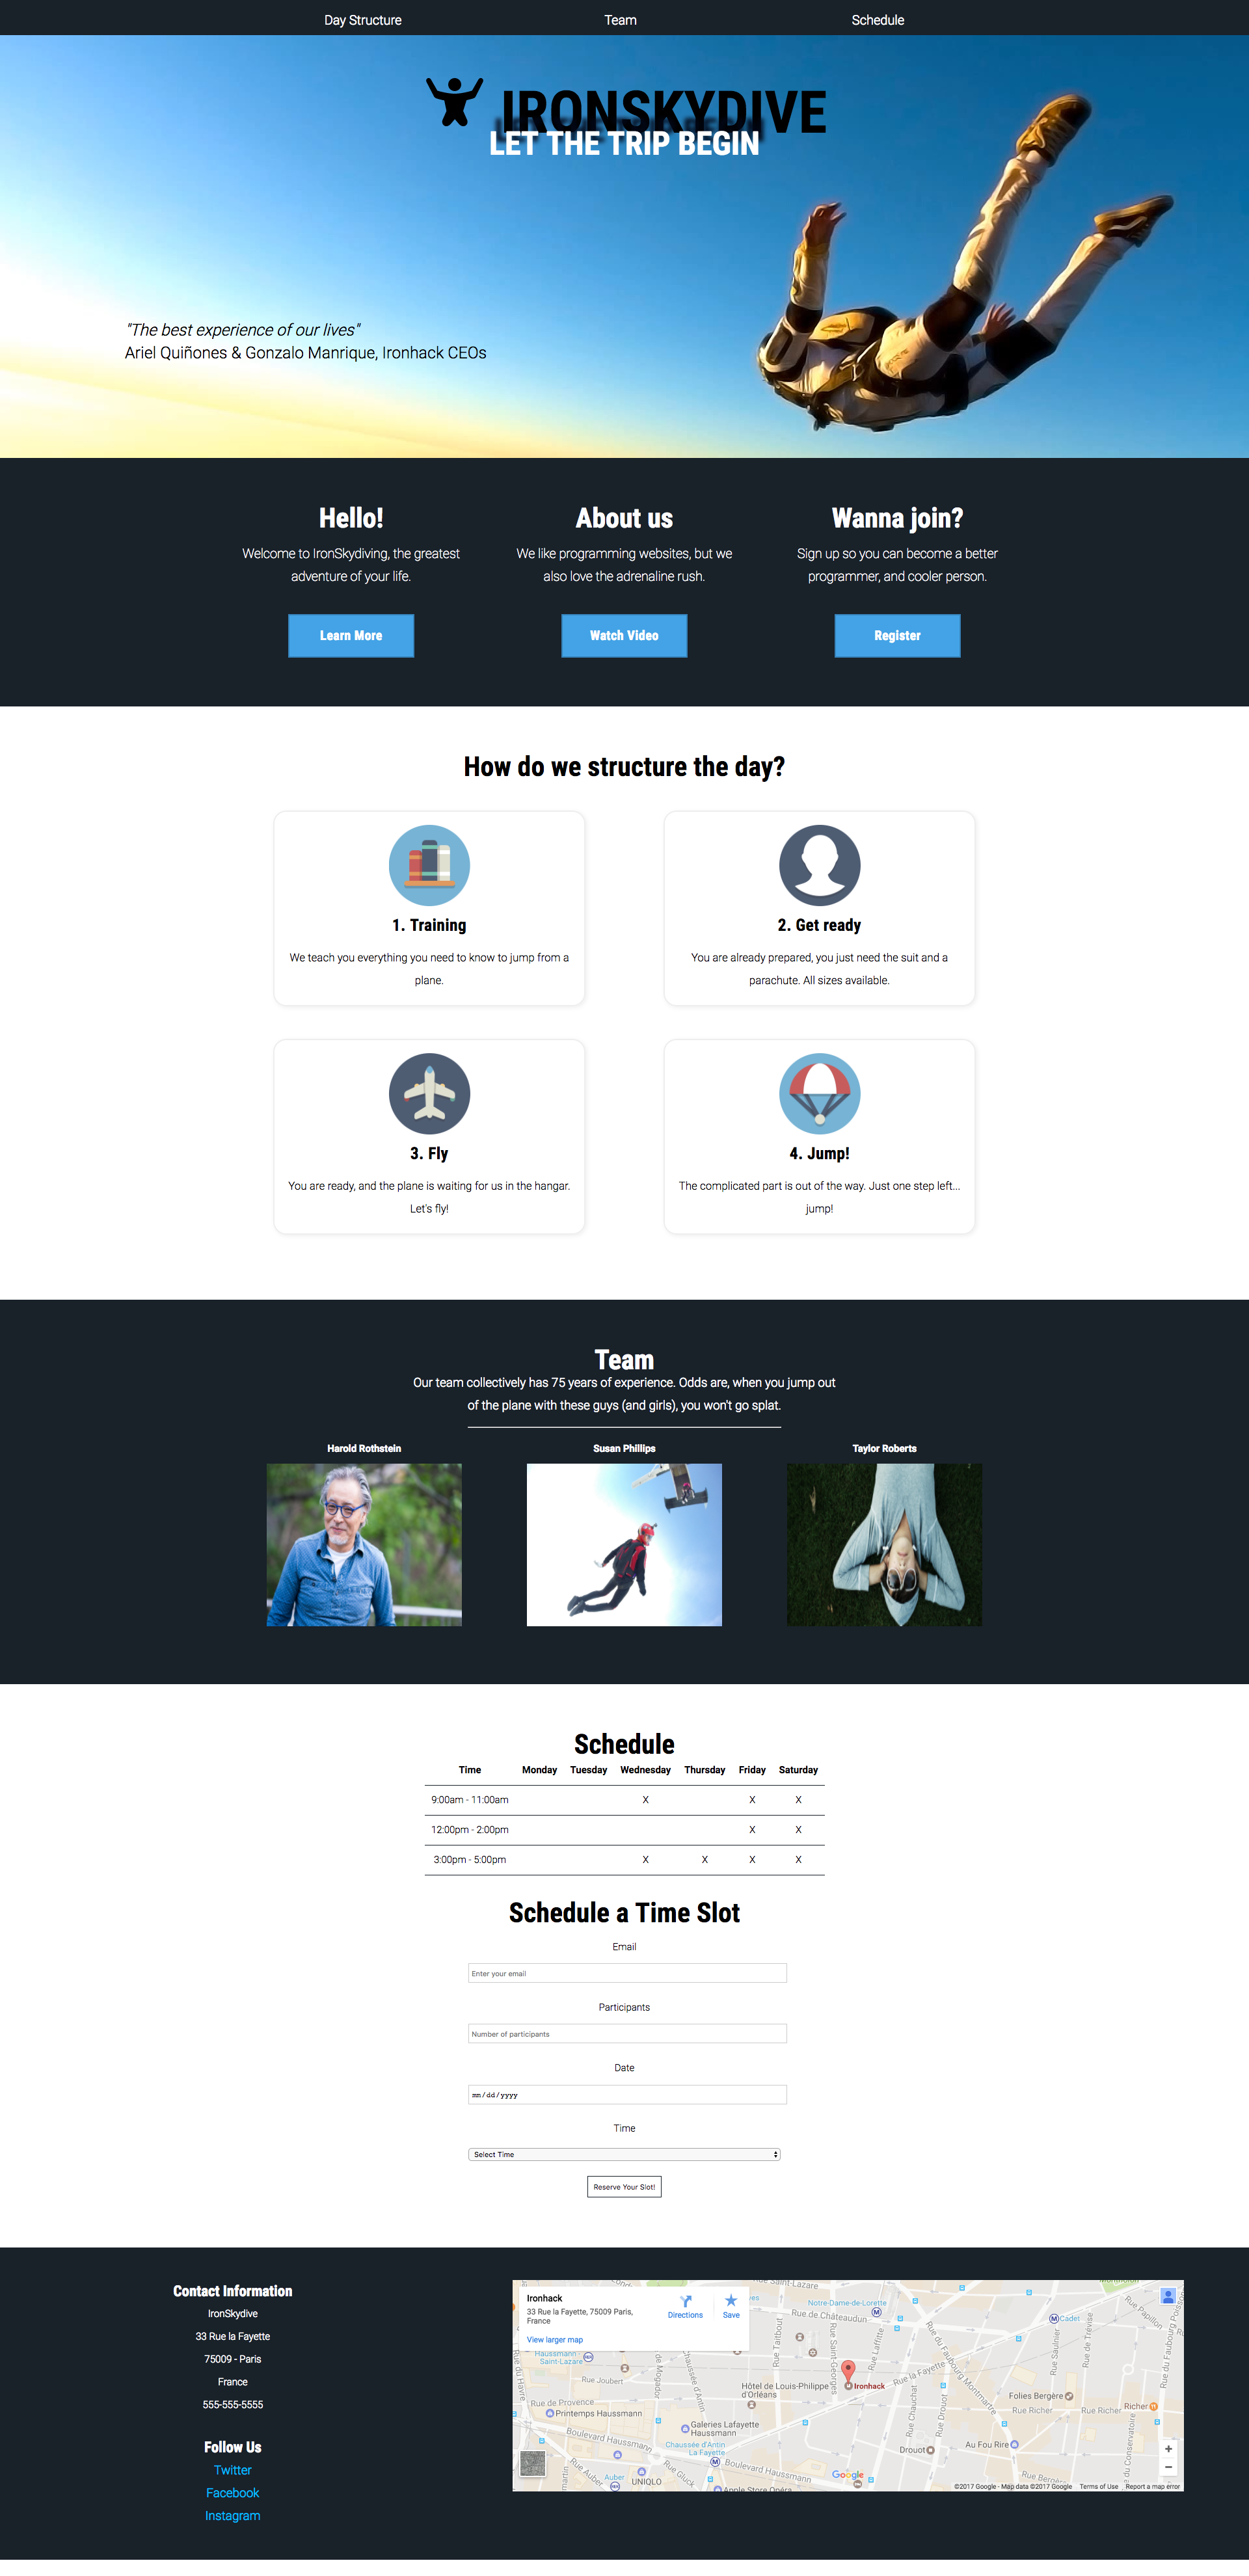
Ironhack loves coding, but we also like to practice extreme sports. In a new line of products, we have created a new company called IronSkydive. We offer a full skydiving experience.
We are hoping you could help us create our website because we are swamped starting the company and making sure that all our papers are aligned with the rules. 🙈
As we mentioned earlier, you'll be working on this exercise through the next couple of lessons, but in the end, your goal is:
If you are working on this exercise during your prework, you will be working on a new pen, so proceed to CodePen and create a new pen now. If you are already in the bootcamp, use your VS Code to work on the exercise.
Ready to take the jump?
In this part of the exercise, you are going to work with the block elements you learned. You have seen how the semantic block elements help us to understand our website's composition better. Let's start by creating the basic HTML structure, which will be the following:
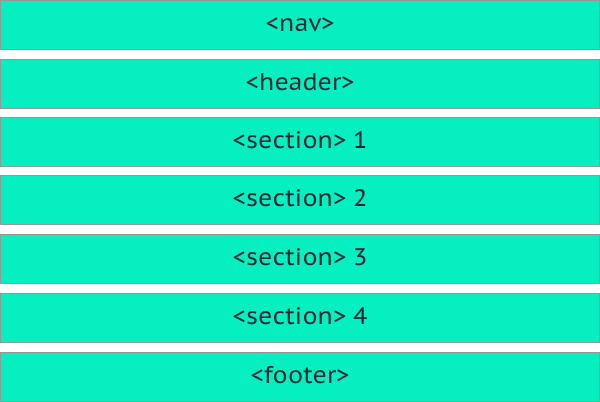
Later on, in the exercise, we are going to distinguish between the different sections we have. Now, let's add a few more block elements inside each element.
Inside <nav>, create a <ul> tag with three elements:
- Day Structure
- Team
- Schedule
These are going to be our menu options.

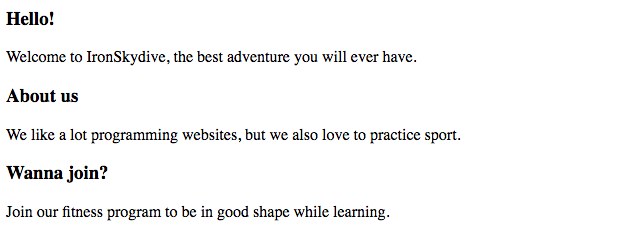
You have to create two different things here:
- first, create an
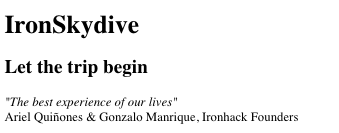
<h1>tag with the text "IronSkydive", then - under this tag, create a
<h2>tag with the text "Let the trip begin" and finally - under these tags, create an
<aside>tag that will contain a quote.
This section has a dark background that will cover the whole width of the website. Later, you will add the color to the background, so for now, there is no need to worry about this.
It will contain three <article> tags to add the information under the header.
Inside each <article>, add an <h3> tag for the different titles and a paragraph for the white text. The result would be something like this:
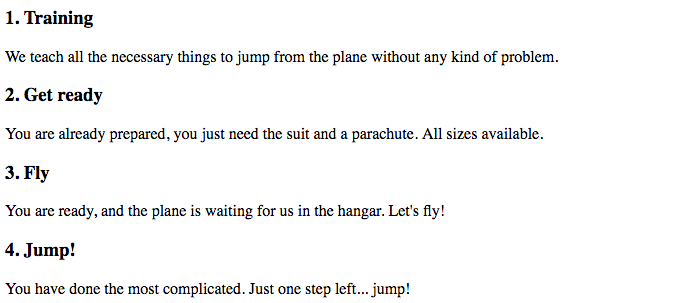
This section is quite similar to the previous one. In this case, the section will contain a <h3> title with the text "How do we structure the day?", and then a <div> with four different <article> tags.
Inside each article tag, for the moment, we are going to have a <h4> tag with the article title, and a <p> tag with the article content.
This case is the same as Section 1 - it will have a dark background, and, as in the previous sections, you have to add a <h3> title and a <p> with a brief description.
Then, you will create <div> tag and add three empty <article> tags that will contain the information of each team member. It is enough to have a text indicating the different articles:

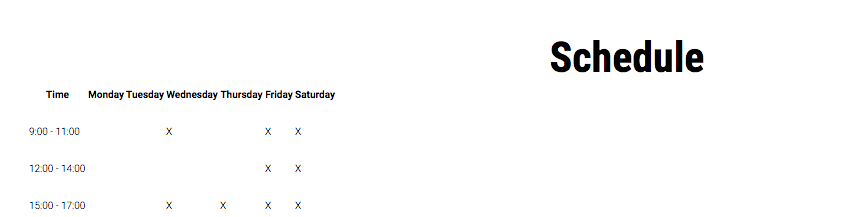
In this section, we have a table that contains the schedule.
Let's start with adding two different <h3> headings with the text:
- Schedule
- Schedule a Time Slot

Now add a table under the first <h3> tag, that contains the text "Schedule". Indeed, this table is going to contain the IronSkydive schedule for the week. The format of the table is the following:
| Time | Monday | Tuesday | Wednesday | Thursday | Friday | Saturday |
|---|---|---|---|---|---|---|
| 9:00 - 11:00 | X | X | X | |||
| 12:00 - 14:00 | X | X | ||||
| 15:00 - 17:00 | X | X | X | X |
Create the table and add the necessary content to get this result:
Remember, besides <table> tag, you should use <thead> with six <th> tags for the header rows (six days that IronSkydive operates), and then inside body of the table (<tbody>) you should define rows with <tr> tags. In the end, you should use <td> tags for the content inside the rows.
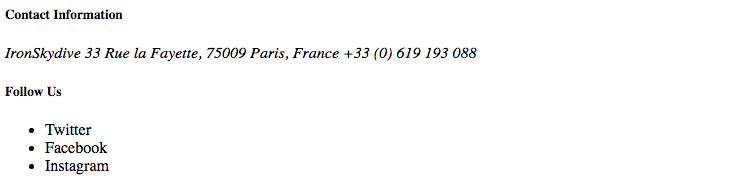
Last but not least, the footer section has to contain just one <section> tag. Inside the <section>, you have to add several things (described in the correct order):
<h5>with the title "Contact Information".<address>element, with the correct information: IronSkydive 33 Rue la Fayette, 75009 Paris, France +33 (0) 619 193 088<h5>with the title "Follow Us".<ul>list with three elements:- Twitter.
- Facebook.
- Instagram.
In the second iteration of our exercise, you are going to work with the inline elements you learned. You have seen that we use different tags with different goals. Remember, this is our current project structure:
You are going to add different inline elements to all the sections we already have.
The <nav> tag is used to wrap links on our website. Right now, we have just a list of elements. Let's change this, by adding links in each list item.
You have to create three different links, that will be pointing to #structure, #team, and #schedule, respectively:
💡 Spoiler: links are anchor tags and represented with <a> tag and need to have href attribute. 😉
<a href="#structure">Day Structure</a>
The header of the project is incomplete. First, you need to add a logo to the header. Also, add a testimonial style quote where you currently have filler text.
First, the logo. Add an image inside the <h1> that loads the following image:
https://s3-eu-west-1.amazonaws.com/ih-materials/uploads/ironhack-skydive-logo.png.
Remember to add a descriptive alternative text, just in case the image doesn't load. A good option would be "IronSkydive Logo".
It is common to find quotes in italics in different places, so this is what we are going to do. Add the quote in italics (using inline elements) inside the <aside> element, with the text "The best experience of our lives".
In a new line, this time using a block level element (<p>), add the names of the authors. The names will be "Ariel Quiónes & Gonzalo Manrique, Ironhack Founders".
In the first section, we have three different articles. Each has an <h3> and a <p> tag inside. Let's add a link under each paragraph. This link doesn't need to point anywhere.
:::info
We can create a link without any specific URL by providing a hash in the href attribute:
<a href="#">Link text</a>:::
Add three links, one in each section, in this order:
- Learn More
- Watch Video
- Register
In this section, we have four different articles that contain information about how a typical day at IronSkydive is structured. Let's add some descriptive icons to each section.
The different icons, in the correct order, are:
https://s3-eu-west-1.amazonaws.com/ih-materials/uploads/ironskydive-training.pnghttps://s3-eu-west-1.amazonaws.com/ih-materials/uploads/ironskydive-get-ready.pnghttps://s3-eu-west-1.amazonaws.com/ih-materials/uploads/ironskydive-fly.pnghttps://s3-eu-west-1.amazonaws.com/ih-materials/uploads/ironskydive-jump.png
Remember to add an alternative descriptive text in the alt attribute. Each of the sections will have this format with different images:
Let's add the team information in the section. You should have three different articles without any information. Inside each article, you will add the team member's name in the bold text (but this is something you will worry about when we come to the styling). You can use block level tag, <h4> to wrap each name. Under the name, you will have to add the team member's photo. You can find the images here:
- Harold Rothstein,
https://s3-eu-west-1.amazonaws.com/ih-materials/uploads/upload_c18b1c463b80090894237a262dfdfbad.jpg - Susan Phillips,
https://s3-eu-west-1.amazonaws.com/ih-materials/uploads/upload_a18d6123a7c8e75f7e70a4e59b941093.jpg - Taylor Roberts,
https://s3-eu-west-1.amazonaws.com/ih-materials/uploads/upload_7104a331530d1b0611da55093b7dc421.jpg
Don't forget to add alternative text in case the image doesn't load. These images are quite big, but we will handle this later on through CSS.
To finish this section, let's add a <hr> between the paragraph and the team members' information.
Nothing to add!
First, let's format the address. Right now, all the information is in one line. Let's use <br> tags to separate the different sections of the address.
Finally, add links to all the social networks where the users can follow IronSkydive. You can create empty links (with the hash in the href attribute), or add links to the social networks. In both cases, a new tab has to be opened when the users click on the links.
:::info
:bulb: Use the anchor's target attribute to open a link in a new tab. (the word target is clickable, so feel free to explore a bit - remember, you don't have to memorize anything, know where to find the answers you need.)
:::
❤️ Happy coding!

