
Spotify is a super cool music streaming service that provides you access to tons of music without ever having to buy an album.
Today, we're going to build an Express app to search Spotify for artists, albums, and tracks. Also, we'll be able to play a preview of some of these songs.
It may seem like a lot, but let's break it down into steps!
- Fork this repo
- Clone this repo
- Upon completion, run the following commands:
$ git add .
$ git commit -m "done"
$ git push origin master
- Create Pull Request so your TAs can check up your work.
Spotify is great for streaming music from the app, but they also have a Web Service for us developers to play with.
For the purpose of this exercise, we will be using the spotify-web-api-node npm package (this is the link that will take you to the documentation so go ahead and open it). As we can find in the docs, this package gives us simple methods to make requests to Spotify, and give us back artists, albums, tracks, and more.
In this lab, we have two main goals:
- We are going to apply our knowledge of GET method and when and why to use
req.queryandreq.params. - We are going to practice how to read the documentation (of this npm package particularly) and how to use the examples provided by the docs to successfully finish all the iterations.
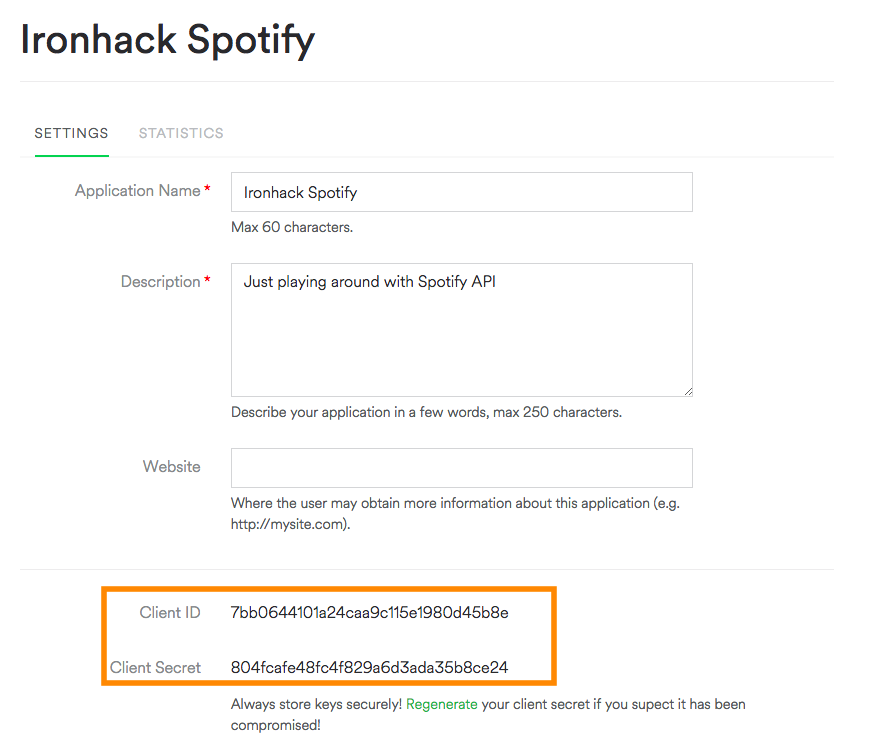
The Spotify API will need a clientId and clientSecret in order to give us permission to make requests and get some data back. To get clientId and clientSecret, we have to register our app on the official Spotify Developers web site (you won't be charged for this, and no credit card information will be required). Let's follow these steps:
- Navigate to Spotify Developers.
- Click on the "Log In" button. If you do not have an account, you will be asked to create one, it´s free 😉.
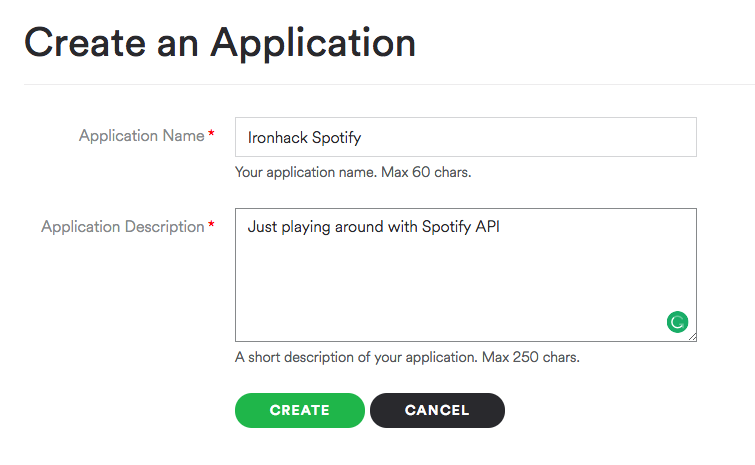
- After logging in, click on the Create an App button.
The following screens might be out of date, since Spotify is constantly iterating on their interface, but that shouldn't stop you from completing these steps. You got this!
- Fill the fields and submit the form.
- We are ready to go! We have all the info we need 💪 Let´s start!
In the next few steps, you'll create all of the files that you need. So far, you have some basic setup in app.js, but that's not quite enough. As you remember, to get some packages (including express) in our app, we have to have them in the package.json file. So let's start listing the steps:
-
Let's install all the dependencies we need to successfully run this app:
npm install express hbs spotify-web-api-node dotenv. -
nodemonis installed as a dev dependency (our app doesn't depend on it but it helps us in the development process), which means we can use nodemon to run the app with:npm run dev. -
Inside of the
app.jsfile, requirespotify-web-api-node.
const SpotifyWebApi = require('spotify-web-api-node');- Inside of the
app.jsfile, you'll find the place where you should paste the following code:
const spotifyApi = new SpotifyWebApi({
  clientId: process.env.CLIENT_ID,
  clientSecret: process.env.CLIENT_SECRET
});

// Retrieve an access token
spotifyApi
  .clientCredentialsGrant()
  .then(data => spotifyApi.setAccessToken(data.body['access_token']))
.catch(error => console.log('Something went wrong when retrieving an access token', error));- See this above?
const spotifyApi = new SpotifyWebApi({
  clientId: process.env.CLIENT_ID,
  clientSecret: process.env.CLIENT_SECRET
});
To avoid making our API keys public, we don't want to add and commit them. We'll use a package named dotenv for that.
This package is imported at the very beginning of app.js. All that is left to do is to add your keys in the .env file.
So go ahead and create a .env file and paste the following lines there, replacing the text with your credentials.
CLIENT_ID=your clientId goes here
CLIENT_SECRET=your clientSecret goes here
⚡ The .env is referred to in the .gitignore file so you're safe!
🔥 Styling should be the last thing you focus on. Functionality first! 🙏🏻
Now let's create a views folder and let's add the layout.hbs file in it.
At this moment we should have the following structure of folders and files:
lab-express-spotify
      ├── app.js
      ├── package.json
      ├── package-lock.json
      ├── public
      │    ├── images
      │    └── stylesheets
      │         └── style.css
      └── views
            └── layout.hbs
As we can see, in your app.js we have required all the packages we need for now:
const express = require('express');
const hbs = require('hbs');
const SpotifyWebApi = require('spotify-web-api-node');
We are good to go. Let's open the spotify-web-api-node documentation and start our journey!
You can keep all your routes in the app.js after where it states: // Our routes go here:.
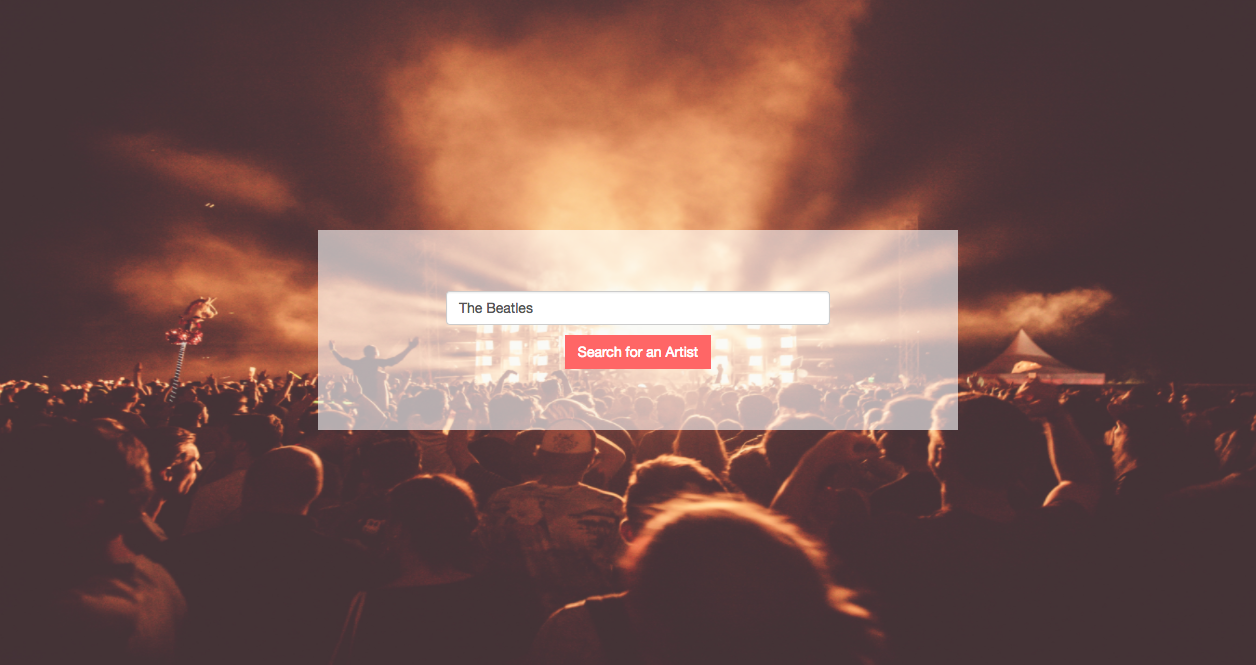
Create a route that renders a simple home page. You'll need a basic index route, that renders a home page. On this page, you should have a small search form that has an input field receiving an artist's name and a button that submits the request.
This form should direct its query to /artist-search (action="/artist-search", method="GET").
The result should be something along these lines but leave styling for the end.

Okay, our search form submitted to /artist-search route. We still don't have this route created so let's do it!
This route will receive the search term from the query string, and make a search request using one of the methods of the Spotify npm package. You have the documentation open 😉 but we will help you with your first step.
The method we will use from the npm package is: spotifyApi.searchArtists(). In this route, you should have something like this:
spotifyApi
  .searchArtists(/*'HERE GOES THE QUERY ARTIST'*/)
  .then(data => {
    console.log('The received data from the API: ', data.body);
    // ----> 'HERE WHAT WE WANT TO DO AFTER RECEIVING THE DATA FROM THE API'
  })
  .catch(err => console.log('The error while searching artists occurred: ', err));
In order to display the found artists' information, create artist-search-results.hbs file inside views folder and display name, image, and button (or link) to show the albums for a particular artist on a new view (for now just create the button/link and we will take care of the rest in the next step). Again, styling is not your priority, so let's move to the next step.
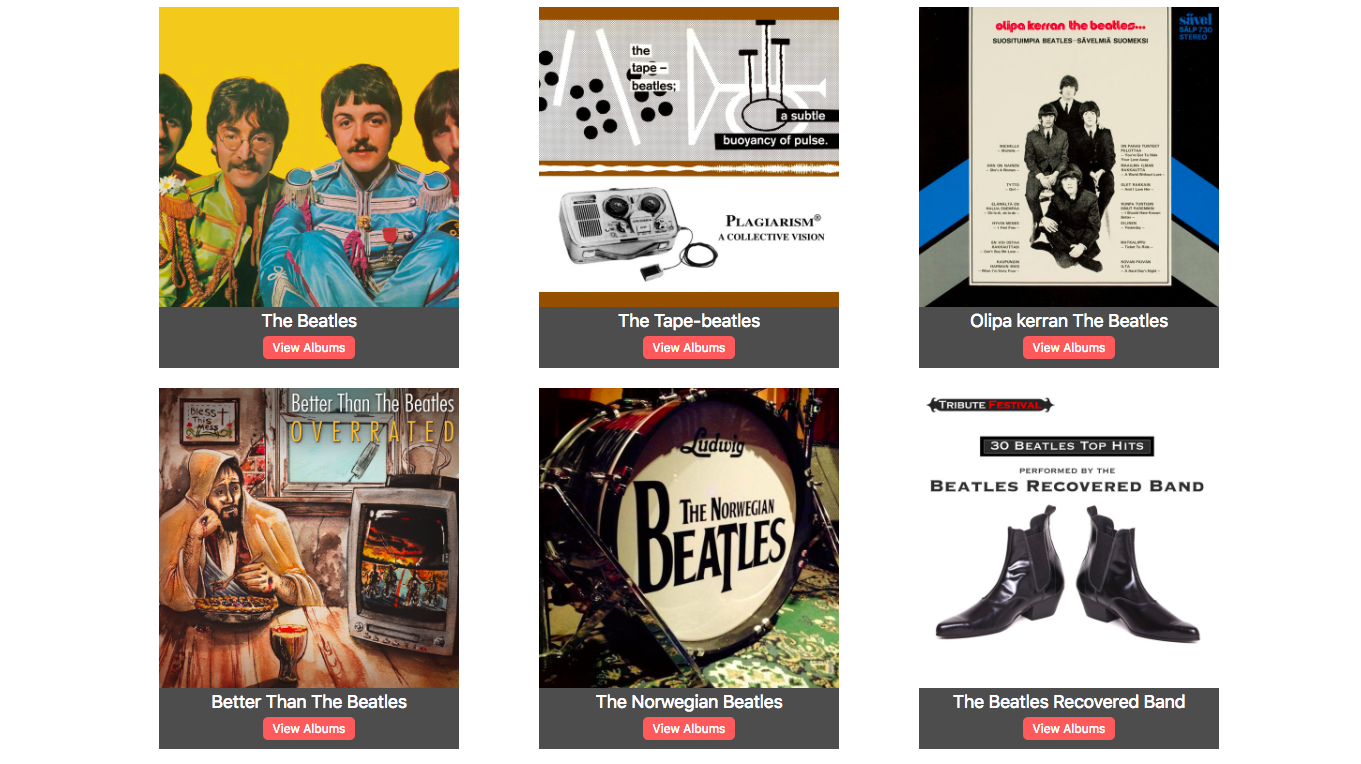
On the artist-search-results.hbs page we created the View albums button/link. Users should be taken to some other page after clicking on it and there be able to see all the albums of that particular artist. Hint: the URL should include artist's id 🤓 and should change dynamically.
<a href="/albums/someArtistIdGoesHere">View Albums</a>So let's create a new page - albums.hbs where all the results will be displayed. Make sure you show the name and the cover of each album and add a button/link to see the tracks (next iteration).
⚡ Check out the .getArtistAlbums() method in the spotify-web-api-node documentation.
Hint:
Your route should look like the following:
app.get('/albums/:artistId', (req, res, next) => {
  // .getArtistAlbums() code goes here
});
This is going good so far, so let's finish up with our last iteration.
Create the View tracks link on the albums page. This link should take you to a page with a list of all of the tracks on a particular album.
Hint: The link to the tracks page should have each album's id in it.
Note: ⚡ Check out the .getAlbumTracks() method in the spotify-web-api-node documentation.
A track object comes with a preview_url, which is the source for a 30-second preview of a particular song. You can plug this into an HTML audio tag, and it will play the preview.

- Total of five pages with (1)artist / (2)album / (3)track information (all populated from Spotify) + (4)layout + (5)home.
- Some styling, it doesn't have to look like the example.
Happy Coding! 💙


