This project demonstrates how to deploy a Flask app using Jenkins, Azure Kubernetes Service (AKS), and ArgoCD. The Flask app is a simple web page that displays a message. The app is containerized using Docker and pushed to a registry. The deployment of the app is managed by ArgoCD, which continuously monitors the Kubernetes cluster and applies the desired state from a Git repository.
- A GitHub account
- An Azure account
- A Docker Hub account
- A Jenkins server hosted on an Azure instance
- An AKS cluster
- An ArgoCD server installed on the AKS cluster
- Fork the following two repositories to your GitHub account:
- kubernetescode - This repository contains the Flask app code (
app.py) and the Dockerfile to build the image. - kubernetesmanifest - This repository contains the deployment manifest (
deployment.yaml) that references the Docker image and defines the desired state of the app on the cluster.
- kubernetescode - This repository contains the Flask app code (
- On your Jenkins server, create a new pipeline job and configure it to use the
Jenkinsfilefrom thekubernetescoderepository. This pipeline will perform the following tasks:- Clone the
kubernetescoderepository - Build the Docker image using the
Dockerfile - Push the Docker image to your Docker Hub account
- Clone the
kubernetesmanifestrepository - Update the
deployment.yamlfile with the new image tag - Push the changes to the
kubernetesmanifestrepository
- Clone the
- On your ArgoCD server, create a new application and configure it to use the
kubernetesmanifestrepository as the source and the AKS cluster as the destination. This application will sync the changes from the Git repository to the cluster and deploy the app. - To test the app, make some changes to the
app.pyfile in thekubernetescoderepository and push them to GitHub. This will trigger the Jenkins pipeline and update thedeployment.yamlfile in thekubernetesmanifestrepository. ArgoCD will detect the changes and apply them to the cluster. You can access the app using the service IP address or hostname provided by AKS.
This guide shows you how to use the Azure portal or the Azure CLI to create a Linux virtual machine (VM) running Ubuntu 18.04 LTS in Azure.
- An Azure subscription. If you don’t have one, you can create a free account.
- A SSH key pair. If you don’t have one, you can generate one using the Azure portal or the Azure CLI.
- Sign in to the Azure portal.
- Enter virtual machines in the search box and select Virtual machines under Services.
- In the Virtual machines page, select Create and then Virtual machine.
- In the Basics tab, under Project details, make sure the correct subscription is selected and then choose to Create new resource group. Enter myResourceGroup for the name.
- Under Instance details, enter myVM for the Virtual machine name, and choose Ubuntu 18.04 LTS - Gen2 for your Image. Leave the other defaults.
- Under Administrator account, select SSH public key. In Username enter azureuser. For SSH public key source, leave the default of Generate new key pair, and then enter jenkins_server-key for the Key pair name.
- Under Inbound port rules > Public inbound ports, choose Allow selected ports and then select SSH (22) and HTTP (80) from the drop-down.
- Leave the remaining defaults and then select the Review + create button at the bottom of the page.
- On the Create a virtual machine page, you can see the details about the VM you are about to create. When you are ready, select Create.
- When the deployment is finished, select Go to resource.
- On the page for your new VM, select the public IP address and copy it to your clipboard.
Jenkins is an open-source automation server that automates the repetitive technical tasks involved in the continuous integration and delivery of software. Jenkins is Java-based and can be installed from Ubuntu packages or by downloading and running its web application archive (WAR) file — a collection of files that make up a complete web application to run on a server.
In this tutorial, you will install Jenkins by adding its Debian package repository, and using that repository to install the package with apt.
To follow this tutorial, you will need:
- One Ubuntu 18.04 server configured with a non-root sudo user and firewall by following the Ubuntu 18.04 initial server setup guide. We recommend starting with at least 1 GB of RAM. See Choosing the Right Hardware for Masters for guidance in planning the capacity of a production Jenkins installation.
- Java 8 was installed, following our guidelines on installing specific versions of OpenJDK on Ubuntu 18.04.
The version of Jenkins included with the default Ubuntu packages is often behind the latest available version from the project itself. To take advantage of the latest fixes and features, you can use the project-maintained packages to install Jenkins. First, add the repository key to the system:
wget -q -O - https://pkg.jenkins.io/debian-stable/jenkins.io.key | sudo apt-key add -
When the key is added, the system will return OK. Next, append the Debian package repository address to the server’s sources.list:
sudo sh -c 'echo deb http://pkg.jenkins.io/debian-stable binary/ > /etc/apt/sources.list.d/jenkins.list'
When both of these are in place, run update so that apt will use the new repository:
sudo apt update
Finally, install Jenkins and its dependencies:
sudo apt install jenkins
Now that Jenkins and its dependencies are in place, we’ll start the Jenkins server.
Let’s start Jenkins using systemctl:
sudo systemctl start jenkins
Since systemctl doesn’t display output, you can use its status command to verify that Jenkins started successfully:
sudo systemctl status jenkins
If everything went well, the beginning of the output should show that the service is active and configured to start at boot:
Output● jenkins.service - LSB: Start Jenkins at boot time
   Loaded: loaded (/etc/init.d/jenkins; generated)
   Active: active (exited) since Mon 2018-07-09 17:22:08 UTC; 6min ago
     Docs: man:systemd-sysv-generator(8)
    Tasks: 0 (limit: 1153)
   CGroup: /system.slice/jenkins.service
Now that Jenkins is running, let’s adjust our firewall rules so that we can reach it from a web browser to complete the initial setup.
By default, Jenkins runs on port 8080, so let’s open that port using ufw:
sudo ufw allow 8080
Check ufw’s status to confirm the new rules:
sudo ufw status
You will see that traffic is allowed to port 8080 from anywhere:
OutputStatus: active

To                         Action      From
--                         ------      ----
OpenSSH                    ALLOW       Anywhere
8080                       ALLOW       Anywhere
OpenSSH (v6)               ALLOW       Anywhere (v6)
8080 (v6)                  ALLOW       Anywhere (v6)
Note: If the firewall is inactive, the following commands will allow OpenSSH and enable the firewall:
sudo ufw allow OpenSSH
sudo ufw enable
With Jenkins installed and our firewall configured, we can complete the initial setup.
To set up your installation, visit Jenkins on its default port, 8080, using your server domain name or IP address: http://your_server_ip_or_domain:8080
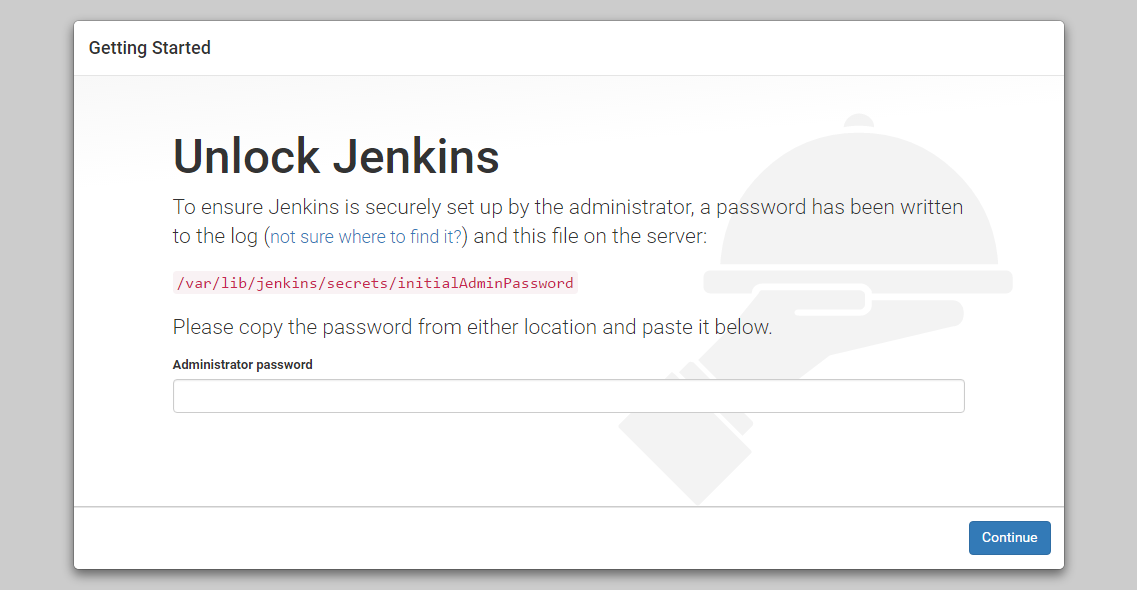
You should see the Unlock Jenkins screen, which displays the location of the initial password:

cat command to display the password:
sudo cat /var/lib/jenkins/secrets/initialAdminPassword
Copy the 32-character alphanumeric password from the terminal and paste it into the Administrator password field, then click Continue.
The next screen presents the option of installing suggested plugins or selecting specific plugins:


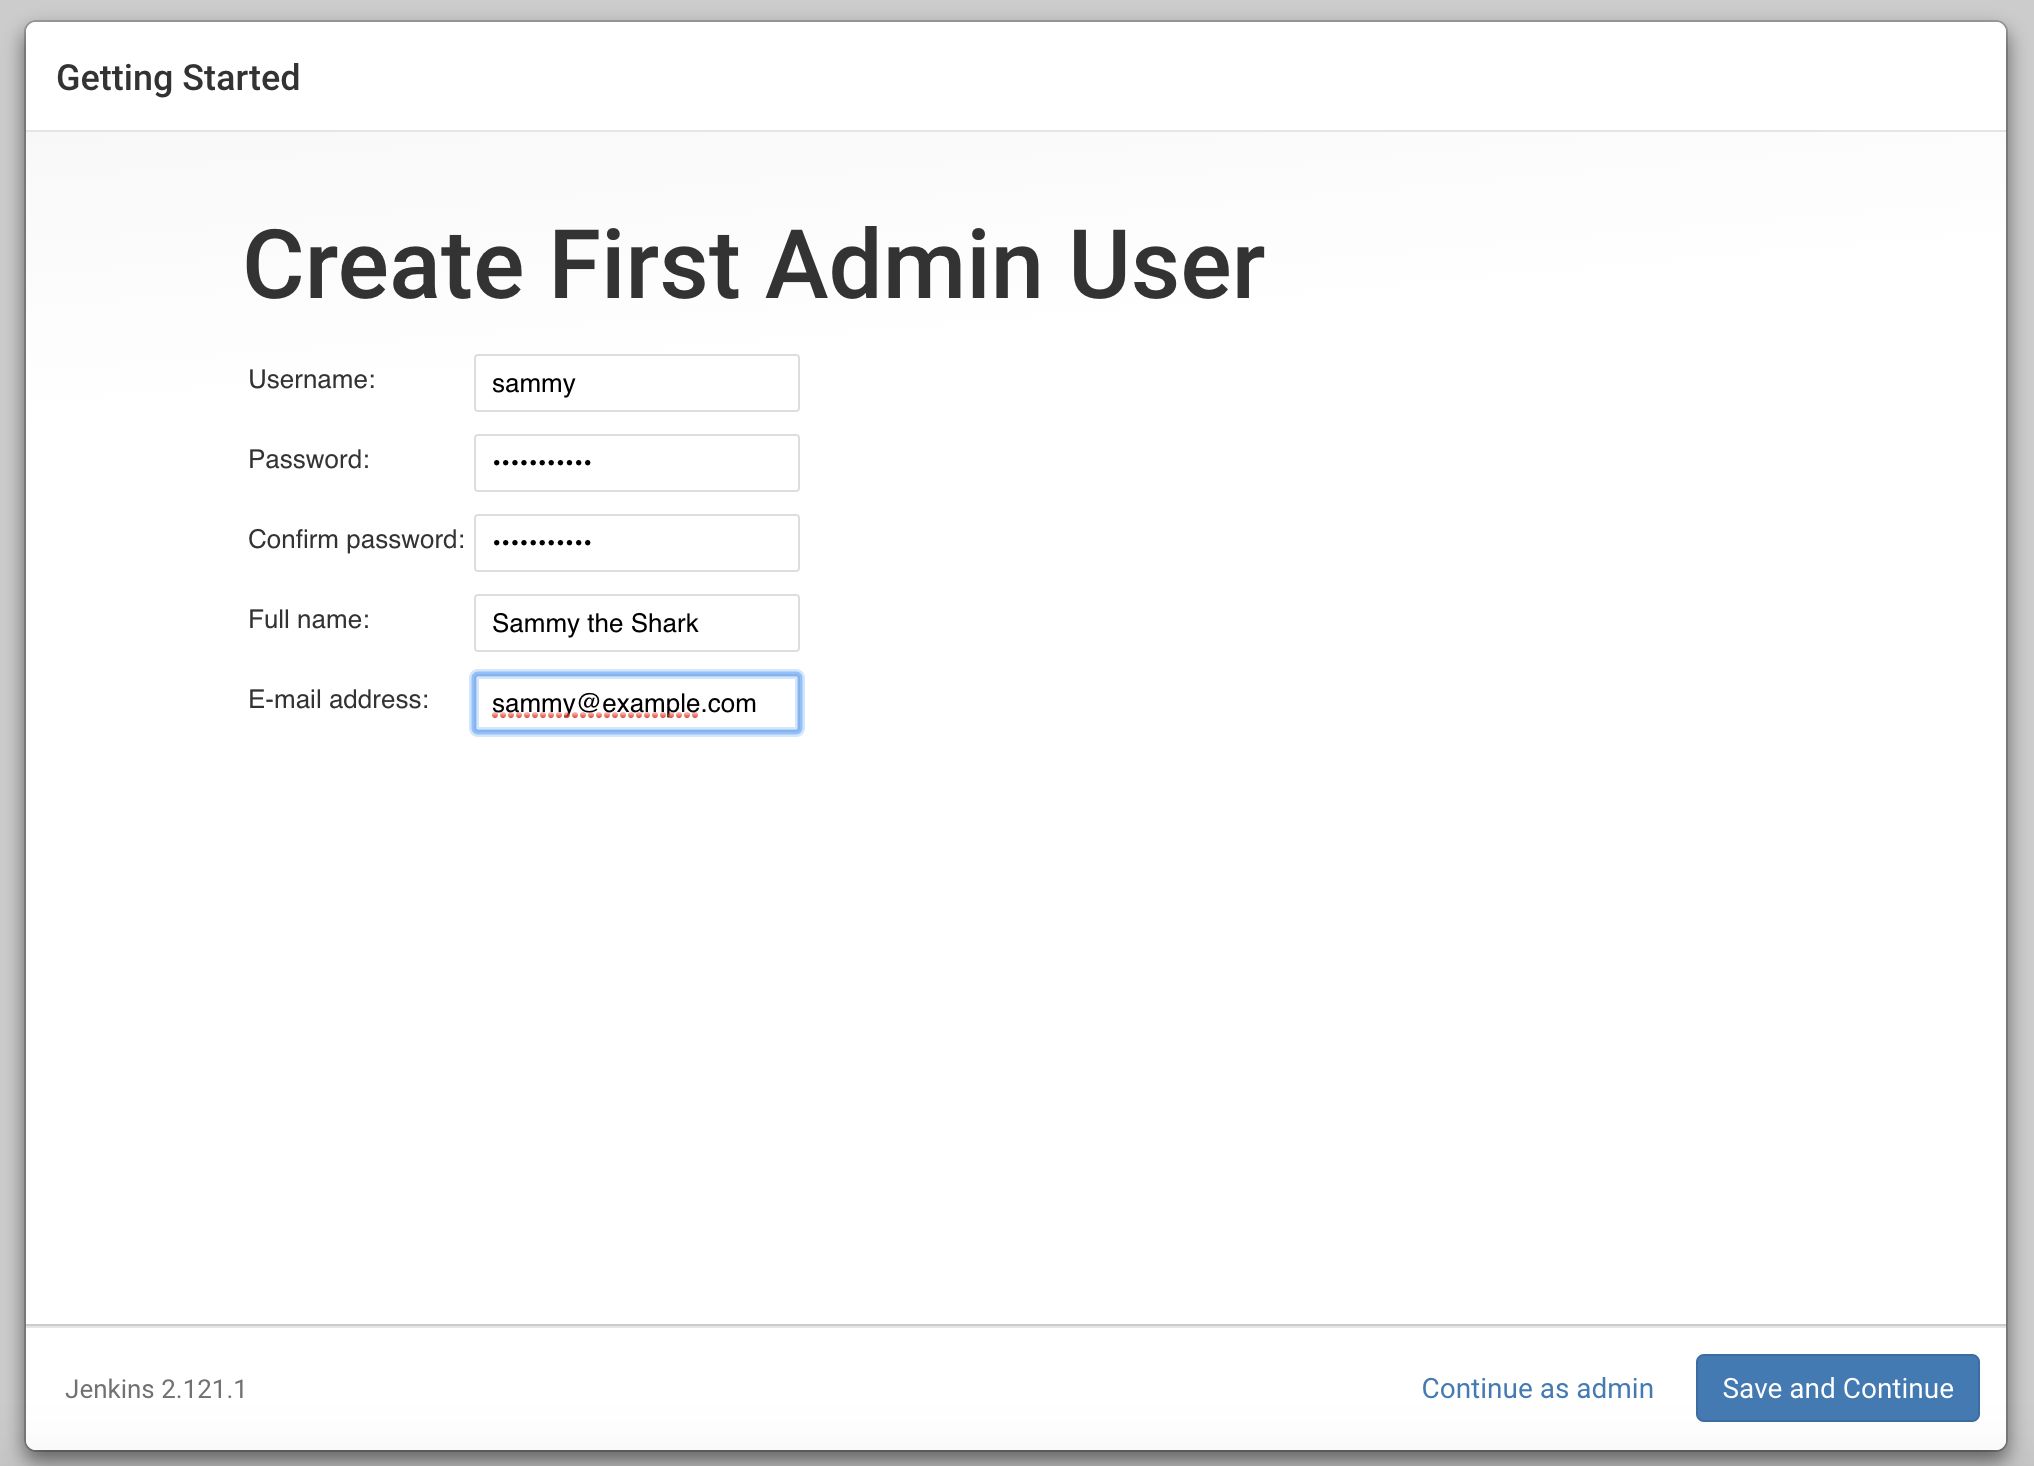
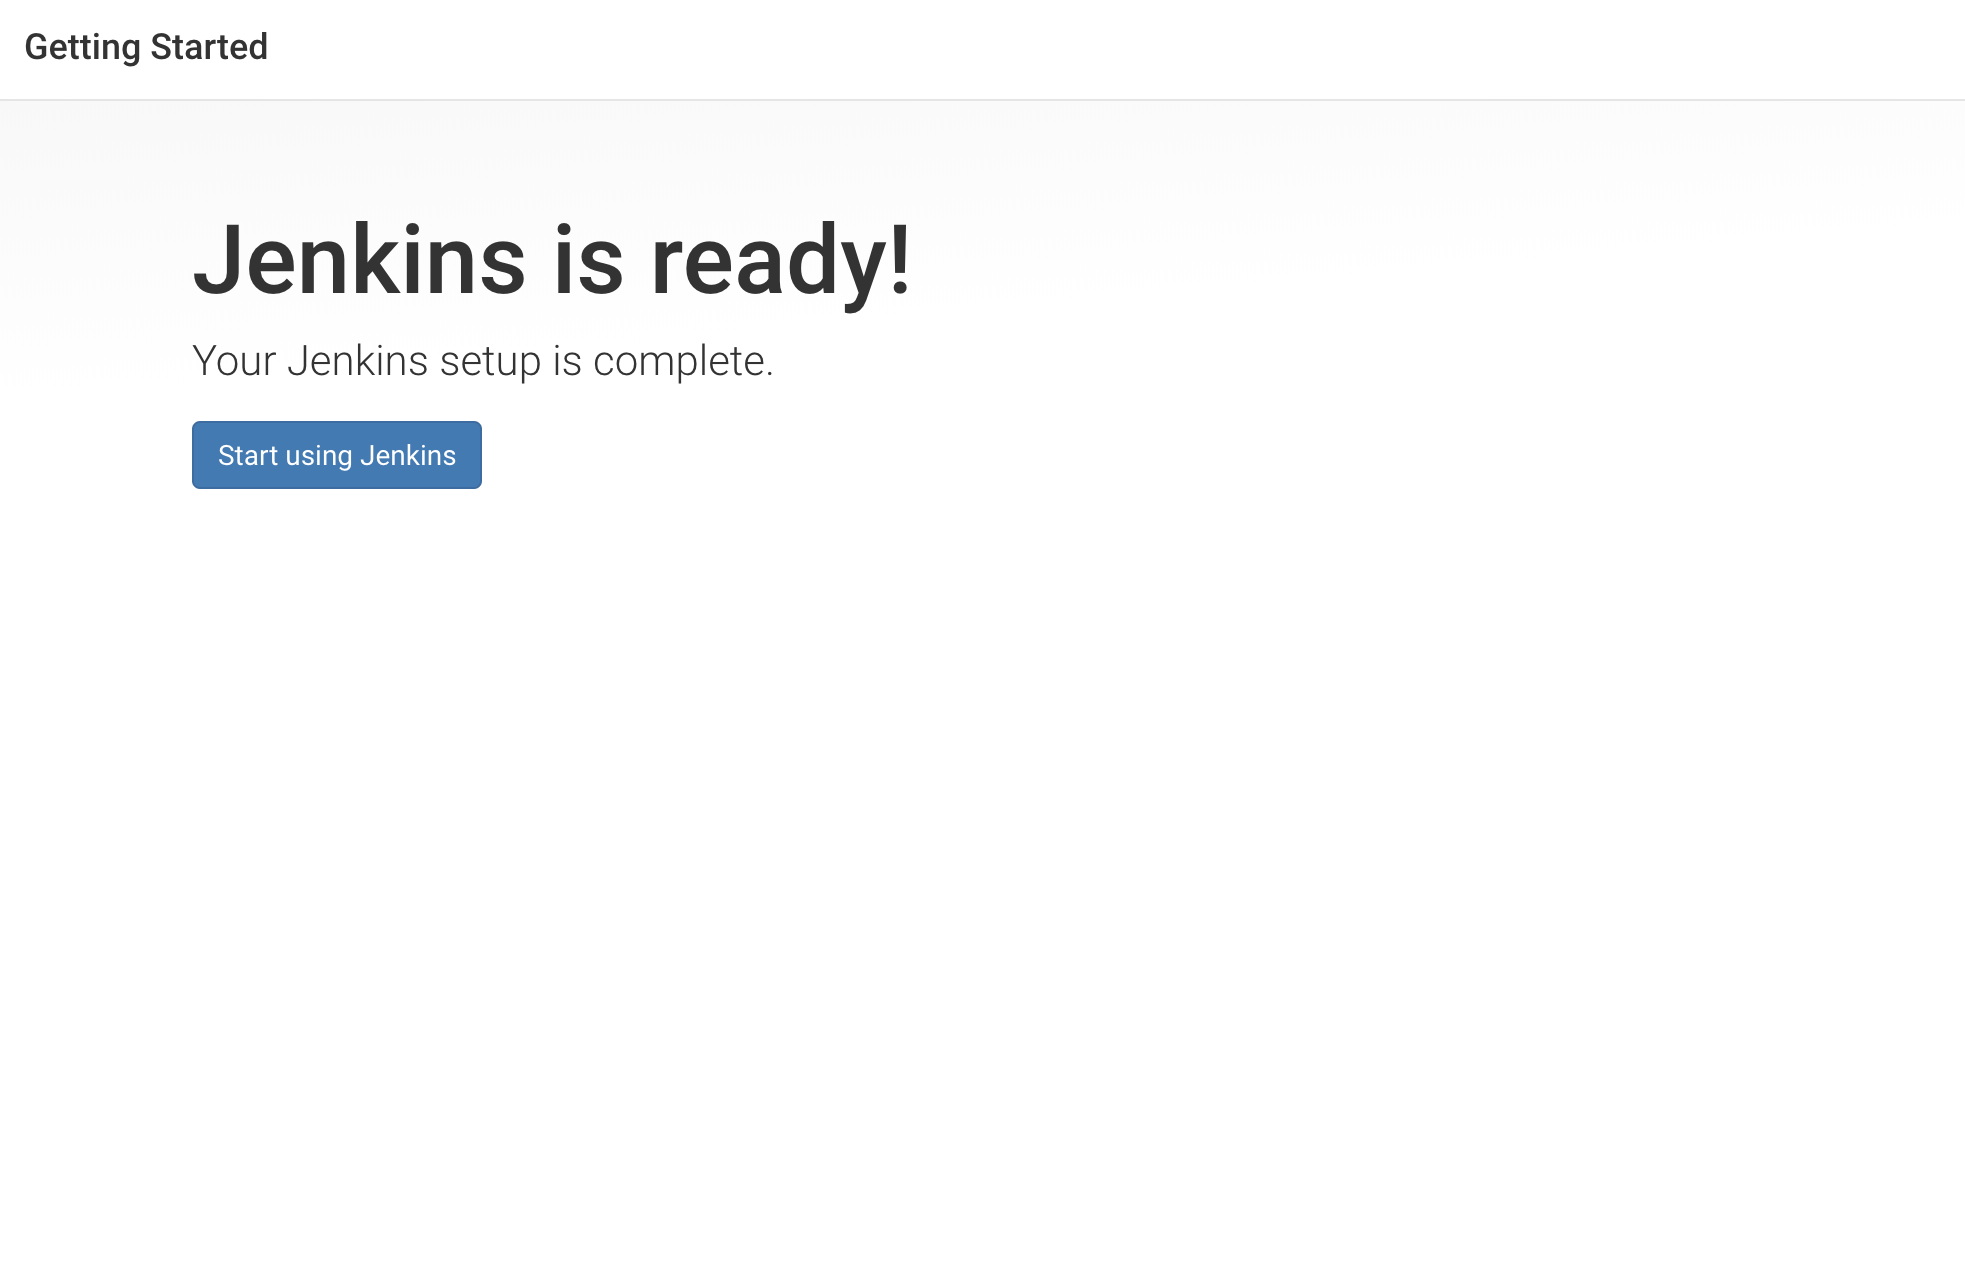
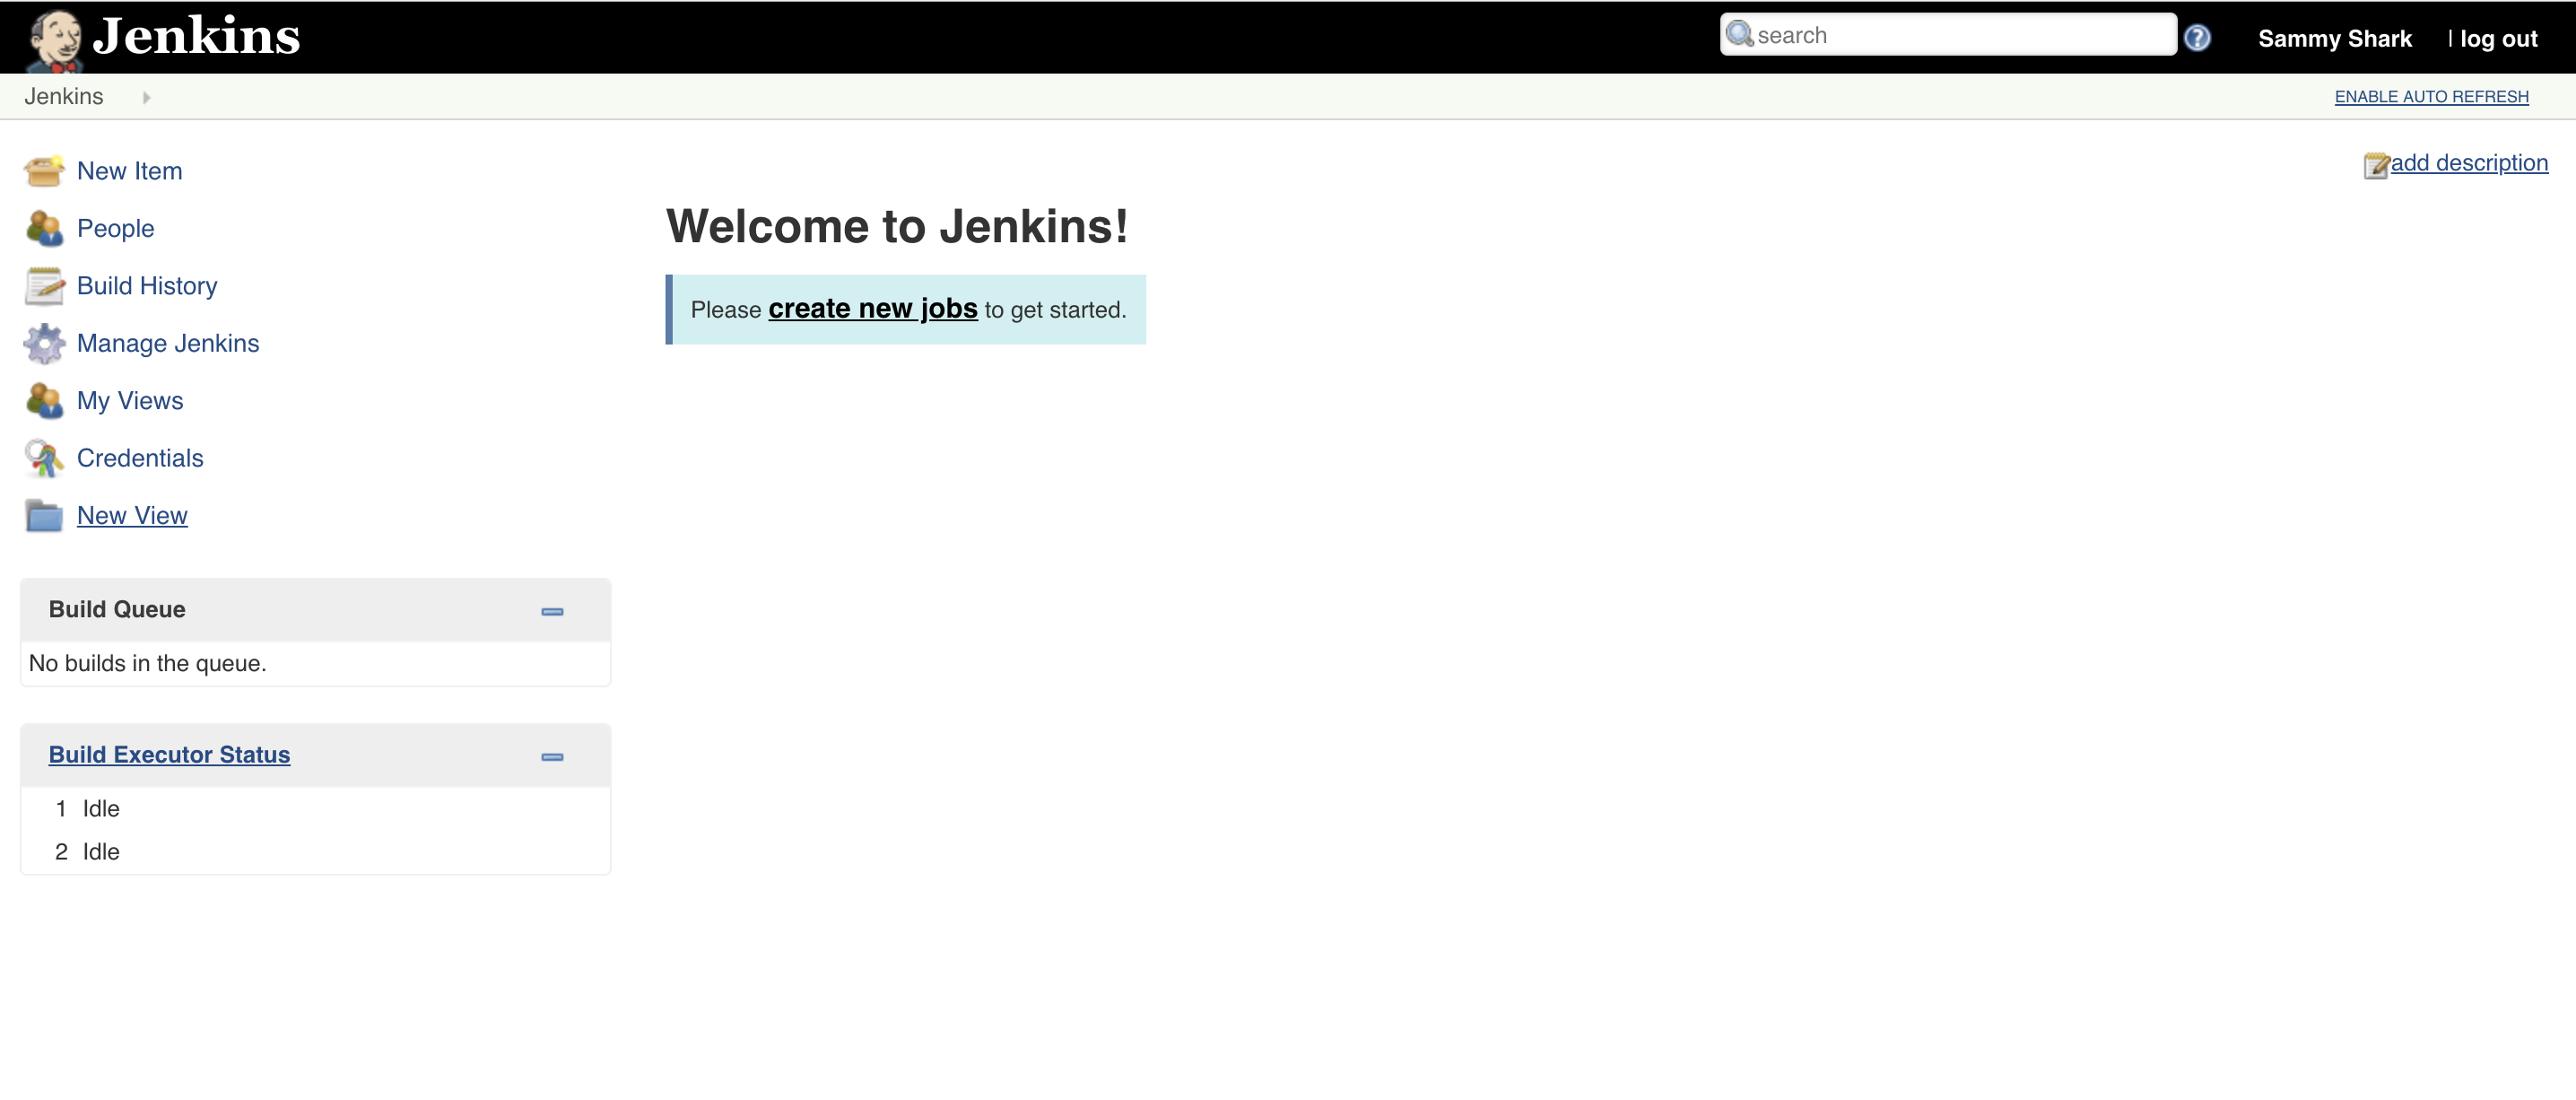
admin using the initial password we used above, but we’ll take a moment to create the user.
Note: The default Jenkins server is NOT encrypted, so the data submitted with this form is not protected. When you’re ready to use this installation, follow the guide How to Configure Jenkins with SSL Using an Nginx Reverse Proxy on Ubuntu 18.04. This will protect user credentials and information about builds that are transmitted via the web interface.


This project shows how to use Jenkins, AKS, and ArgoCD to deploy a Flask app using GitOps principles. You can use this as a template for your own projects and customize it according to your needs. I hope you find this helpful and enjoy deploying your apps with ease. 😊
