


- jpegoptim for jpg optimization
- optipng for png optimization
- cwebp for WebP conversion
Debian/Ubuntu :
sudo apt install jpegoptim optipng webp -yCentos 7 :
sudo yum install optipng jpegoptim libwebp-tools -y- Clone the repository
git clone https://github.com/VirtuBox/img-optimize.git $HOME/.img-optimize- Install the script
Method 1 : Add an alias in .bashrc
With this method img-optimize can only be used by the current user
echo "alias img-optimize=$HOME/.img-optimize/optimize.sh" >> $HOME/.bashrc
source $HOME/.bashrc
Method 2 : Copy the script in /usr/local/bin
With this method img-optimize can be used by all users
sudo cp $HOME/.img-optimize/optimize.sh /usr/local/bin/img-optimizeUsage: img-optimize [options] <images path>
If images path is empty, img-optimize will use the current directory
Options:
--jpg <images path> ..... optimize all jpg images
--png <images path> ..... optimize all png images
--webp <images path> ..... convert all images in webp
--nowebp <images path> ..... optimize all png & jpg images
--all <images path> ..... optimize all images (png + jpg + webp)
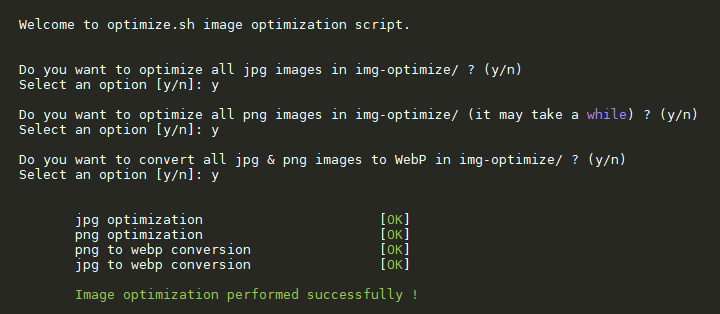
-i, --interactive ... run img-optimize in interactive mode
Other options :
-h, --help, help ... displays this help information
Example:
optimize all jpg images in /var/www/images
img-optimize --jpg /var/www/imagesTo update the script, just run :
git -C $HOME/.img-optimize pullIf you previously used the 2nd install method, you have to copy the script again to update it
sudo cp $HOME/.img-optimize/optimize.sh /usr/local/bin/img-optimize -fYou copy the scripts to /etc/cron.daily :
cp $HOME/.img-optimize/crons/jpg-png-cron.sh /etc/cron.daily/jpg-png-cron
cp $HOME/.img-optimize/crons/jpg-png-cron.sh /etc/cron.daily/webp-cron

chmod +x /etc/cron.daily/jpg-png-cron
chmod +x /etc/cron.daily/webp-cron
Then just edit your websites path set with the variables sites at the beginning of the cron scripts.
Conversion process can take a while, you can use tmux to launch the script and be able to close your ssh connection without interrupting conversion. Then just use tmux attach to login back in your tmux session.
-
WebP conversion script was inspired by this DigitalOcean Community Tutorial
-
Tutorial about webp conversion available on jesuisadmin.fr (in french)


