This repository allows AE5 customers to install VSCode and use it
within AE5. Technically, the stock Microsoft version of VSCode does
not run in a browser-based environment such as this, so instead we
rely upon code-server,
a patched version of VSCode that enables in-browser execution but
otherwise preserves VSCode behavior, including the use of extensions.
These instructions are intended to be followed by the customer and can be applied to AE 5.5.1 or later. Installation introduces minimal disruption to the cluster, and can easily be reverted if issues arise. The Anaconda team is happy to assist if necessary.
Auxiliary tools such as RStudio, VSCode, Zeppelin, and Java are installed into a shared volume provisioned just for this purpose. If VSCode is the first tool being installed, those instructions will need to be followed first. See the document TOOLS.md for more details, and make sure that work is completed before proceeding with the instructions here.
The latest approved versions of the VSCode support files can always be found at these links. First, we have this documentation:
- This file, in PDF form: vscode-install.pdf
- Tools volume documentation: tools-volume.pdf
Our new streamlined installer approach provides a pre-built bundle containing a compatible combination of VSCode, the Python and Jupyter extensions, and
- Preinstalled bundle: vscode.tar.gz
Previous versions of these instructions relied on the use of a special AE5 VSCode Installer project. This is now more appropriate for internal usage by the AE5 team to test new editor and extension versions.
- Installer project: vscode-installer.tar.bz2
- Installer binaries: vscode-blobs.tar.bz2
We have broken up the installation process into the steps below:
- Set the tool volume to read-write. (5.5.1 only)
- Perform the basic installation.
- Enable the VSCode editor option.
- Verify the installation.
- Further customize VSCode.
- Set the tool volume to read-only. (5.5.1 only)
The steps will have the following impact on the behavior of the cluster:
- No existing sessions or deployments will be affected. Users can continue to work in existing sessions without interruption.
- During Steps 1, 3, and 6, there will be brief (<30 second) interruptions in the function of main UI.
- While Steps 2 through 5 are in progress, the
/toolsvolume will be mounted into any new sessions, deployments, and jobs in a read-write fashion.
Overall, we recommend executing these steps during a maintenance interval, during which users should not create new sessions. But you do not need to ask your users to halt existing sessions or deployments.
NOTE: if you are performing this work on AE 5.5.2 or later, the steps have been simplified. Look for annotations marked "5.5.1" or "5.5.2+" for steps that are specific to each version.
5.5.2+: skip this step and proceed directly to step 2.
- Edit the
anaconda-platform.ymlConfigMap. On Gravity clusters, this is most easily performed in the Ops Center. - Search for the
/tools:volume specification. - Change
readOnly: truetoreadOnly: false. - Save the changed configuration, and exit the editor.
- Restart the workspace pod:
kubectl get pods | grep ap-workspace | cut -d ' ' -f 1 | xargs kubectl delete pod - Monitor the new workspace pod using
kubectl get podsand wait for it to stabilize.
As mentioned above, installation will proceed from within a standard AE5 session. So to begin the process, we complete the following steps:
-
5.5.2+: log into AE5 as the storage manager user, typically
anaconda-enterprise. This is the user that is given read-write access to the/toolsvolume. -
Start a session on any new or existing project.
-
Bring the installer bundle into the project. If your AE5 instance has a direct (or proxied) connection to the internet, launch a terminal window within the session and run the command
curl -OL https://airgap.svc.anaconda.com.s3.amazonaws.com/misc/vscode.tar.gzIf you do not have a direct connection, download the tarball manually, bring it into the network where AE5 is accesssible, and use the Jupyter upload mechanism to upload it.
-
Unpack the archive. To do so, launch a terminal window and run:
tar xvfz vscode.tar.gz -C /tools -
Perform a basic verification of installation by running the script
/tools/vscode/start_vscode.shThis should exit with an error, specifically an “address already in use” error of some sort. The key is to verify that this error actually came from VSCode itself, which confirms that the application is visible to Anaconda Enterprise.
-
You may now remove the file
vscode.tar.gzand shut down this session.
The next step is to add VSCode to the editor selection list presented by the UI.
- Log into the ops center and pull up the platform ConfigMap for editing, just as you did in Step 2 when adding the new shared volume.
- Search for the
vscode:section of this file. The quickest way to do so is to focus the text editor and search for the textvscode:(including the colon). The default values in this section will look like this:Change the valuevscode: default: false hidden: true label: Visual Studio Codehidden: truetohidden: false. - Once you have verified the correct formatting, click the "Save Changes" button.
- Restart the UI pod. These pods should take less than a minute
to refresh.
kubectl get pods | grep 'ap-ui-\|ap-workspace-\' | \
    cut -d' ' -f1 | xargs kubectl delete pods
There may be minor disruptions in UI responsiveness during this time. If you have allowed users to continue working during this time, they may need to refresh their browsers, although this should not be necessary for views of running sessions or deployments. Once the UI pod stabilizes, in less than a minute, the VSCode editor will be present in the Default Editor drop-down on the project settings page.
To help clarify the desired result in this step, we have attached below a screenshot of the Op Center for a typical cluster immediately after Step 6 is completed.

- Return to the project grid page.
- Create a new project from the sample gallery. We recommend the "Plot Notebook" sample, which contains a simple Jupyter notebook.
- Go to the project Settings page.
- Select "Visual Studio Code" in the Default Editor dropdown, and click Save.
- Start a new session and wait for the editor to launch.
- A pop-up will appear in the bottom-right hand corner of the VSCode UI, saying "The project environment is ready." Click Dismiss.
- Double-click on
plot.ipynbin the file browser to open the notebook. - Click the "Run All" button at the top of the notebook. VSCode will ask
which environment you wish to use to run the code. The environment listed
in
anaconda-project.ymlwill be at the top, so select that.
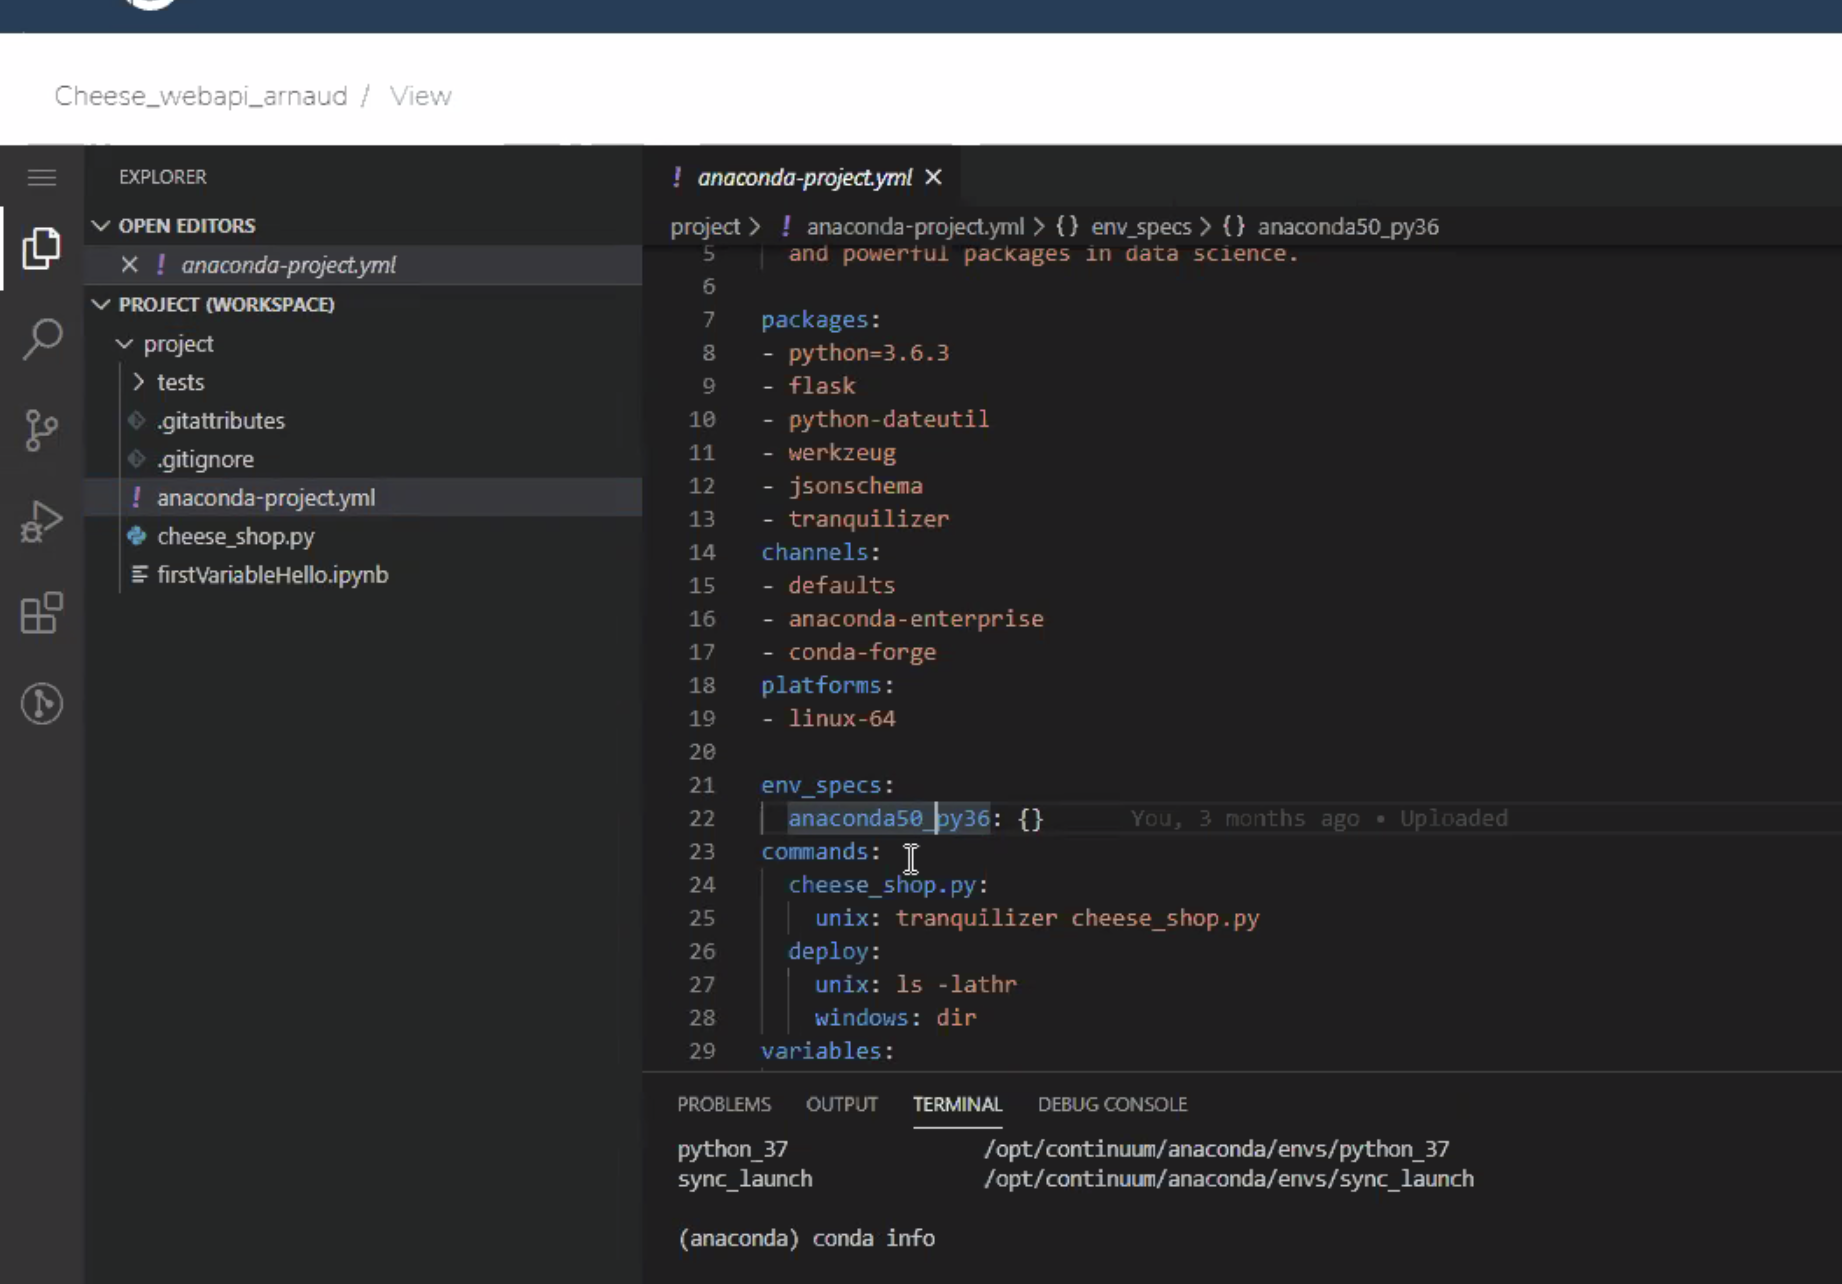
Attached below is a screenshot of AE5 after completing these steps.

If the installation is successful, you can now consider installing additional extensions at this time. See the sections Installing or upgrading extensions and Modifying global settings for more details. It is best to do this customization while your users are not using VSCode as an aditor.
Once you have completed this step, make sure to stop the VSCode test session, and the installer session as well.
- Edit the
anaconda-platform.ymlConfigMap. On Gravity clusters, this is most easily performed in the Ops Center. - Search for the
/tools:volume specification. - Change
readOnly: falsetoreadOnly: true. - Save the changed configuration, and exit the editor.
- Restart the workspace pod:
kubectl get pods | grep ap-workspace | cut -d ' ' -f 1 | xargs kubectl delete pod - Monitor the new workspace pod using
kubectl get podsand wait for it to stabilize.
Removing VSCode is a relatively simple process.
- If there are any existing sessions using VSCode, make sure they are stopped.
- Search for the three-line
vscode:section of this file, and change the linehidden: falsetohidden: true. - Restart the UI pod:
kubectl get pods | grep ap-ui- | \
	   cut -d ' ' -f 1 | xargs kubectl delete pods
This removes VSCode as an editor option for new projects, but existing projects will still be able to use the existing installation.
If you need to permanently remove /tools/vscode, take the following
additional steps:
- Stop all sessions that are currently running VSCode.
- Instruct users that they must modify all of their VSCode projects to use a different editor (e.g., JupyterLab) instead. If they fail to do so, sessions will fail to fully start.
- Remove the
/tools/vscodedirectory. If this can be performed outside of an AE5 session, this will likely be the most convenient approach. Otherwise, you must:- 5.5.1: Execute Step 1 to set the volume to read-write
- 5.5.2+: log into a session as the storage manager user
- Remove
/tools/rstudiofrom within an AE5 session - 5.5.1: Execute Step 7 to set the volume back to read-only.
Removing the /tools volume altogether is very distruptive, so we
strongly recommend against it. See TOOLS.md for more details.
Prior versions of the AE VSCode extension required building custom Docker images. Because this is no longer necessary, upgrading and managing the VSCode installation is much simpler.
When upgrading AE5 itself, the VSCode installation will be unaffected.
However, the current upgrade logic will cause the VSCode option to be
re-hidden. To correct this, simply repeat Step 4 above to change
hidden: true back to hidden: false.
In future versions of AE5, it may be necessary to modify one or more of
the support scripts added during the installation process; e.g.,
start_vscode.sh itself. If this proves necessary, we will supply the
necessary instructions and replacement files, and the update will be
much simpler than a reinstall.
If you wish to upgrade VSCode itself, the best approach is to perform
a fresh installation. While code-server nominally supports in-place
upgrades, the savings for doing so are minimal, and a fresh installation
minimizes the risk of unexpected issues.
- Ensure that all sessions using the VSCode editor are terminated.
- Complete Steps 1 and 2 of the standard installation process. If you still have the AE5 project you used in the original installation, feel free to re-use that.
- Before proceeding with Steps 3-4, move the existing VSCode installation
aside; e.g.
If the new installation fails for some reason, this can simply be moved back into place to avoid downtime.
mv /tools/vscode /tools/vscode.old - Now complete Steps 3-4.
- Launch a new session with the VSCode editor to verify installation.
- Once satisfied, remove the old installation
/tools/vscode.old.
The code-server package offers nearly full compatiblity with all
standard VSCode extensions, most of which are open source and freely
available. However, Microsoft does not allow code-server or similar
repackaged versions of VSCode to download extensions directly from
its extension marketplace. For that reason, the
Open VSX Registry
has been created to offer an alternate source of these extensions.
Installing or upgrading extensions can be performed without a full reinstallation of VSCode, but it still should be performed during a maintenance interval:
- If you are removing or upgrading existing extensions, instruct all VSCode users to terminate their sessions.
- 5.5.1 Execute Step 1 of the standard installation
instructions to ensure that the
/toolsvolume has been properly configured and set to read-write.
5.5.2+ Log in as the storage manager user. - Launch a session using the VSCode editor.
- If you do not have a direct connection to the Open VSX Registry
from your cluster, you will need to download the desired
*.visxfiles manually, and upload them into the project. - Click the Extensions icon (four squares, with one offset) on the left-hand icon bar. You will be presented with a list of installed extensions. The three-dot menu contains a variety of options for searching the Open VSX marketplace.
- To remove an extension, click the gear icon next to the extension and select "Uninstall".
- To update the version of an extension, click the gear icon next to the extension and select "Install another version..."
- To install an extension from disk, click the three-dot menu at the top-right corner of the extension pane and select "Install from VISX..."
- If you have updated the Python extension, we recommend applying a
minor patch to the extension itself to improve its performance
when running inside of AE5. To do this, launch a terminal window and
run the following command:
python /tools/vscode/patch_python_extension.py - 5.5.1 Execute Step 7 of the standard installation instructions
to ensure that the
/toolsvolume is set back to read-only.
5.5.2 Log out as the storage manager.
NOTE: Do not select "Enable Auto Updating Extensions". This must remain a manual, scheduled process.
The file /tools/vscode/admin_settings.json contains settings that
Anaconda has determined are best enforced globally across all users
and all VSCode sessions. Whenever an AE5 sessions starts, these settings
are merged into the user's settings file ~/.vscode/User/settings.json.
In this way, each user is able to customize their own experience, while
AE5 ensures that important settings are preserved.
You are free to modify this file (when, naturally, the /tools volume
is read-write) to add or modify these settings yourself. We recommend
the following workflow:
- 5.5.1 Execute Step 1 of the standard installation
instructions to ensure that the
/toolsvolume has been properly configured and set to read-write.
5.5.2+ Log in as the storage manager user. - Start a VSCode session.
- Modify the settings using the standard VSCode settings UI,
- Once you are satisfied, examine the file
~/.vscode/User/settings.json. - Create a new file
new_admin_settings.jsonby copying the file/tools/vscode/admin_settings.json, and modify it by copying any desired settings from~/.vscode/User/settings.json. - With the
/toolsvolume set to read-write access, copy this new file into place:/tools/vscode/admin_settings.json. - 5.5.1 Execute Step 7 of the standard installation instructions
to ensure that the
/toolsvolume is set back to read-only.
5.5.2 Log out as the storage manager.
All VSCode sessions created from that point forward will adopt the new settings.
Once an initial, successful installation of VSCode has been achieved,
installing it on an additional instance of AE5 can be greatly simplified.
The basic principle is that the directory /tools/vscode is portable,
and can simply be transferred to another instance. So the bulk of
the installation work is unnecessary.
First, create an archive of an existing installation:
- Log into an instance of AE5 with a running VSCode installation.
- Launch a session, preferably using the JupyterLab editor.
- Launch a terminal window.
- Run the command:
tar cfz vscode.tar.gz -C /tools vscode - Download this file to your desktop. Once you have done so, you can remove the file from your AE5 session.
Now move this archive to a new system:
- 5.5.1 Execute Step 1 of the standard installation
instructions to ensure that the
/toolsvolume has been properly configured and set to read-write.
5.5.2+ Log in as the storage manager user. - Launch any session, preferably using the JupterLab editor.
- Upload the archive
vscode.tar.gzinto the project. - Launch a terminal window.
- If an existing VSCode installation is present, move it aside;
e.g.,
mv /tools/vscode /tools/vscode.old. - Run the command:
tar xfz vscode.tar.gz -C /tools - Run the script
/tools/vscode/start_vscode.shto verify installation. As in Step 4 of the main installation sequence, anAddress already in useerror is expected here. - If this is the first installation of VSCode on the new system, repeat Steps 5 and 6 above to enable the VSCode option and verify its operation.
- Once verified, you may remove
vscode.tar.gzfrom the session as well as/tools/rstudio.old, if created. - 5.5.1 Execute Step 7 of the standard installation instructions
to ensure that the
/toolsvolume is set back to read-only.
5.5.2 Log out as the storage manager.


![anaconda-renovate[bot] avatar](https://avatars.githubusercontent.com/in/259822?v=4 "anaconda-renovate[bot]")