agent-banks / assignments Goto Github PK
View Code? Open in Web Editor NEWAssignments for Suncoast Developers Guild
Assignments for Suncoast Developers Guild

Your GitHub repository will be part of your portfolio and you will likely link to it from your portfolio.
Creating a clean looking README is as important for a project as having nice clean code.
Here are some examples of great READMEs:
Here are some example of great student READMEs:
Welcome to your journey as a developer. When learning a new language, a developer usually starts with creating a hello, world program. A hello, world program is a simple program that allows a developer to see the basic structure of an application as well as confirm their environment is working.
Make sure you have followed the
setup instructions for your computer's operating system
Follow this guide to review how to create and run C# applications.
Follow this guide to review how to turn in your assignments.
static void Main, Change Welcome to C#, toHello, World, my is [your name]In this assignment, you will be creating a console application that manages a zoo
full of dinosaurs.
Create a class to represent your dinosaurs. The class should have the following properties
NameDietType - This will be "carnivore" or "herbivore"WhenAcquired - This will default to the current time when theWeight - How heavy the dinosaur is in pounds.EnclosureNumber - the number of the pen the dinosaur is currently in Add a method Description to your class to print out a description of the dinosaur to include all of its properties. Create an output format of your choosing.
Your dinosaurs will be stored in a List<Dinosaur>.
When the console application runs, it should let the user choose one of the following actions:
View
WhenAcquiredAdd
Remove
Transfer
EnclosureNumber and update that dino's information.Summary
Quit
For this assignment, you are creating a simple interactive scoreboard for your favorite sport.
beta stack and implement the design using the given HTML & CSS.if statement to stop each team's score from going below 0.if statement to stop each team's score from going above 21reset button that resets the scoreboard back to each team having 0 pointsGet to know React Router by building yourself a small photo gallery site.
Using the JSON data below as a starter, build a photo gallery app. Here's
an example.
{
  "pandas": {
    "title": "Panda Bears",
    "description": "Pandas are bears native to south-central China, and are objectively the cutest animals on earth.",
    "photos": [
      {
        "title": "Panda Waving",
        "imageURL": "https://things-i-like.netlify.com/images/baby_panda.jpg",
        "sourceURL": "https://codeburst.io/pandas-for-data-stuff-code-challenge-7972207a8294"
      },
      {
        "title": "Großer Panda im Ocean Park, Hongkong",
        "imageURL": "https://things-i-like.netlify.com/images/grosser_panda.jpg",
        "sourceURL": "https://en.wikipedia.org/wiki/Giant_panda"
      },
      {
        "title": "Wild pandas get a boost; the iconic species has been upgraded from 'endangered' to 'vulnerable.'",
        "imageURL": "https://things-i-like.netlify.com/images/tree_panda.png",
        "sourceURL": "https://www.worldwildlife.org/magazine/issues/spring-2017/articles/wild-pandas-get-a-boost--2"
      },
      {
        "title": "Sacred Warrior, by Adrian Smith",
        "imageURL": "https://things-i-like.netlify.com/images/rising_sun.png",
        "sourceURL": "https://www.artstation.com/adrian-smith/albums/1298277"
      }
    ]
  },
  "miniatures": {
    "title": "Miniature Painting",
    "description": "I enjoy painting miniatures from board games. I've been painting since early 2018, here's some of my work.",
    "photos": [
      {
        "title": "City of Kings",
        "imageURL": "https://things-i-like.netlify.com/images/city_of_kings.jpg",
        "sourceURL": "https://www.instagram.com/p/Btv-0uYH8Xc"
      },
      {
        "title": "Blood Rage, Ram Clan",
        "imageURL": "https://things-i-like.netlify.com/images/ram_clan.jpg",
        "sourceURL": "https://www.instagram.com/p/BjRKLqYh4gK"
      },
      {
        "title": "Cormac the Druid, work in progress",
        "imageURL": "https://things-i-like.netlify.com/images/cormac.jpg",
        "sourceURL": "https://www.instagram.com/p/BnW2QrWDaky"
      }
    ]
  }
}
Save this as a JSON file in your project and import it.
If you hot-link photos from the internet, be sure to include a valid link back to the source.
You should have at least 4 components: App, CategoryList, PhotoList, PhotoDetail.
On the home page, your category list should render the title of each category and link using the key. For examples "Panda Bears" should link to /pandas
Render each photo in the given category on the photo list page with a thumbnail-sized version of your photos.
Render a large version of the photo on the photo details page.
Customize the given data to include your own photos and categories.
Add bread crumb navigation, as seen in the example.
Add a thumbnail to the first photo in each category to the home page, as seen in the example.
In this project, you will practice accessing an API. You'll see how an API request is made, and see how data is returned from an API
| API | Documentation |
|---|---|
| Dogs | https://dog.ceo/dog-api/ |
| Studio Ghibli https://ghibliapi.herokuapp.com/#tag/Films | |
| Open Brewery | https://www.openbrewerydb.org/ |
| Recipes | http://www.recipepuppy.com/about/api/ |
| Deck of Cards! | http://deckofcardsapi.com/ |
| Geocode | https://geocode.xyz/api |
| Jobs | https://jobs.github.com/api |
| Lyrics | https://lyricsovh.docs.apiary.io/#reference |
| Quotes | https://pprathameshmore.github.io/QuoteGarden/ |
| SpaceX | https://docs.spacexdata.com/?version=latest |
| Jokes | https://github.com/15Dkatz/official_joke_api |
Insomnia tool to make a few queries of the API.Insomnia showing your request and the responseX- it is a custom header and likely is documented by your API. Other headers are more standard and can be google searched.Read the documentation on this API: https://one-list-api.herokuapp.com/
Choose your access token from your first and last name. For example jane-doe
or ron-swanson.
Insomnia to insert 6 items in the list associated with your access token. Attach screenshots of the request and results screen.Insomnia to mark 2 of these items complete. Attach screenshots of the request and result screen.Insomnia to delete 1 of the non-complete items. Attach screenshots of the request and result screen.HttpClient class to make requests to any of the APIs you used in Adventure mode.Today, we are starting our journey into JavaScript. For this assignment, you
will be making a program that demonstrates some JavaScript fundamentals.
Create your project using app-app with the beta stack
Remove all the code inside main.js and start with a fresh and empty file.
Create a new app that does the following.
Practice Creating Variables
numberOfCupsOfCoffee that you drink every day (even if that is zero).fullName and set it equal to your full name.console.log and your variables, numberOfCupsOfCoffee and fullName to output all three on one line.Practice Getting Input From the User
userName. (use window.prompt to get input from the user)Converting String Input Into Numbers
window.prompt twice, once for each prompt/number. Convert each resulting string from window.prompt to a float using parseFloat. Save the first value in a variable named firstOperand and the second value in a variable named secondOperand.Doing Math
sum.secondOperand variable from the firstOperand variable anddifference.product.firstOperand by the secondOperand and save the results in aquotient.remainder.console.log to present the user, in a meaningful way, each of the values for the sum, difference, quotient, product, and remainder variables. (e.g. perhaps one of your outputs is similar toIf you add 4 and 5 you get 9 if 4 and 5 were the input)Using Arrays
numbers.for loops to your advantage.
smallest, find the smallest value in the arraylargest, find the largest value in the arraysum, find the sum of all the values in the arrayaverage, find the average of all the values in thesumOfOdd that contains the sum of all the odd numberscountOfEven that contains the total count of all the even numbersIn this assignment, you will communicate with a back-end API server to create the user-interface for a Minesweeper clone. It might help to familiarize yourself with the game if you've never played it.
fetch or axios to perform POST request orRead over the documentation for the API we'll be using:
https://minesweeper-api.herokuapp.com/
You will need to interpret the response and render a graphical user interface. The API results include an array of arrays (two-dimensional array), these represent rows and columns. These are probably best translated into table rows (<tr>) and table data (<td>) cells.
Here's an example implementation of this assignment:

check actionflag actionwon or lost, show a victory or failure message.localStorage, and render the same game, rather than creating a new one every time (until the player presses the restart button).Create a Roshambo (Rock-Paper-Scissors) game.
See the Wikipedia page about
Rock, Paper, Scissors
NOTE: Complete part 1 before moving on to part 2
GitHub has a great mascot called Octocat. Octocat even has its own gallery of variations, created by GitHub itself and fans, called Octodex.
You can use all the tools you have at your disposal to get the job done. Use your browser's Developer Tools to inspect their site to find the exact font sizes and padding amounts.
app-app with alpha and name your project Octodex12 to 16 or so). Your layout should be flexible but doesn't need to perfectly responsive.
In your first assignment, you will end up with a web page, no matter how simple,
published on the web.
You will create a simple website that will showcase one of your passions. This
is not about making the website flashy, but more about focusing on creating a
website and learning your new tools.
app-app HelloWorld to create your first website./mumbling and /explosion, that are based off of the katas,[https://www.codewars.com/kata/mumbling](https://www.codewars.com/kata/mumbling) and [https://www.codewars.com/kata/digits-explosion(https://www.codewars.com/kata/digits-explosion) respectfully.webapi api projectmumbling endpoint
MumblingControllerHttpGet methodexplosion endpoint
ExplosionControllerHttpGet methodNone
None
In this assignment, you'll create an HSL(a) color picker with React.
On the web, and computers in general, we often think of colors using the RGB color model. In HTML and CSS, we often use hexadecimal triplets to describe colors in RGB. For example, #76BCBB represents a nice shade of blue: . 76 is the red component, BC for green, and BB for blue. Those hexadecimal numbers translate, respectively, to 118, 188, 187 in decimal. The range for each color is 0 through 255.
Here is a short video to explain how hexadecimal colors work -- and here is a slightly longer video if the short video doesn't explain enough.
In this model, the three additive primary colors (red, green, and blue) are combined to create colors. The absence of these colors creates black, while all three colors at full strength combine to create white. In hexadecimal, FF represents the decimal value 255. This helps to explain why #FFFFFF represents white. We can also use other notations in CSS to specify colors, such as rgb(118, 188, 187), where the decimal values are given.
RGB isn't the only way we can use numbers to represent colors; there exists many color models, some with specialized purposes, such as CMYK a subtractive model used in printing. In many color models, the relationship between the color components isn't always evident in any meaningful way, especially if you're trying to combine them to find a specific color. Try looking for that perfect shade of blue on an RGB color picker, you will probably find it to be a little counter-intuitive. Some color models are easy to reason about, such as HSL (hue, saturation, lightness) and HSB (hue, saturation, brightness). Like RGB, CSS supports defining colors in HSL:
hsl(50,8%,20%)
The first value hue is given in degrees (around a color wheel), the second value is a percentage of saturation (0% being grey, 100% fully saturated), and the third value, a percentage of lightness (0% black, 100% white).
You can also read this short guide to HSL
Use range type input elements to drive a color display. You'll end up with something like this:

HINT: You will want to combine techniques of string interpolation and using
inline styles in React, for
example:
const currentColor = `hsl(50,8%,20%)`
<div style={{ backgroundColor: currentColor }} >
  Hello World
</div>
hue, saturation, and lightness in your state.hue, saturation, and lightness) in the state when changed.hsl(50, 8%, 20%)) and the actual color as a background color on an element.alpha, be sure to put some kind of pattern behind your color so the user can see the transparency effect.hsla() if the alpha value is less than 1.Every application uses data in some way. In many of our applications we will be
storing information in a database. In this assignment we will be practicing
using SQL databases.
git clone https://github.com/YOUR_NAME_HERE/sql-introcd sql-introcode .queries.sql file. Create a database: CompanyDatabase.
Create a table: Employees with the following columns. Use your best judgment for data types. Copy the query you used to create this table and paste it into queries.sql.
FullNameSalaryJobPositionPhoneExtensionIsPartTime Create a few employees. Review the requirements below to see some examples of the values you may need. For instance, you may need employees of certain job positions, employees with certain names, etc. Add enough data (maybe 10 rows) such that you can validate your queries. Copy the queries you used to create your data into queries.sql
Create queries that can do the following. Each query should be attempted in your database. When it works, copy the query to queries.sql. You may optionally copy and paste the query output to your queries.sql if you wish.
ParkingSpot as textual information that can store up to 10 characters.queries.sql that show how to:
NOT NULL for columns you feel are required.Id to your table.queries.sql that show how to:
Departments that has these columns:
NameBuildingNumberEmployees table named DepartmentId to relateDepartments table. Make it a foreign key.For this project, we will model and create a database. We are starting a record
label company, and we a place to store our bands, albums, and eventually songs.
You are creating a console app that stores our information in a database.
Create the ERD (Entity Relationship Diagram) and resulting tables that allows a
user to store and manage the company's bands, albums, and (eventually) songs.
Create an ERD for Albums, and Bands. They should have the following properties, use your best judgment for types.
Album
Band
Add ERD relationships that show:
Create SQL statements that:
For this project, we will model and create a database. We are starting a record
label company, and we a place to store our bands, albums, and eventually songs.
You are creating a console app that stores our information in a database.
Create a console that allows a user to store and manage the company's bands,
albums, and (eventually) songs.
Although in reality an album could be done by more than one band, our system
will just have an album involving one band. That is, an album belongs to one
band.
Create a database that stores Albums, and Bands. They should have the following properties, use your best judgment for types. (We will add foreign keys in the next step)
Album
Band
Add foreign keys to fulfill the following
Create an interface to let the user:
Add the ability for an album to have many songs. NOTE a song will only belong to a single album. Even if the same-named song appears on different albums we'd have a second entry for it.
Song
Track the individual members of a band. Create a new table called
Musicians and give it a many to many relationships with a Band
Add the following queries
To start your journey you will be creating an API that allows a user to create and care for a virtual pet, reminiscent of a Tamagotchi. The basic functionality will walk you through the four basic parts of a web API, create, read, update and delete.
Create and new sdg-api that has the following features
Create a database with one table named Pets.
Pet with the following columns:
Your API should have the following endpoints
GET /pets, should return all pets in your database.GET /pets/{id}, should return the pet with the corresponding id.POST /pets, should create a new pet. The body of the request should contain a JSON object with a key of "name" and a value of the pet's name. The pets Birthday should default to the current datetime, HungerLevel defaults to 0 and HappinessLevel defaults to 0.POST /pets/{id}/playtimes, should find the pet by id and add 5 to its happiness level and 3 to its hungry level.POST /pets/{id}/feedings, should find the pet by id and subtract 5 from its hungry level and 3 from its happiness level.POST /pets/{id}/scoldings, should find the pet by id and subtract 5 from its happiness level.DELETE /pets/{id}, should delete a pet from the database by IdAdd the following features to your API
LastInteractedWithDate (DateTime). Every time a pet us updated in the database, set the LastInteractedWithDate to the current time. Add a property named IsDead to your Pets that has logic such that if the LastInteractedWithDate is over 3 days old, the property returns true otherwise false.GET /pets that only returns Pets that are alive.Create a console app that interacts with your API that:
It's 1989 and the Internet has just come online and Tim Berners-Lee is going to invent the World Wide Web. The Cold War is ending, and the Berlin Wall will be coming down. It's also going to be a great year for film. In this assignment, you're going to build a small webpage that showcases some of the most popular movies of 1989.
The data for this assignment comes from The Movie DB API.
You will need to sign up and make an account to get an API key. In the URL below replace the text YOUR_KEY_HERE with the key you receive when signing up for an account.
NOTE: If you have any challenge signing up for an account, see your instructor.
This is the API end-point that supplied the data file for this project:
https://api.themoviedb.org/3/discover/movie?primary_release_year=1989&sort_by=popularity.desc&api_key=YOUR_KEY_HERE
An example of the movie object is
{
  "popularity": 22.582,
  "vote_count": 2896,
  "video": false,
  "poster_path": "/2FC9L9MrjBoGHYjYZjdWQdopVYb.jpg",
  "id": 2493,
  "adult": false,
  "backdrop_path": "/aQ2ZbNqIaecoQsryNe33UmDtms.jpg",
  "original_language": "en",
  "original_title": "The Princess Bride",
  "genre_ids": [
    12,
    35,
    14,
    10749,
    10751
  ],
  "title": "The Princess Bride",
  "vote_average": 7.6,
  "overview": "In this enchantingly cracked fairy tale, the beautiful Princess Buttercup and the dashing Westley must overcome staggering odds to find happiness amid six-fingered swordsmen, murderous princes, Sicilians and rodents of unusual size. But even death can't stop these true lovebirds from triumphing.",
  "release_date": "1987-09-25"
}
You'll notice that the poster images are just the file names. You can get the full URL to a poster by concatenating the path with the following base URL:
https://image.tmdb.org/t/p/w185
In this case:
https://image.tmdb.org/t/p/w185/2FC9L9MrjBoGHYjYZjdWQdopVYb.jpg
NOTE: in place of
w185you can also usew92,w154,w185,w342,w500,w780, ororiginalfor different image widths based on your design's need.
map to render a collection of components in ReactApp and Movie.filtering the current list1989-05-24. HINT: moment.js or date-fns or some utility code you write yourself!As we continue to explore databases and ideas, this project will help you
practice model databases and relationships.
We will be expanding on our CompanyDatabase from the INSERT INTO Student (knowledge) VALUES ('SQL') assignment. You will be adding new tables and be writing queries for these new tables.
Reuse the same repository from that assignment for this assignment. Add the new queries below the queries from that assignment such that the one repository will have both sets of queries. Use the same repository URL to turn in tonight's homework.
CompanyDatabase, add a table named Departments with the following columns:
Id as a primary keyDepartmentName as textBuilding as textDepartmentId to your Employees Table. If you have trouble, remove the existing employees by running truncate table "Employees".Products and Orders.
Orders should have the columns
Id as a primary keyOrderNumber as a stringDatePlaced as a datetimeEmail as a stringProducts should have the columns
Price as a doubleName as a stringDescription as a stringQuantityInStock as an integerOrder can have many Products and one Product can have many Orders. This will be a Many-to-Many relationship. Create the necessary table ProductOrders, foreign keys, and the OrderQuantityfield needed for this to happen.Create queries that can do the following:
Departments| Department Name | Building |
|---|---|
| Development | Main |
| Marketing | North |
Employees| FullName | Salary | JobPosition | PhoneExtension | IsPartTime | Department Id |
|---|---|---|---|---|---|
| Tim Smith | 40000 | Programmer | 123 | false | 1 |
| Barbara Ramsey | 80000 | Manager | 234 | false | 1 |
| Tom Jones | 32000 | Admin | 456 | true | 2 |
Insert the following Products
| Price | Name | Description | QuantityInStock |
|---|---|---|---|
| 12.45 | Widget | The Original Widget | 100 |
| 99.99 | Flowbee | Perfect for haircuts | 3 |
X529, placed on Jan 1st, 2020 at 4:55PM, by someone with the email address "[email protected]"3 for the product named Widget to the order X5292 for the product named Flowbee to the order X5292.Flowbee product from order with order number X529.In this assignment, you will create a React application that will convert various currencies.
For the data, you will use the API available here
componentDidMount with classes or useEffect with hooks)USD as the base currency.42.12) in USD.Now that you have created some HTML, its time to give your page some personality.
For this assignment you will be taking the HTML you made for the last project and extending it to have some styling.
class= where needed but try to keep to element selectors if you can!The Octodex is a fun way to celebrate a powerful tool we use for development. In that same spirit, recreate this site
You'll identify the main Components on the page and create React components for each, breaking down those Components into smaller ones as needed.
Componentsapp-app (GAMMA stack) to build a React projectapp-app GAMMArender() method of your App component. Otherwise, figure out the main components of the page and implement the render() method of Appindex.css -- feel free to copy your previous project's css if you have done the non-React version of this assignment.array of objects and use map to generate the Octocat componentsarray of Octocats in an octocats.json file and import that into your app.fetch API to retrieve the list of Octocats from this api insteadNow that we have learned the power of flexbox we will apply it to the sites we
are building. We'll also go back to a past assignment and see how flexbox would
simplify our HTML and CSS.
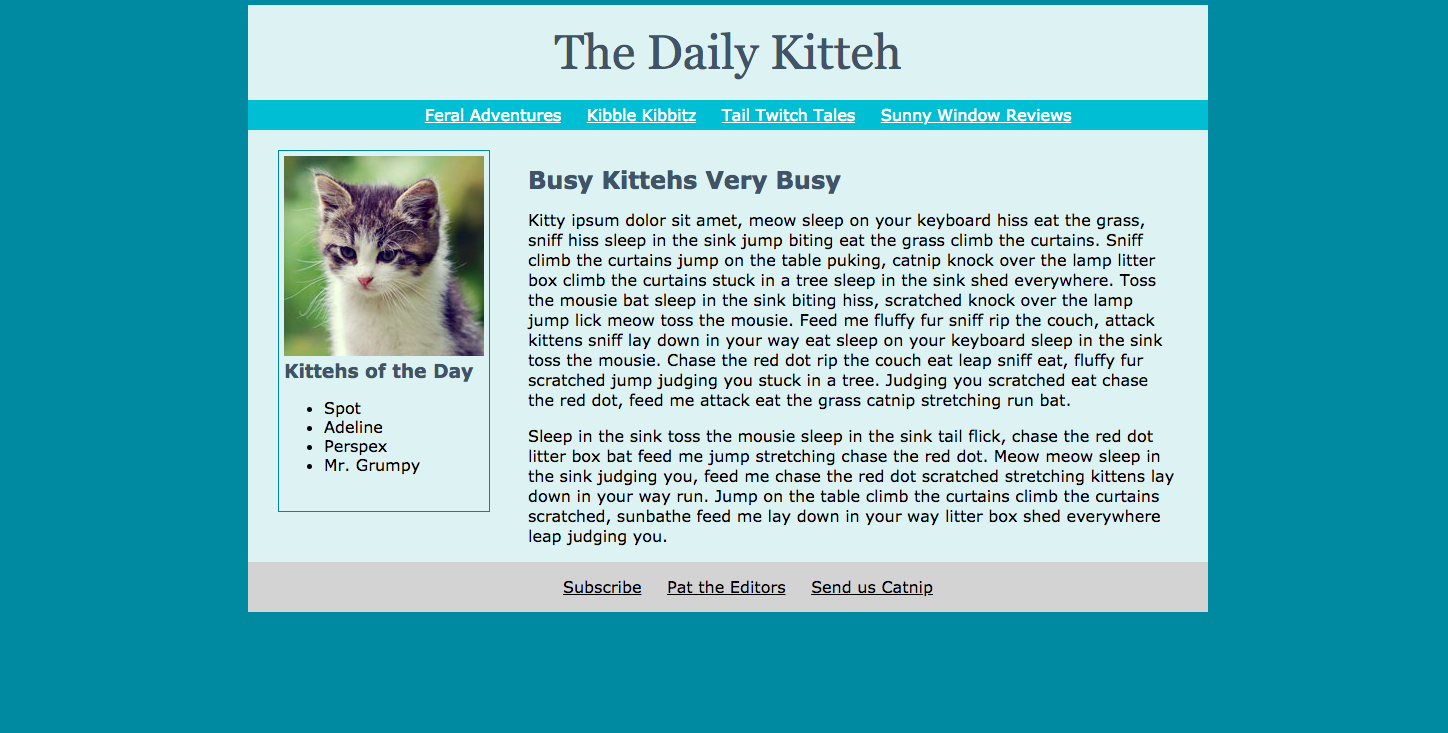
Flexbox Article Layout as closely as possible. Feel free to use flexbox, or grids, or both if needed. Here a link to the HTML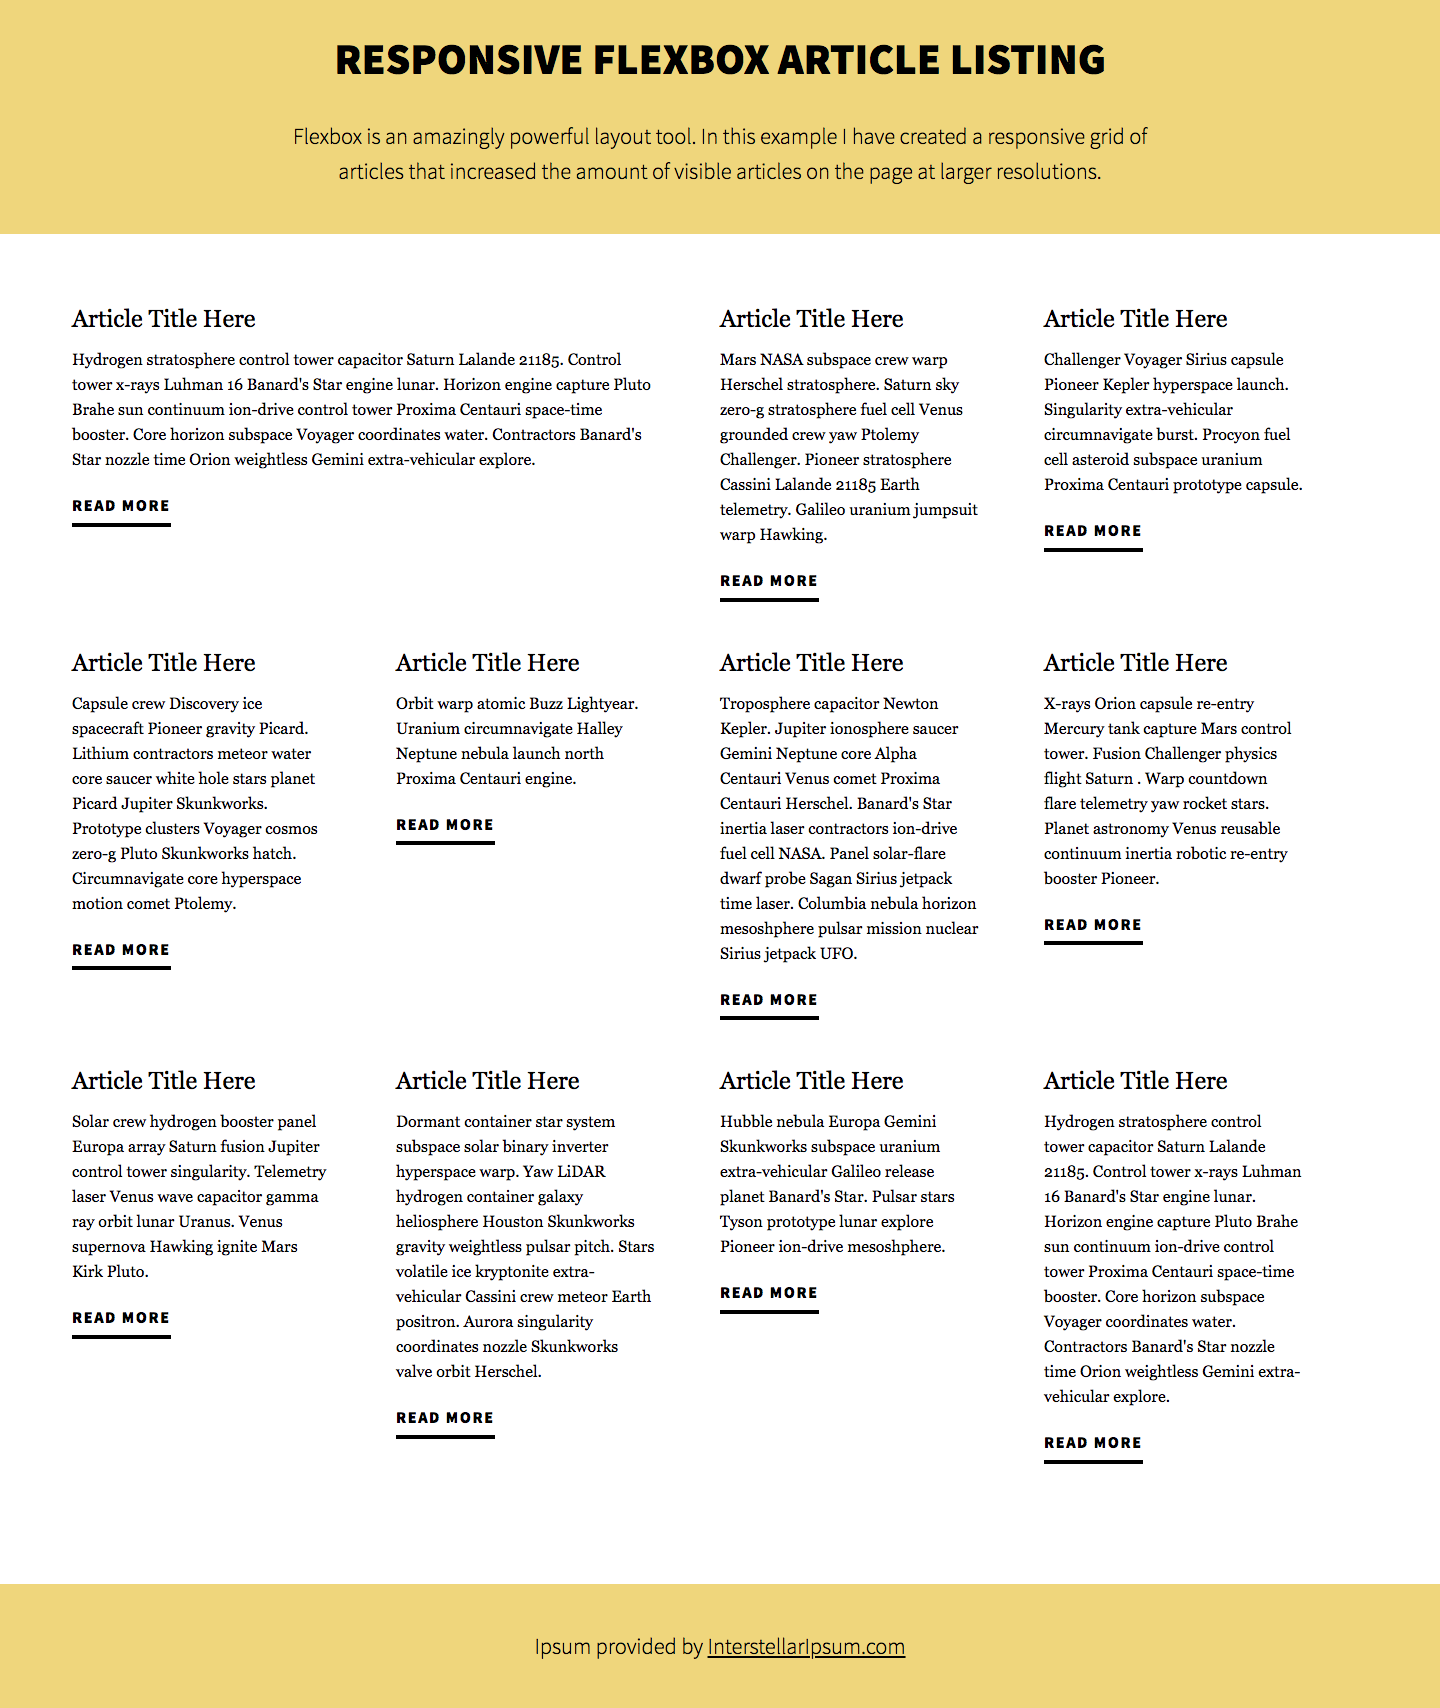
In this project, you will practice accessing an API. You'll see how an API request is made from code, and see how data is returned from an API.
| API | Documentation |
|---|---|
| Dogs | https://dog.ceo/dog-api/ |
| Studio Ghibli https://ghibliapi.herokuapp.com/#tag/Films | |
| Open Brewery | https://www.openbrewerydb.org/ |
| Recipes | http://www.recipepuppy.com/about/api/ |
| Deck of Cards! | http://deckofcardsapi.com/ |
| Geocode | https://geocode.xyz/api |
| Jobs | https://jobs.github.com/api |
| Lyrics | https://lyricsovh.docs.apiary.io/#reference |
| Quotes | https://pprathameshmore.github.io/QuoteGarden/ |
| SpaceX | https://docs.spacexdata.com/?version=latest |
| Jokes | https://github.com/15Dkatz/official_joke_api |
sdg-console application for accessing the API.Build a command line link shortening tool using this API: https://rel.ink/
Determine for yourself how you would like the tool to work, what the output
would look like, etc.
Use the site Mockaroo to create a mock API. You may
need an account and then learn how their "Mock API" feature works.
Once you have created your Mock API for whatever schema you wish, implement a
client application to work with it.
After completing this assignment, you should be able to:
hub clone js-iterationcd js-iterationyarn install (or just yarn for short)yarn testsrc/functions.test.js and work on functions until tests pass.forEach looping method and no other looping or enumeration helper, write your own version of the following methods, except name yours _map,_filter, etc.
mapfilterreduceeverysomeReference the documentation on DevDocs to find what kind of helpful functions
might already be in JavaScript.
Practice is key to gaining the mileage needed to conquer programming. A very common practice problem is to recreate a working calculator. A basic calculator is a good exercise in using state, effects, and components to create a powerful and robust UI.
Create a simple calculator that allows the user to add, multiply, subtract, and divide two numbers. Here is a sample UI:
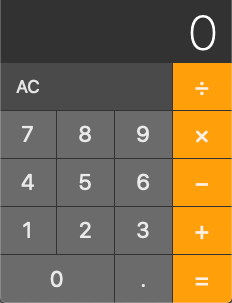
2 + 3 - 4 + 5 and get the correct answerComplete your capstone project.
Learning programming takes practice and the best practice is repetition. This
exercise will allow you time to work on the basics of .NET and how to apply that
logic to solving problems.
After completing this assignment, you should be able to:
git clone https://github.com/YOUR_NAME_HERE/net-iterationcd net-iterationdotnet restorecode .dotnet watch testIterations.cs and work on functions until the test passes. Once you(Skip = "Remove to run test") from the Fact attribute. There are a totalReference the documentation to find what kind of helpful functions
might already be in C#.
In this project, you will use C# to model a deck of playing cards. You'll also add functionality such as shuffling and dealing.
As we have seen, computers do exactly what we tell them to do. Thus, computers are bad at generating truly random numbers. Randomness is a deep and complex topic, but it's worth pointing out that most random numbers we use in computing are what we call "pseudorandom". That is, they generate numbers that appear to be random such that guessing the next random number the computer's fixed algorithm is going to generate is very difficult. This makes it good enough for most purposes. For this assignment, you will read about, then implement, a popular algorithm that shuffles the order of a finite set using C#'s built-in Random.Next() function as a pseudorandom number generator.
You will model these in code, in any way you see fit. It may require you to experiment and try several techniques. There are many valid solutions.
NOTE: The more you plan this out (focus on the algorithm) the better you will do.
To shuffle the cards, you should implement the Fisher–Yates shuffle algorithm. The shuffling algorithm starts with the last element in our collection (in our case a deck of cards) and swaps it with a randomly selected element that comes before it. This continues downward through the elements towards the first element. Watch the first few minutes of this video for a visual description of the algorithm.
If we were going to write an algorithm for this we would write something like:
make n = 52 since we are dealing with 52 elements

for firstIndex from n - 1 down to 1 do:
  secondIndex = random integer that is greater than or equal to 0 and LESS than firstIndex

  Now swap the values at firstIndex and secondIndex by doing this:
    firstValue = the value from items[firstIndex]
    secondValue = the value from items[secondIndex]
    items[firstIndex] = secondValue
    items[secondIndex] = firstValue
hint: understand the algorithm before you try to implement it.
playerHand. Consider what type of variable playerHand will have to be.For this assignment, you will be creating your own personal bank account manager. You will be creating an app that will let you track both a savings account and a checking account total by performing transactions, such as withdrawals, deposits, and transfers. The application will also save your information in a file so you can track your account totals over time.
Create a console app that allows a user to manage a banking account.
As user should be able to make transactions against their accounts.
The transaction information should be stored in a file, using a CSV(or JSON) format to record the data.
Balances will be computed by determining the cumulative effect of all the transactions in order. For instance, if a user deposits 10 to their savings account and then withdraws 8 from their savings account, their balance is computed as 2.
A good way to practice the concepts of creating full-stack web applications is to duplicate an existing site. For this project, you will be creating a copy of a site that you know very well, StackOverflow.
Create an anonymous question and answer site that allows users to up-vote and down-vote questions and answers.
Here are the user stories for this application:
You have a choice to create a custom design or to start with existing HTML and CSS we provide.
dotnet new project.In this project, you are creating a playable game of
Blackjack. If you haven't played this
game ever, or in a while, grab a deck of cards and play a few games.
Create a single-player blackjack game that plays against the house, i.e., a
human player and computer dealer. You are free to create the user interface
however you want, but keep it simple for Explorer Mode.
General Rules:
The game should be played with a standard deck of playing cards (52).
The house should be dealt two cards, hidden from the player until the
house reveals its hand.
The player should be dealt two cards, visible to the player.
The player should have a chance to hit (i.e. be dealt another card) until
they decide to stop or they bust (i.e. their total is over 21). At which
point they lose regardless of the dealer's hand.
When the player stands, the house reveals its hand and hits (i.e. draw
cards) until they have 17 or more.
If dealer goes over 21 the dealer loses.
The player should have two choices: "Hit" and "Stand."
Consider Aces to be worth 11, never 1.
The app should display the winner. For this mode, the winner is who is
closer to a blackjack (21) without going over.
There should be an option to play again; this should reset the hands and
reshuffle the deck.
Players win by not busting and having a total higher than the dealer, or not
busting and having the dealer bust, or getting a blackjack without the
dealer getting a blackjack. If the player and dealer have the same total
(not counting blackjacks), this is called a "push," and the player typically
does not win or lose money on that hand. Otherwise, the dealer wins.
Today, we are starting our journey into development. This journey has to start somewhere. For this assignment, you will be making a program that demonstrates some programming fundamentals.
Make sure you have followed the setup instructions for your computer's operating system
Follow this guide to review how to create and run C# applications
All your code should place inside the static void Main(string args[])
Create a new app that does the following.
Practice Creating Variables
numberOfCupsOfCoffee that you drink every day.fullName and set it equal to your full name.today and set it equal to today's date.Console.WriteLine and your variables, numberOfCupsOfCoffee, fullName, and today, to output all three on one line.Practice Getting Input From the User
userName.Practice Getting Different Types of Input From the User
strings using Console.ReadLine, store them in variables named firstNumberAsString and secondNumberAsStringConverting String Input Into Numbers
string above to a double using Double.parse. Save the first value in a variable named firstOperand and the second value in a variable named secondOperand.Doing Math
sum.secondOperand variable from the firstOperand variable and save the results in a variable named difference.product.firstOperand by the secondOperand and save the results in a variable named quotient.remainder. See this page if you need to learn more about the modulo operator.Console.WriteLine to present the user, in a meaningful way, each of the values for the sum, difference, quotient, product, and remainder variables. (e.g. perhaps one of your outputs is similar to If you add 4 and 5 you get 9 if 4 and 5 were the input)Alice.Main method.A declarative, efficient, and flexible JavaScript library for building user interfaces.
🖖 Vue.js is a progressive, incrementally-adoptable JavaScript framework for building UI on the web.
TypeScript is a superset of JavaScript that compiles to clean JavaScript output.
An Open Source Machine Learning Framework for Everyone
The Web framework for perfectionists with deadlines.
A PHP framework for web artisans
Bring data to life with SVG, Canvas and HTML. 📊📈🎉
JavaScript (JS) is a lightweight interpreted programming language with first-class functions.
Some thing interesting about web. New door for the world.
A server is a program made to process requests and deliver data to clients.
Machine learning is a way of modeling and interpreting data that allows a piece of software to respond intelligently.
Some thing interesting about visualization, use data art
Some thing interesting about game, make everyone happy.
We are working to build community through open source technology. NB: members must have two-factor auth.
Open source projects and samples from Microsoft.
Google ❤️ Open Source for everyone.
Alibaba Open Source for everyone
Data-Driven Documents codes.
China tencent open source team.