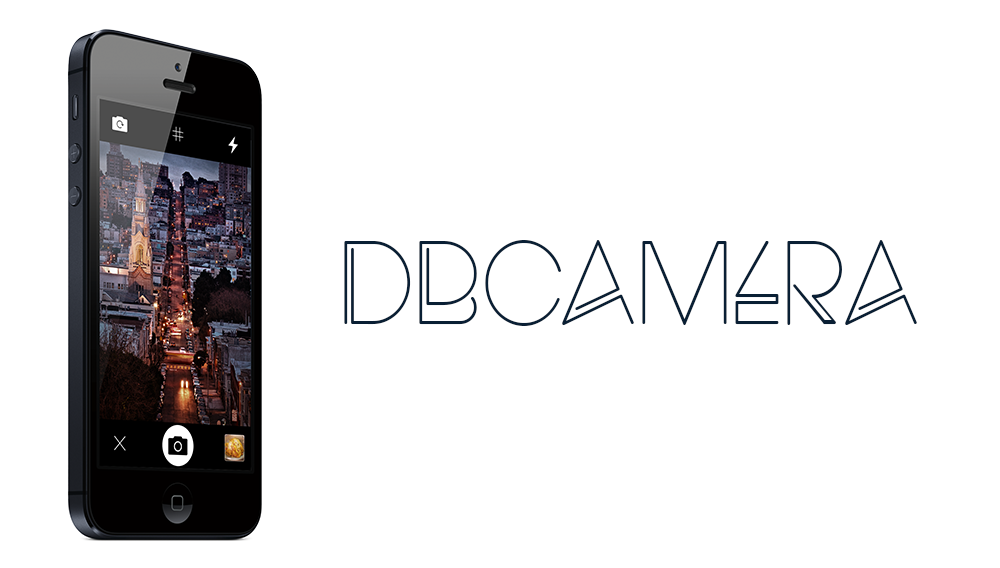
DBCamera is a simple custom camera with AVFoundation.
##Getting Started
The recommended approach for installating DBCamera is via the CocoaPods package manager, as it provides flexible dependency management and dead simple installation.
platform :ios, '6.0'
pod 'DBCamera', '~> 2.3'DBCamera is available for use as an apache cordova plugin for ios. Visit Cordova-DBCamera for more.
If you use the example project, run pod install to install GPUImage dependency
DBCamera has a simple integration:
#import "DBCameraViewController.h"
#import "DBCameraContainerViewController.h"//Add DBCameraViewControllerDelegate protocol
@interface RootViewController () <DBCameraViewControllerDelegate>//Present DBCameraViewController with different behaviours
- (void) openCamera
{
DBCameraContainerViewController *cameraContainer = [[DBCameraContainerViewController alloc] initWithDelegate:self];
[cameraContainer setFullScreenMode];
UINavigationController *nav = [[UINavigationController alloc] initWithRootViewController:cameraContainer];
[nav setNavigationBarHidden:YES];
[self presentViewController:nav animated:YES completion:nil];
}
- (void) openCameraWithoutSegue
{
DBCameraViewController *cameraController = [DBCameraViewController initWithDelegate:self];
[cameraController setUseCameraSegue:NO];
DBCameraContainerViewController *container = [[DBCameraContainerViewController alloc] initWithDelegate:self];
[container setCameraViewController:cameraController];
[container setFullScreenMode];
UINavigationController *nav = [[UINavigationController alloc] initWithRootViewController:container];
[nav setNavigationBarHidden:YES];
[self presentViewController:nav animated:YES completion:nil];
}
- (void) openCameraWithoutContainer
{
UINavigationController *nav = [[UINavigationController alloc] initWithRootViewController:[DBCameraViewController initWithDelegate:self]];
[nav setNavigationBarHidden:YES];
[self presentViewController:nav animated:YES completion:nil];
}//Use your captured image
#pragma mark - DBCameraViewControllerDelegate
- (void) camera:(id)cameraViewController didFinishWithImage:(UIImage *)image withMetadata:(NSDictionary *)metadata
{
DetailViewController *detail = [[DetailViewController alloc] init];
[detail setDetailImage:image];
[self.navigationController pushViewController:detail animated:NO];
[cameraViewController restoreFullScreenMode];
[self.presentedViewController dismissViewControllerAnimated:YES completion:nil];
}
- (void) dismissCamera:(id)cameraViewController{
[self dismissViewControllerAnimated:YES completion:nil];
[cameraViewController restoreFullScreenMode];
}By default, DBCameraViewController has another controller to display the image preview.
When you create DBCameraViewController instance, you can set useCameraSegue: NO, to avoid it.
- (void) openCameraWithoutSegue
{
    DBCameraContainerViewController *container = [[DBCameraContainerViewController alloc] initWithDelegate:self];
    DBCameraViewController *cameraController = [DBCameraViewController initWithDelegate:self];
    [cameraController setUseCameraSegue:NO];
    [container setCameraViewController:cameraController];
    UINavigationController *nav = [[UINavigationController alloc] initWithRootViewController:container];
    [nav setNavigationBarHidden:YES];
    [container setFullScreenMode];
    [self presentViewController:nav animated:YES completion:nil];
}
If you want, you can force the crop option within segue view controller. Set setForceQuadCrop: YES
- (void) openCameraWithForceQuad
{
    DBCameraViewController *cameraController = [DBCameraViewController initWithDelegate:self];
    [cameraController setForceQuadCrop:YES];

    DBCameraContainerViewController *container = [[DBCameraContainerViewController alloc] initWithDelegate:self];
    [container setCameraViewController:cameraController];
    [container setFullScreenMode];

    UINavigationController *nav = [[UINavigationController alloc] initWithRootViewController:container];
    [nav setNavigationBarHidden:YES];
    [self presentViewController:nav animated:YES completion:nil];
}
You can use the Library picker as separated view controller.
- (void) openLibrary
{
    DBCameraLibraryViewController *vc = [[DBCameraLibraryViewController alloc] init];
    [vc setDelegate:self]; //DBCameraLibraryViewController must have a DBCameraViewControllerDelegate object
//    [vc setForceQuadCrop:YES]; //Optional
//    [vc setUseCameraSegue:YES]; //Optional
    UINavigationController *nav = [[UINavigationController alloc] initWithRootViewController:vc];
    [nav setNavigationBarHidden:YES];
    [self presentViewController:nav animated:YES completion:nil];
}For simple customizations, you can customize the built-in camera view by sending a cameraSettingsBlock to the view controller.
#import "DBCameraView.h"
- (void)openCameraWithSettings:(CDVInvokedUrlCommand*)command
{
    DBCameraContainerViewController *cameraContainer = [[DBCameraContainerViewController alloc] initWithDelegate:self cameraSettingsBlock:^(DBCameraView *cameraView, DBCameraContainerViewController *container) {
        [cameraView.photoLibraryButton setHidden:YES]; //Hide Library button

        //Override the camera grid
        DBCameraGridView *cameraGridView = [[DBCameraGridView alloc] initWithFrame:cameraView.previewLayer.frame];
        [cameraGridView setNumberOfColumns:4];
        [cameraGridView setNumberOfRows:4];
        [cameraGridView setAlpha:0];
        [container.cameraViewController setCameraGridView:cameraGridView];
    }];

    //Set the Tint Color and the Selected Color
    [cameraContainer setTintColor:[UIColor redColor]];
    [cameraContainer setSelectedTintColor:[UIColor yellowColor]];
}
##Customize the Segue View controller
For a simple customization, you can use the block cameraSegueConfigureBlock
#import "DBCameraSegueViewController.h"
[cameraController setCameraSegueConfigureBlock:^( DBCameraSegueViewController *segue ) {
  segue.cropMode = YES;
  segue.cropRect = (CGRect){ 0, 0, 200, 400 };
}];You can also create a custom interface, using a subclass of DBCameraView
#import "DBCameraView.h"

@interface CustomCamera : DBCameraView
- (void) buildInterface;
@end#import "CustomCamera.h"
@interface CustomCamera ()
@property (nonatomic, strong) UIButton *closeButton;
@property (nonatomic, strong) CALayer *focusBox, *exposeBox;
@end
@implementation CustomCamera
- (void) buildInterface
{
[self addSubview:self.closeButton];
[self.previewLayer addSublayer:self.focusBox];
[self.previewLayer addSublayer:self.exposeBox];
[self createGesture];
}
- (UIButton *) closeButton
{
if ( !_closeButton ) {
_closeButton = [UIButton buttonWithType:UIButtonTypeCustom];
[_closeButton setBackgroundColor:[UIColor redColor]];
[_closeButton setImage:[UIImage imageNamed:@"close"] forState:UIControlStateNormal];
[_closeButton setFrame:(CGRect){ CGRectGetMidX(self.bounds) - 15, 17.5f, 30, 30 }];
[_closeButton addTarget:self action:@selector(close) forControlEvents:UIControlEventTouchUpInside];
}
return _closeButton;
}
- (void) close
{
if ( [self.delegate respondsToSelector:@selector(closeCamera)] )
[self.delegate closeCamera];
}
#pragma mark - Focus / Expose Box
- (CALayer *) focusBox
{
if ( !_focusBox ) {
_focusBox = [[CALayer alloc] init];
[_focusBox setCornerRadius:45.0f];
[_focusBox setBounds:CGRectMake(0.0f, 0.0f, 90, 90)];
[_focusBox setBorderWidth:5.f];
[_focusBox setBorderColor:[[UIColor whiteColor] CGColor]];
[_focusBox setOpacity:0];
}
return _focusBox;
}
- (CALayer *) exposeBox
{
if ( !_exposeBox ) {
_exposeBox = [[CALayer alloc] init];
[_exposeBox setCornerRadius:55.0f];
[_exposeBox setBounds:CGRectMake(0.0f, 0.0f, 110, 110)];
[_exposeBox setBorderWidth:5.f];
[_exposeBox setBorderColor:[[UIColor redColor] CGColor]];
[_exposeBox setOpacity:0];
}
return _exposeBox;
}
- (void) drawFocusBoxAtPointOfInterest:(CGPoint)point andRemove:(BOOL)remove
{
[super draw:_focusBox atPointOfInterest:point andRemove:remove];
}
- (void) drawExposeBoxAtPointOfInterest:(CGPoint)point andRemove:(BOOL)remove
{
[super draw:_exposeBox atPointOfInterest:point andRemove:remove];
}
@end//Present DBCameraViewController with a custom view.
@interface RootViewController () <DBCameraViewControllerDelegate>
- (void) openCustomCamera
{
CustomCamera *camera = [CustomCamera initWithFrame:[[UIScreen mainScreen] bounds]];
[camera buildInterface];
UINavigationController *nav = [[UINavigationController alloc] initWithRootViewController:[[DBCameraViewController alloc] initWithDelegate:self
cameraView:camera]];
[nav setNavigationBarHidden:YES];
[self presentViewController:nav animated:YES completion:nil];
}###iOS Min Required 6.0
###Version 2.3.15
###Created By
###Credits
Apache Cordova: mkcode
Grid view & pinch gesture: Jack
Filters segue and various improvements: denadai2


